Perspectives can be used to define which tables and fields in the data model for this solution will be accessible in intelligence reports, so as to limit the scope of each. Each perspective is registered in Microsoft Analysis Services and must be synchronized for use in the system. This section explains how to manually update the list of perspectives and manage their audiences. However, note that perspectives can also be synchronized automatically through an integration task to extract and process intelligence data. For details, see Chapter 17: Administration -> Integrations -> Integration Tasks -> Creating a Task to Extract and Process Intelligence Data.
Some perspectives are provided by default, and others can be created by contacting your account manager. Keep in mind that users must have a specific privilege to manage the list of perspectives, which includes synchronizing them and defining their audiences.
Once synchronized, an audience can be selected for each perspective, defining which users will have permission to select it when creating or editing an intelligence report, as well as view it in this list, if they have access to the page. Note that users with the specific privilege to access perspectives can view, manage, and use any perspective in the system without needing to be in the audience. In addition, to access a report with the same view as the author, you only have to be included in the audience of the report. In other words, the members of the report's audience will view it according to the perspective selected by the author, regardless of whether they have permission to it.
If the author of a report loses permission to the perspective used in it, both they and the audience members will not be able to view or edit this report until another perspective is selected. Similarly, when copying a report that uses a perspective to which you do not have access, a new perspective must be selected before the report can be used.
You can select a wider perspective (that is, with more visible tables) for a report to add new information to it. However, note that if a new perspective with fewer tables than the previous one is selected for a report, any charts using the tables that were omitted in the new perspective will remain available, but can only be partially edited when the report is opened in Power View. For details, see Chapter 16: Intelligence -> Intelligence Solution Reports -> Creating Reports in Power View.
Aside from a global perspective that grants access to all tables, three out-of-the-box perspectives are provided for use in default reports: one for Workflow events, one for risks in assets, and another for vulnerabilities. These perspectives grant access to the tables relevant to the scope of each report, as shown below.
|
Types |
Perspective for Workflow Events |
Perspective for Asset Risks |
Perspective for Vulnerabilities |
|
Knowledge-Controls |
|
X |
|
|
Knowledge-Vulnerability |
X |
|
X |
|
Metrics-Current-Risk Analyses |
|
X |
|
|
Metrics-Current-Vulnerability Analyses |
|
|
X |
|
Metrics-Event Associations |
X |
X |
X |
|
Metrics-History-Workflow Events |
X |
X |
X |
|
Organization-Assets |
X |
X |
X |
|
Organization-Business Components |
X |
|
|
|
Organization-Perimeters |
X |
X |
X |
|
Organization-Strategic BCs |
|
X |
X |
|
Organization-Tactical BCs |
|
X |
X |
|
Report Info |
X |
X |
X |
|
Time Periods |
X |
X |
X |
|
Workflow-Events |
X |
X |
X |
For more information on managing intelligence reports, see Chapter 16: Intelligence -> Intelligence Solution Reports. For details on creating perspectives, see Chapter 16: Intelligence -> Perspectives.
1. Access the Intelligence solution.
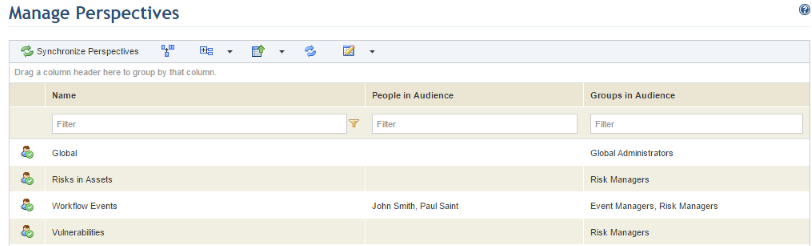
2. In the Intelligence Reports section, click Manage Perspectives.
The system displays the list of all the perspectives registered in Microsoft Analysis Services (see figure below).
3.
Click Select Audience ( ) next to the perspective whose
audience you want to select.
) next to the perspective whose
audience you want to select.
4. In the Audience section, click Add Audience and select People or Groups of People (see figure below).

5. In the window that appears, use the filters available (optional) and click List People or List Groups. Select the people or groups you want to include in the audience of the perspective and click Add (see figure below).
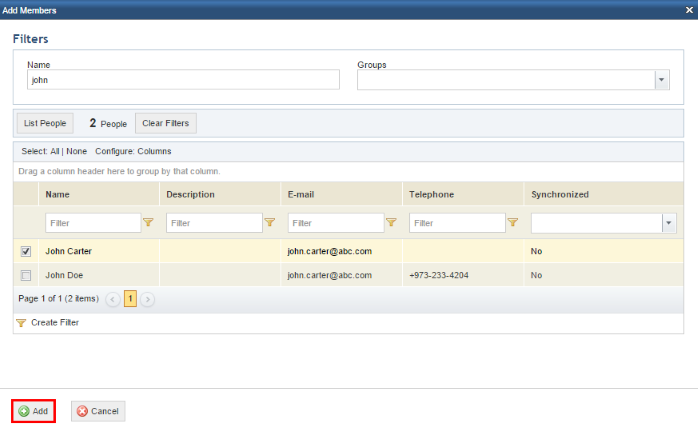
The system displays a success message.
6. To remove a person or a group from the audience, mark the checkboxes next to each and click Remove Audience.
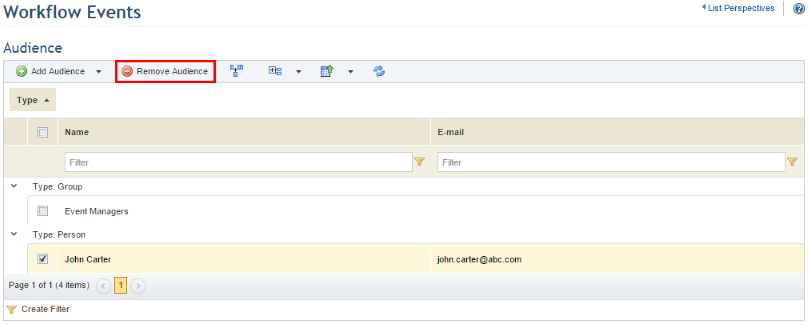
The system displays a success message.
7. To update the list of perspectives with the latest information in Microsoft Analysis Services, click Synchronize Perspectives (see figure below).
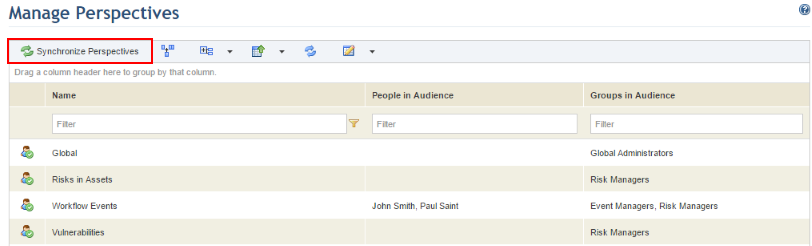
The system displays a success message and the perspectives are synchronized from Microsoft Analysis Services.