This topic explains how to manage generic report templates, which are created from scratch using any of the following types of queries as data sources: those created in the Organization, Risk, Workflow, and Administration modules; those created in the Events and Dispatch solutions; and SQL queries, created in this section. Once registered, each blank template can then be exported for editing in Report Designer, allowing the report to be assembled using data from these queries. However, you can only edit generic report templates of which you are the author or to which you were assigned as editor.
1. Access the Organization module.
2. Select Manage Templates from the Reports option on the menu.
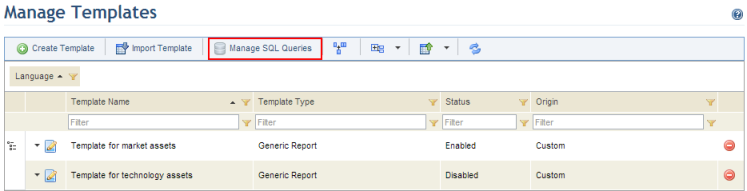
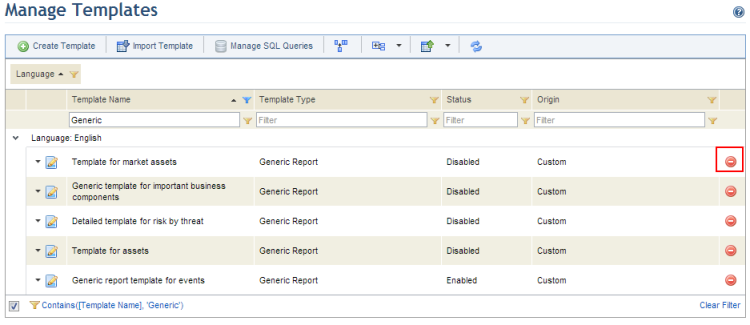
The system displays the list of report templates available, grouped by language. The Template Type column indicates the type of report (Generic Report, Risk Analysis Report, Detailed Risk Report, Detailed Risk Report by Threat, or the Executive Analysis Report), the Status column indicates whether the template is available for use or not, while the Origin column indicates if the template was customized or if it was provided by Modulo.
3. To write a SQL query that can later be included as a data source in a generic report template, click Manage SQL Queries (see figure below).
The system displays a screen where new SQL queries can be created, and where all those previously registered can be edited or deleted.
4. To create a new SQL query, click Create SQL Query (see figure below).
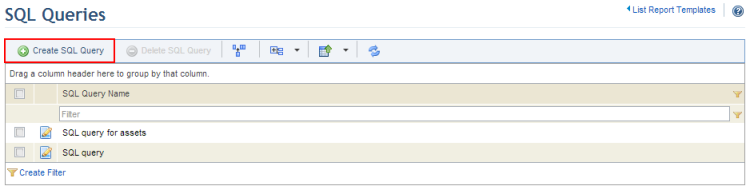
The system displays a page where you can create a SQL query.
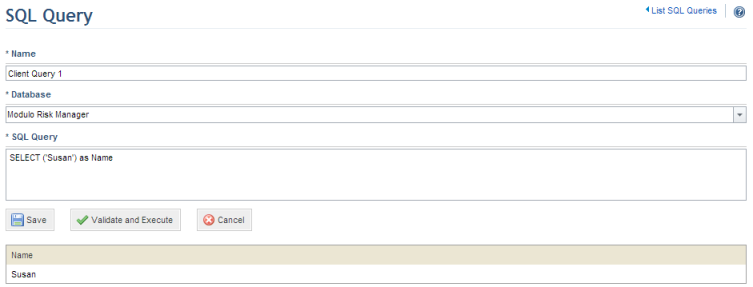
5. In the Name field, enter a name to identify the SQL query using up to 400 characters.
6. In the Database field, select the data source for the query. The options available include the system database, the Dashboard module database, an external MS SQL Server database, an external Oracle database, and the Intelligence Data database.
Note: SQL queries are run when their reports are generated. An exception is if the data source selected for the query is the Dashboard module or the Intelligence solution databases, which contain the same data as the system only structured specifically to facilitate use in reports. SQL queries using the Dashboard module as a data source will be run according to the schedule set for the integration tasks with the module, while queries using the Intelligence solution database will be run according to the schedule set for the tasks to extract and process intelligence data. Another exception are query results exported to SQL tables through an integration task, as these will also be run on the schedule set for the task. For details on integration tasks, see Chapter 17: Administration -> Integrations -> Integration Tasks.
7. If a MS SQL Server or Oracle database is selected, enter the connection string to connect to the database in the Connection String field and click Test Connection to ensure that the connection string is validated. The connection string is encrypted in the database and will not be displayed when the query is edited. The connection string fields are listed below. For more information on access data, please contact your system administrator.
Note: If the MS SQL Server database is selected, the connection string for the SQL Server can be for a standard SQL Server or for an instance. For example:
Connection string for a standard server: Server=myServerAddress; Database=myDataBase; User Id=myUsername; Password=myPassword;
Connection string for a server instance: Server=myServerName\myInstanceName; Database=myDataBase; User Id=myUsername; Password=myPassword;
If the Oracle database is selected, the Oracle connection string can be the one that does not use the tnsnames.ora file or the alternative. For example:
Connection string without tnsnames.ora: SERVER=(DESCRIPTION=(ADDRESS=(PROTOCOL=TCP)(HOST=MyHost)(PORT=MyPort))(CONNECT_DATA=(SERVICE_NAME=MyOracleSID))); uid=myUsername; pwd=myPassword;
Alternative connection string omitting tnsnames.ora: DataSource=(DESCRIPTION=(ADDRESS=PROTOCOL=TCP)(HOST=MyHost)(PORT=MyPort))(CONNECT_DATA=(SERVICE_NAME=MyOracleSID))); User Id=myUsername; Password=myPassword;
8. In the SQL Query field, enter the SQL query.
Note: Databases cannot be edited through SQL queries and, therefore, the INSERT, DELETE, DROP, TRUNCATE, EXEC, ALTER, SHUTDOWN, COMMIT, EXECUTE, and CREATE commands are not accepted. Should any of these words be included in the query, when executing or saving it, an error message will be displayed indicating that the SQL query is invalid.
9. Click Validate and Execute to validate the SQL query and view its results.
If no errors were found in the SQL query, the system runs the query and displays the results obtained (see figure below).
10. To save the SQL query, click Save. If you want to quit the operation, click Cancel.
The system displays a success message. All saved SQL queries are available for inclusion as data sources in any report template. If a SQL query used in a report template is edited, it will have to be inserted in the template again through Report Designer and the report template must be imported to the system once more for its results to be displayed correctly.
11. Click List SQL Queries in the upper right corner to return to the list of queries.
12. To delete a SQL query, mark the checkbox next to its name and click Delete SQL Query (see figure below).
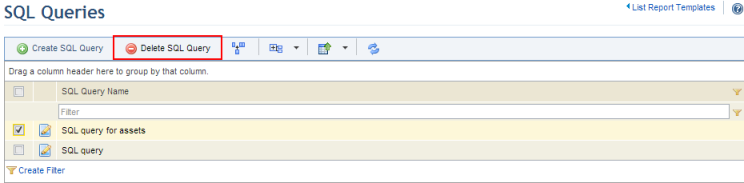
The system requests confirmation to delete the SQL query selected (see figure below).
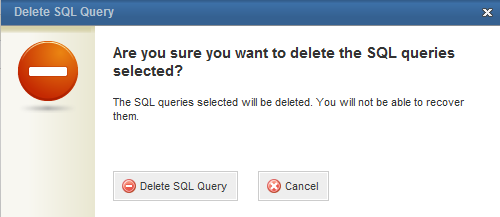
13. Click Delete SQL Query to confirm. If you want to quit the operation, click Cancel.
The system displays a success message.
14. In the Manage Templates section, click Create Template to generate a new template for a generic report (see figure below).
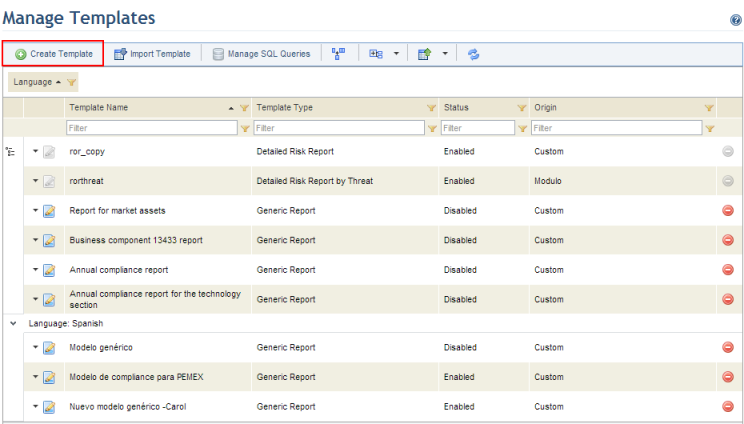
The system displays a screen where the new template can be created and linked to one or more data sources (see figure below).
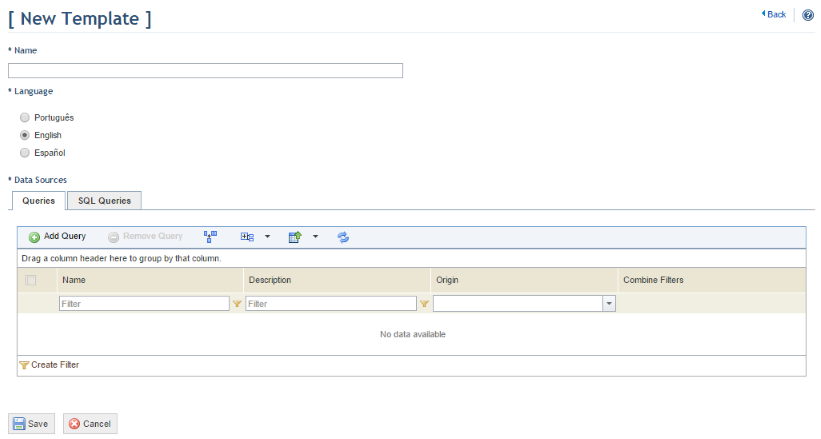
15. In the Name field, enter a name to identify the new template using a maximum of 80 characters. Note that you cannot create a template with a name that is already registered in the system.
16. In the Language field, choose the language of the template by marking one of the available options.
17. To add queries to the template, click Add Query in the Queries tab in the Data Sources section.
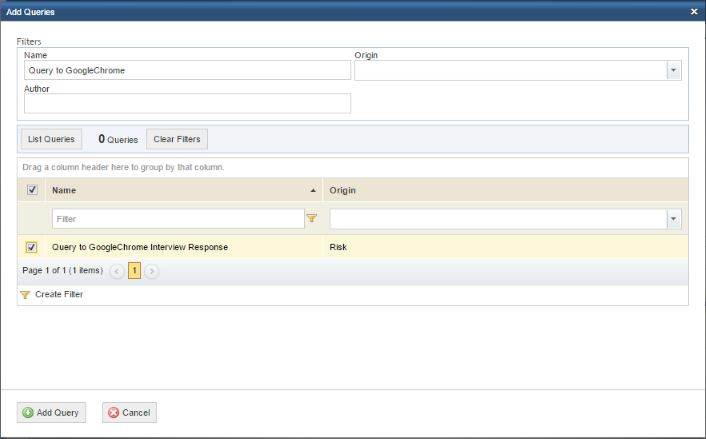
18. Select the queries to be added to the template in the window that appears and click Add Query (see figure below). Only queries that you have created will be available for selection. If you want to quit the operation, click Cancel.
Note 1: If a query used in a report template is edited, it will have to be inserted in the report again through Report Designer and imported to the system once more for its results to be displayed correctly.
Note 2: The Custom Objects option in the Origin field lists queries from the Events and Dispatch solutions.
19. Once a query is added, the Combine Filters checkbox next to it will be marked by default to combine the filters set for this query with any filters selected when generating the report based on this template. If you want to use only the filters configured for the query, unmark the Combine Filters checkbox.
Note: If filters for both queries and the report are set, make sure that these filters do not conflict with each other, as this can generate a report with empty results. For example, consider that a risk query selected as a data source for a report was filtered by Technology assets in the Queries section of the Risk module. Then, a filter for assets was set for the report when it was generated in the Organization module. In this case, only technology assets will be displayed in the report, due to the filters set in the query. If the Combine Filters checkbox is marked, the report’s filters will also be applied, and, if none of the assets selected in the filters for the report are Technology assets, the report will display no results.
20. To remove a query from the report template, mark the checkbox next to its name and click Remove Query.
21. To add SQL queries as data sources in the template, click Add SQL Queries in the SQL Queries tab.
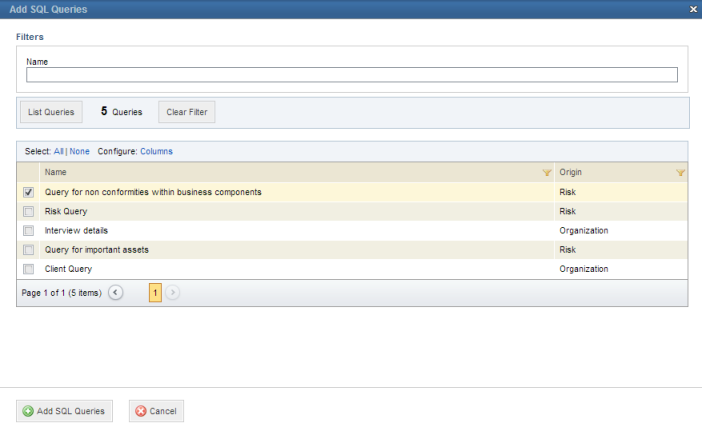
22. Select the queries to be added to the template in the window that appears and click Add SQL Query (see figure below). If you want to quit the operation, click Cancel.
23. To remove a query from the list, click Remove Query. To save the template, click Save. If you want to quit the operation, click Cancel.
The system displays a success message.
24. You can
include columns from SQL queries as filter options in the report template, which
will be available when generating the report. To select which columns will be
available as filter options, click Select Filters ( )
next to the SQL queries you have included in the template (see figure
below).
)
next to the SQL queries you have included in the template (see figure
below).
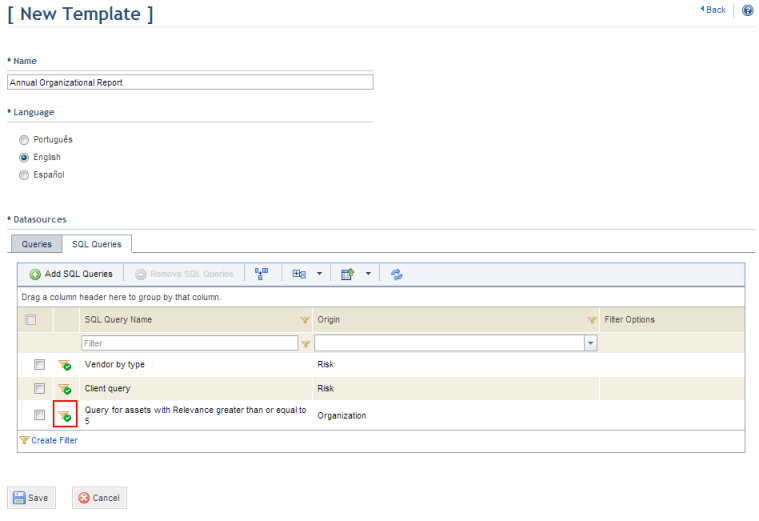
25. In the pop-up window that appears, mark the checkboxes next to the columns you want to add as filter options in the report and click Select Filters. If you want to quit the operation, click Cancel (see figure below).

The names of the columns you selected will be displayed next to the SQL query in the Filter Options column.
26. To save the template, click Save. If you want to quit the operation, click Cancel.
The system displays a success message.
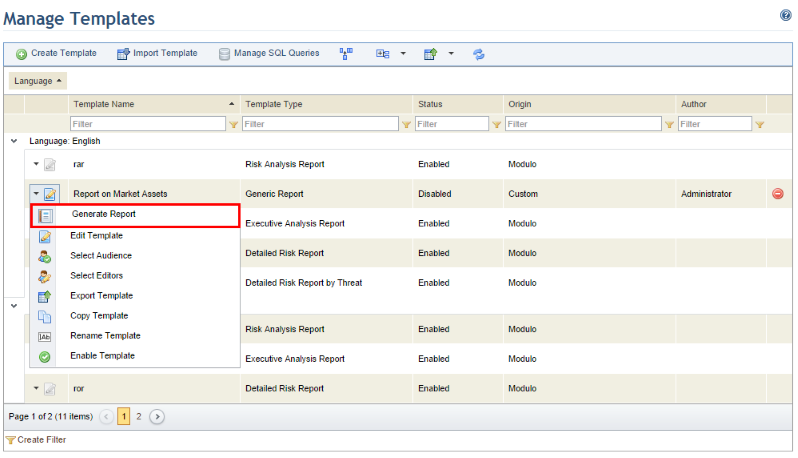
27. To generate a report, click Edit next to the generic report template you want to generate and then select Generate Report from the dropdown list that appears (see figure below). Note that only the templates that were previously enabled can be generated. Also note that only template authors and people or groups assigned as template editors can generate reports in this section.
28. The system loads the Generate Reports section, where you can set filters and generate the report. For more information on how to set filters and generate generic reports, see Chapter 3: Organization -> Organizational Risk Reports -> How to Generate a Generic or Organizational Risk Report.
29. Click Manage Templates from the Reports option on the menu to return to the Manage Templates section.
30. To make any changes to the template, click Edit next to the generic report template you want to edit and select the Edit option from the dropdown list that appears. Note that only the author of the template and any people or groups assigned as editors of the template will be able to edit it.
31. After editing the fields, click Save. If you want to quit the operation, click Cancel.
The system displays a success message.
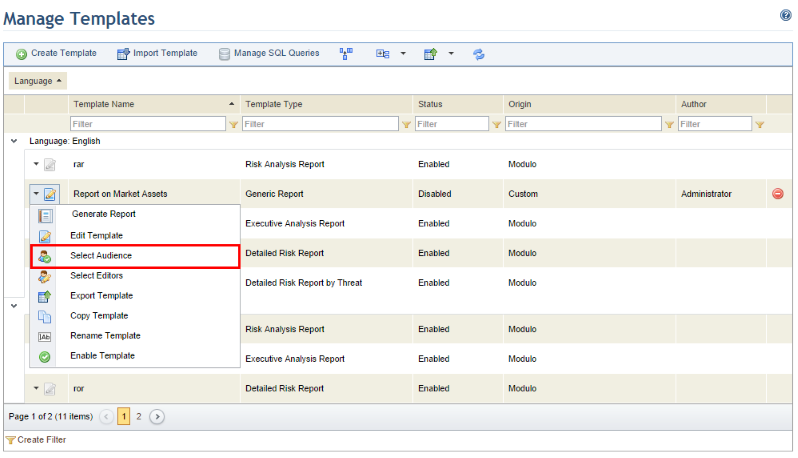
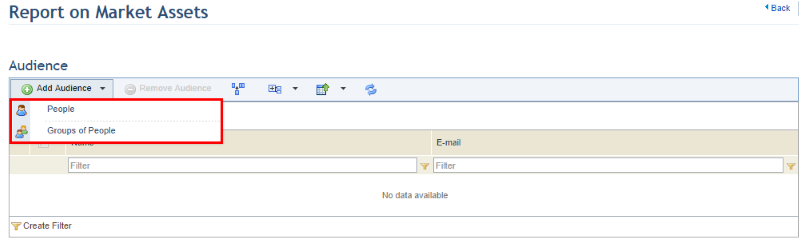
32. To include people or groups in the audience of a report template, click Edit and choose the Select Audience option (see figure below). The people and groups added will receive permission to generate reports based on this template in the Generate Reports section.
33. Click Add Audience and select People or Groups of People (see figure below).
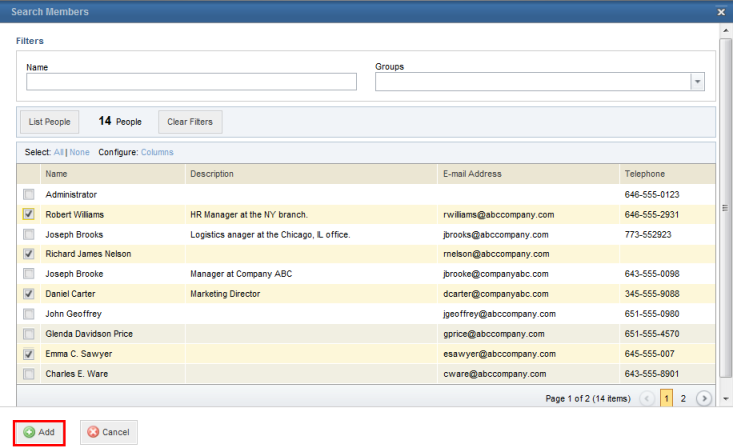
34. In the window that appears, select the people or groups of people you want to include in the audience of the report template and click Add (see figure below).
The system displays a success message.
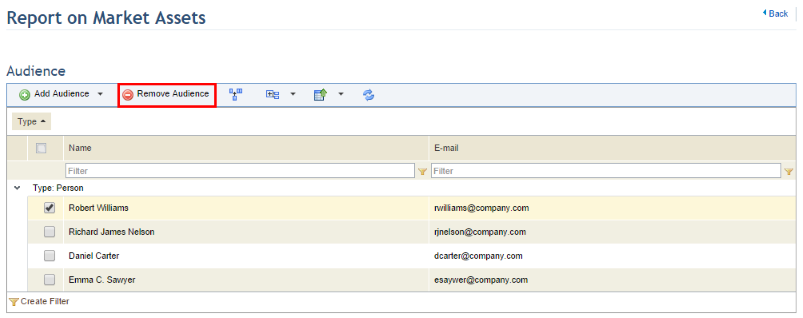
35. To remove a person or group from the audience, mark the checkboxes next to their names and click Remove Audience (see figure below).
The system displays a success message.
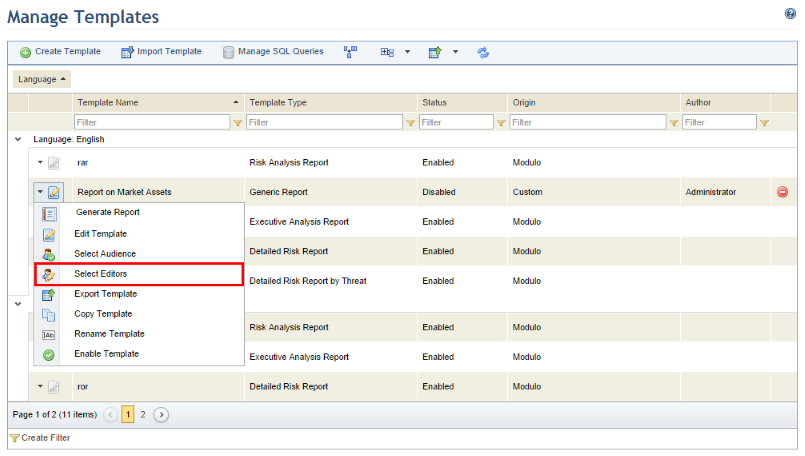
36. To assign people or groups of people as editors of a report template, click Edit next to the template and then click Select Editors (see figure below).
37. Click Add Editors and select People or Groups of People (see figure below).
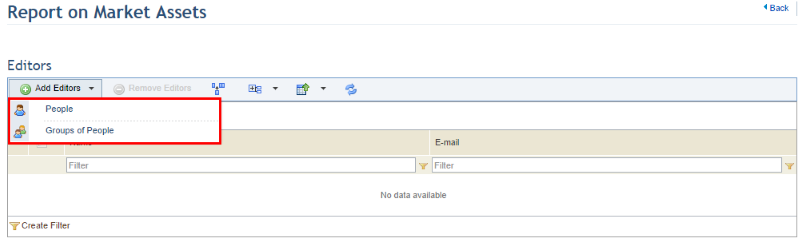
38. In the window that appears, select the people or groups of people that you want to assign as editors of the template and click Add (see figure below). These people and groups will receive permission to edit all properties of the template, as well as generate reports based on it in this section.
The system displays a success message.
39. To remove people or groups from the list of report editors, mark the checkboxes next to their names and click Remove Editors (see figure below).
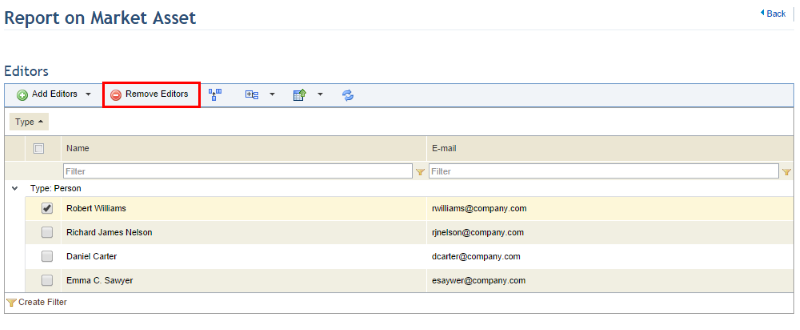
The system displays a success message.
Note: If the author of a report template is deleted from the system, the report template will also be deleted if no audience members or editors are assigned. Otherwise, the template will not be deleted and the word "(deleted)" will be displayed next to the name of the author.
40. To export a template so that you can begin editing it, click Edit next to the template you want to export and select Export Template from the dropdown list that appears.
41. In the dialog box that appears, click Save to export the report and save it to your computer so that it can be edited using Report Designer.
42. Open the exported template in Report Designer, make the necessary changes, and save the file to your computer. For details on obtaining, installing, and using the main features provided by Report Designer, see Report Designer -> Report Designer – Quick Guide.
43. To import the edited template back to the system so that it can be used, click Import Template.
The system displays the section where you can import edited templates.
44. Click Browse to locate the edited template.
45. In the window that appears, select the template to be imported and click Open.
46. Once selected, click Import Template to import the file (see figure below).
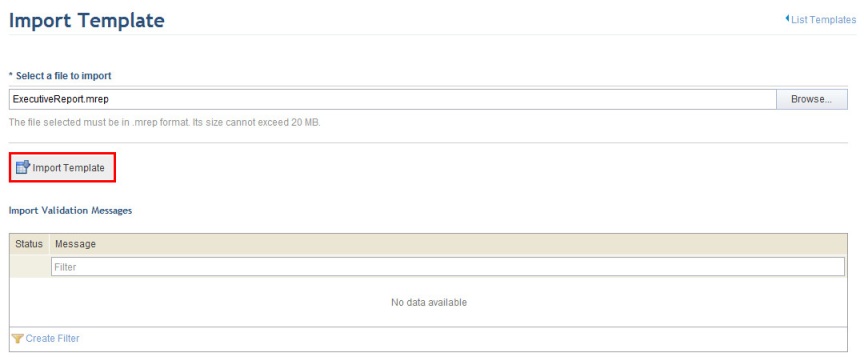
The system requests confirmation to import the template selected (see figure below).
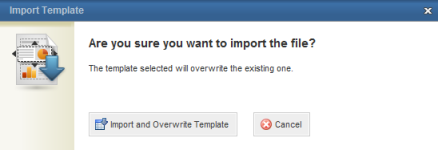
47. To confirm that you want to import the edited template and overwrite the older version, click Import and Overwrite Template. The original template will always be overwritten by the imported template, even if the name of the file is changed. If you want to quit the operation, click Cancel.
The system displays a success message confirming that the template was imported to the system, as well as a validation message and alerts, if any were found.
48. Click List Templates in the upper right corner of the screen to return to the Manage Templates section.
49. To copy a template, click Edit next to the template you want to copy and select Copy Template from the dropdown list.
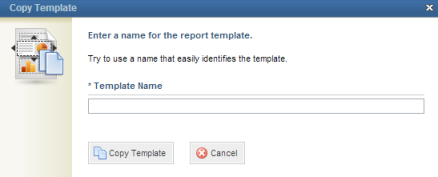
50. In the window that appears, enter a name for the new template using a maximum of 80 characters and click Copy Template to save the new version. If you want to quit the operation, click Cancel (see figure below). Note that you cannot create a template with a name that is already registered in the system.
The system displays a success message.
51. You can rename a template by clicking Edit next to it and selecting Rename Template from the dropdown list.
52. Make the
necessary changes and click Save ( ).
If you want to quit the operation, click Cancel (
).
If you want to quit the operation, click Cancel ( ).
).
The system displays a success message.
53. To enable a template so that it will be available in the Generate Reports section, click Edit next to it and select Enable Template.
The system displays a success message.
54. To disable a template for use in the system, click Edit and select Disable Template from the dropdown list. It will no longer be available in the Generate Reports section of this module.
The system displays a success message.
55. To delete a custom report template, click Delete next to it (see figure below).
The system requests confirmation of the deletion (see figure below).
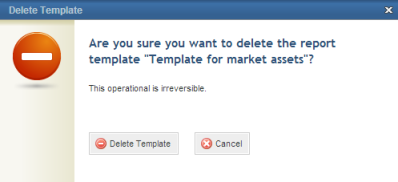
56. To confirm deletion, click Delete Template. If you want to quit the operation, click Cancel.
The system displays a success message.