 ) next to the module you want to edit
and select Edit Module (see figure below).
) next to the module you want to edit
and select Edit Module (see figure below).This topic explains how to edit, enable, and disable a custom module. When enabled, custom modules appear in the main system menu. Permission to access each module is granted automatically to its author and members of the Global Administrators profile. However, access can be granted manually to other users. For details, see Chapter 17: Administration -> Access Control.
1. Access the Administration module.
2. In the Customizations section, select Module Editor.
The system displays the list of custom modules registered in the system.
3.
Click Edit () next to the module you want to edit
and select Edit Module (see figure below).
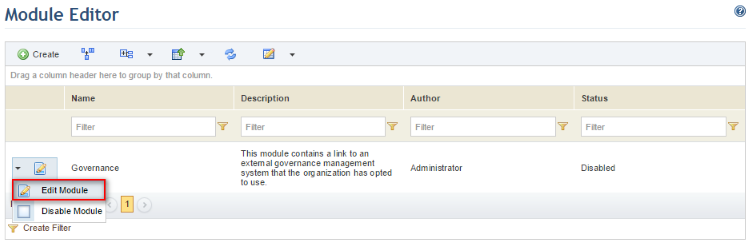
The system opens the module for editing.
4. Make the necessary changes in the Properties, Sections, Groupings, and Display Order tabs and click Save. If you want to quit the operation, click Cancel. For more information on the configurations available in these tabs, see Chapter 17: Administration -> Module Editor -> How to Create a Custom Module.
The system displays a success message. If the module is enabled, the changes will be reflected once the page is refreshed.
5. When finished, click List Custom Modules in the upper right corner to return to the list of custom modules.
6.
To enable the module, click Edit ()
next to its name and select Enable Module (see figure below).
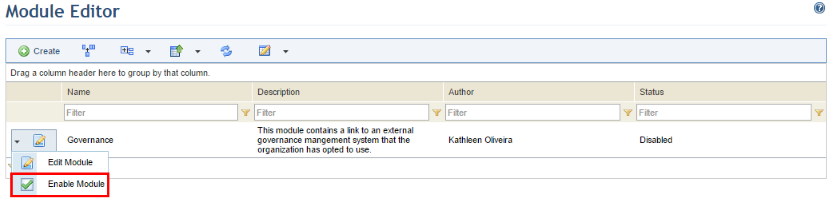
The system displays a success message and the module appears in the main system menu.
7.
To disable the module, click Edit ()
next to its name and select Disable Module.
The system displays a success message and the module no longer appears in the top bar menu.