The system includes a spreadsheet template in Excel format specially prepared to help you create compliance surveys offline. Preparing and editing surveys on a spreadsheet works similarly to how it is done in the system with some exceptions, detailed below.
For an overview of compliance surveys and details on how they work, see Chapter 8: Knowledge -> Surveys -> Overview of Surveys and Rules.
1. Access the Knowledge module.
2. In the Knowledge menu, click the Surveys option.
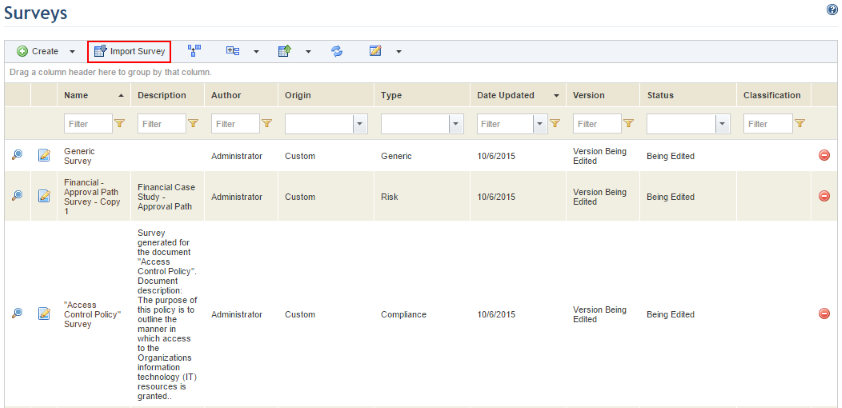
3. In the Surveys section, click Import Survey (see figure below).
4. In the Import Survey section, click Export Template (see figure below).
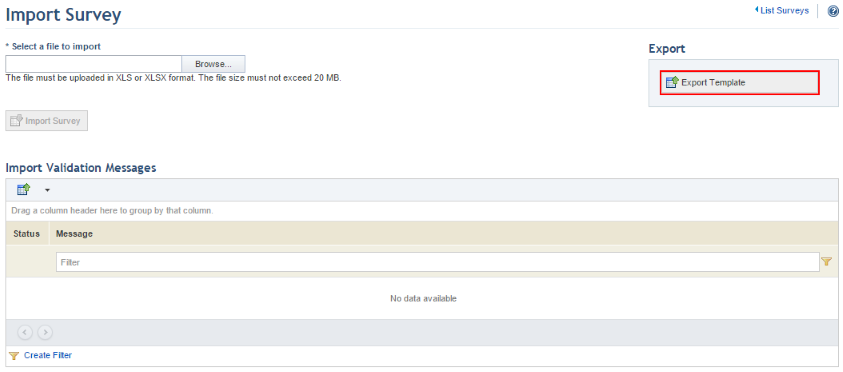
5. In the dialog box that appears, save the file to your computer and open it.
When the file opens, the import template is displayed in Microsoft Excel (see figure below).
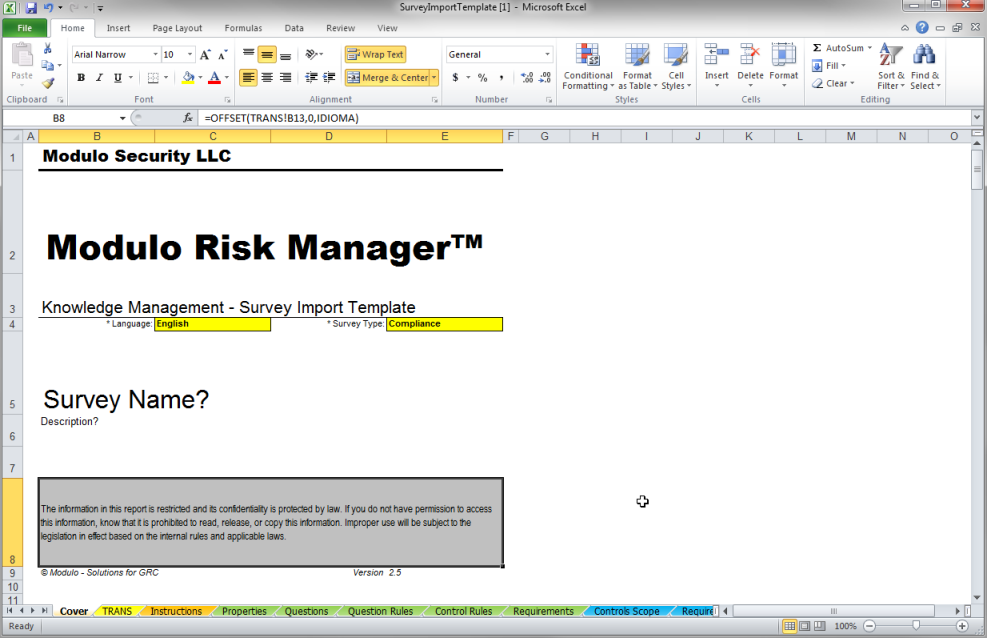
There are seven worksheets used for importing compliance surveys, listed below:
•Cover: where information on the survey is displayed, as well as where you can select the type of survey and the language for the spreadsheet. The survey name and description is automatically completed using information provided on the Properties worksheet.
•Instructions: where you can check the instructions provided on how to complete each field of each worksheet.
•Properties: where the survey properties can be entered, including its name, description, the person responsible for it, and its author.
•Questions: where the survey’s questions can be created.
•Question Rules: where you can create rules that determine which questions will be visible or not depending on answers provided to other questions.
•Requirements: where you can associate compliance questions with requirements from authoritative documents.
•Requirements Scope: where you can view the list of requirements from authoritative documents associated with the survey. This worksheet is completed automatically by the system only when an existing compliance survey is exported from the system to be edited on the spreadsheet.
Note: The spreadsheet fields are case-sensitive.
6. On the Cover worksheet, select the language for the template from the Language field.
7. On the Cover worksheet, select the Compliance option from the Type of Survey field. To prevent inconsistencies, the language this option is selected in must be compatible with the language selected in the previous step.
8. Click the Properties worksheet to begin specifying the survey’s properties (see figure below).
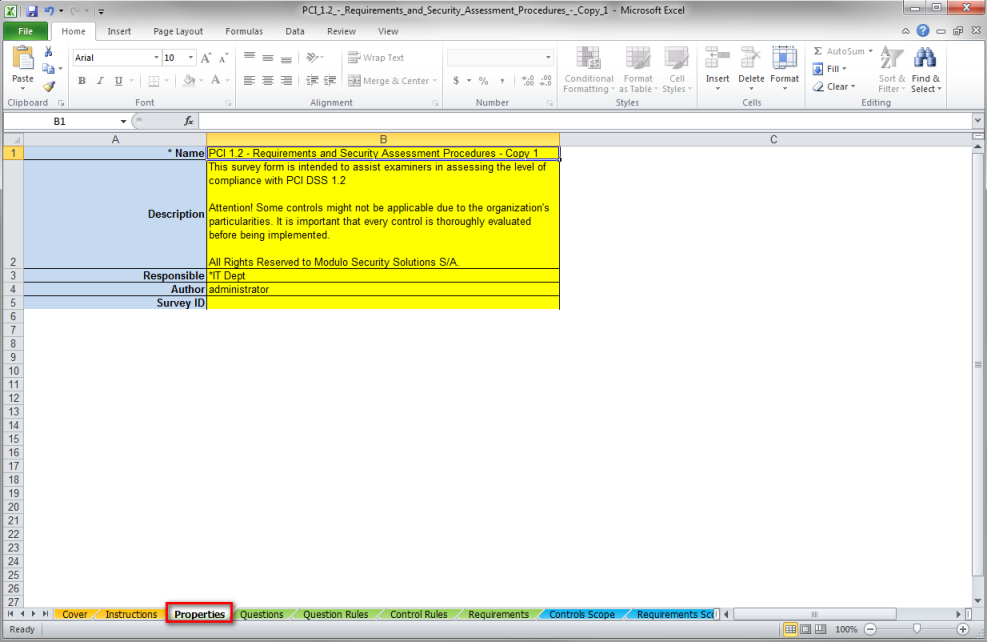
The fields included in this worksheet and information on filling them out is listed in the table below:
|
Field |
Instructions |
|
*Name |
Enter a name that will be used to identify the survey in the system. This field accepts 2 to 300 characters. |
|
Description |
Enter information that will be used to describe the survey in the system and help identify its purpose. This field accepts a maximum of 4,000 characters. |
|
Responsible |
This field should be completed with a username or name of a group registered in the system who will be assigned as responsible for the survey. Group names should be preceded by an asterisk and a space (for example: * financedept). If this field is left blank or if the content entered is invalid, the system will assign the author of the survey as the person responsible.
This role is responsible for keeping the compliance survey up to date and receives permission to view and edit the surveys to which they were assigned. Note that this person or group must be included in the list of restrictions for this role in the Role Restrictions section of the Administration module, and must also be included in the Knowledge Module Users profile to gain access to the module. |
|
Author |
This field should be completed with the username of a person registered in the system who will be assigned as responsible for the survey. If this field is left blank or if the content entered is invalid, the system will assign the person who imported the survey as its author.
Note that this person must be included in the list of restrictions for this role in the Role Restrictions section of the Administration module, and must also be included in the Knowledge Module Users profile to gain access to the module. |
|
Survey ID |
This field is used to identify surveys in the system. It does not require completion. |
9. Click the Questions worksheet to begin creating questions for the survey (see figure below). Questions and pages cannot be rearranged on this spreadsheet, and the system will consider them in the order they appear.
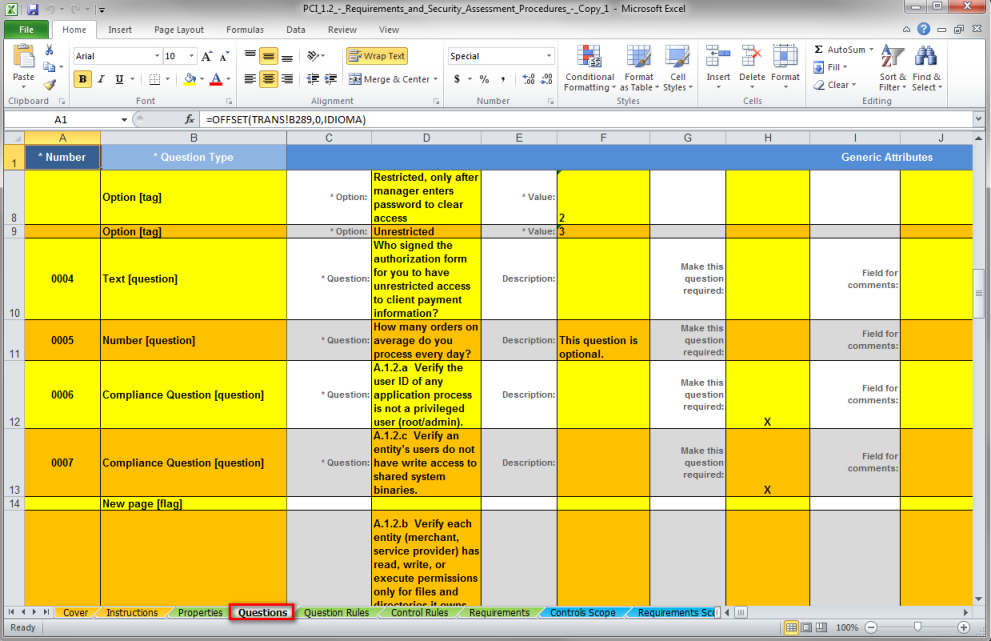
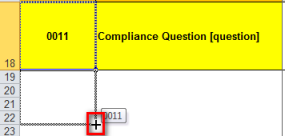
Note 1: To create lines to register additional questions or items, enter the next sequential identification number in the Number column or drag the lower left corner of the last editable cell until you reach the desired number of new lines (see figure below).
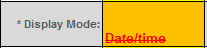
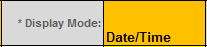
Note 2: When you insert text in cells that are configured to accept only a certain value, this text is displayed in red with strikethrough. Once finished, it will remain so if it is an invalid value. If valid, the spreadsheet will change the text to black and remove the strikethrough (see figures below).
On this spreadsheet, some fields are generic properties applicable to all types of questions while others only refer to specific types of questions. The tables below explain how to fill out each field in the spreadsheet for each type of question, item, or response option you are creating.
|
Field |
Description |
Applicable Question/Item Type |
|
*Number |
This field should be completed with a unique, sequential number to identify the question or item image or description. The sequence begins with the number 1. |
All |
|
*Question Type |
•Select Compliance Question to create a question that can be associated with requirements from authoritative documents to automatically generate compliance metrics according to the response selected. Response options for this type of question are provided by the response set selected during a project. •Select Attachment from the drop-down list that appears in this field to create a question that allows interviewees to attach one or more files as a response. •Select Text to create a question that obtains responses as free text entered by interviewees on a single line or on multiple lines, with an optional format mask. •Select Number to will create a question that obtains responses in integers, real numbers, or monetary values. •Select Date/Time to create a question that obtains responses as dates, times, or dates and times. •Select List of Options to create a question that offers a list of possible responses for interviewees and reviewers to choose from, which may be single answers (combo box or radio button) or multiple answers (checkbox). •Select Option to create a response option for a List of Options question. •Select Image to include an image, such as one showing the theme of the survey. •Select Description to include a description, introduction, or instructions for the survey in HTML or plain text. |
All |
|
*Question |
Enter the text for the question. This field accepts a maximum of 4,000 characters. |
All |
|
Description |
Enter the description for the question, which will appear as free text in multiple lines below the question itself and is used, for example, to provide guidelines for the interviewee on how to answer it. This field accepts a maximum of 4,000 characters. |
All |
|
Make this question required |
Indicate whether or not the question should be required. To enable this function, enter "x" in the field. |
All |
|
Field for comments |
Indicate whether or not you want an additional field to be created for comments. To enable it, enter "x" in the field. Rules can be created to determine whether the comments will be required. |
All |
|
Hide question number |
Indicate whether or not you want to hide the question number from interviewees and reviewers. To enable this function, enter "x" in the field. |
All |
|
Field for attachments |
Indicate whether you want to add an additional field to allow users to attach files to a question as evidence. To enable it, enter "x" in the field. Rules can be created to determine whether attachments will be required. |
All |
|
Require attachments |
Indicate whether you want attachments to be required. To enable this function, enter "x" in the field. |
All |
|
Hint |
Enter explanatory text to help interviewees answer the question using up to 300 characters. This text will appear in a help button next to the question. |
All |
|
Maximum file size |
Indicate the maximum file size allowed. This number should be indicated in bytes (consider 1 MB as equal to 1,000,000) with a value between 1 and 20,000,000. |
Attachment |
|
Maximum number of files |
Indicate the maximum number of files that can be attached as a response to the question. This value may vary between 1 and 10. |
Attachment |
|
File extensions allowed |
Indicate which file extensions will be accepted. These extensions should be separated by commas. For example: txt,pdf,jpg,doc,etc. |
Attachment |
|
Minimum number of characters |
Specify the minimum number of characters required to answer the question. This value may vary between 1 and 2147483647. |
Text |
|
Maximum number of characters |
Specify the maximum value of characters accepted as a response to this question. This value may vary between 1 and 2147483647. |
Text |
|
Mask |
If selected, enter the format mask for the field. (For details on creating a format mask, see Appendix -> Masks -> Format Masks in Surveys.) |
Text |
|
Multi-lines |
Indicate if you want to enable more than one line for interviewees to answer the question. To enable this function, enter "x" in the field. |
Text |
|
*Display mode |
Indicate the format for the value entered as a response to the question by completing the field with one of the following: •Integers •Real number •Monetary value These must be entered precisely as indicated above to be considered valid. |
Number |
|
Minimum value |
Indicate the minimum value required to answer the question. This value may vary between 1 and 2147483647. |
Number |
|
Maximum value |
Indicate the maximum value that will be accepted as a response to the question. This value may vary between 1 and 2147483647. |
Number |
|
*Display mode |
Indicate the format for the value entered as a response to the question by completing the field with one of the following: •Date •Date/Time •Time These must be entered precisely as indicated above to be considered valid. |
Date/Time |
|
*Display mode |
Indicate if only a single answer will be accepted as a response to the question from the list of options provided (combo box or radio button) or if more than one can be selected (checkbox). This is indicated by entering one of the following: •Combo Box •Radio Button •Check Box These must be entered precisely as indicated above to be considered valid. |
List of Options |
|
*Option |
Enter the option that will be displayed to interviewees/reviewers as a possible response to the question. For example: "Yes", "Sometimes", "Only when requested", etc. This field accepts a maximum of 500 characters. |
Options for List of Options questions |
|
*Value |
Attribute a value to the response option created. This value will be used to refer to the option when creating control rules and question rules. This field accepts a maximum of 100 alphanumeric characters. We suggest using sequential, numeric values to avoid errors. |
Options for List of Options questions |
|
Require comment |
Mark an "x" in this field so that the comment field enabled for this question is required if the option being created is selected. |
Options for List of Options questions |
|
Require attachment |
Mark an "x" in this field so that the attachment field enabled for this question is required if the option being created is selected. |
Options for List of Options questions |
|
Select an image |
Indicate the URL of the image to be included in the survey. The file the URL points to should be in JPG, PNG, BMP, or GIF format and must not exceed 1 MB. |
Image |
|
Image position |
Indicate the position of the image in the survey by completing this field with one of the following •Left •Center •Right These must be entered precisely as indicated above to be considered valid. For security reasons this field will not show the URL when existing surveys are exported. If no alterations are made to the field, the image already included will appear in the survey when it is imported back to the system. |
Image |
|
Text |
Enter the description, introduction, or instructions for the survey. This field accepts a maximum of 4,000 characters and it will accept variables. |
Description |
Note: Variables inserted to the text of a Description item will be automatically replaced by the system with the corresponding information. For example, if the #interviewee_name# variable is inserted, the system will replace the variable with the name of the interviewee who receives the final interview based on the survey. The available variables and their descriptions are listed in the table below:
|
Variable |
Description |
|
#interviewee_name# |
Name of the interviewee. |
|
#project_code# |
Project code for which the interview is being used. |
|
#project_name# |
Name of the project for which the interview is being used. |
|
#project_type# |
Type of project for which the interview is being used (risk or compliance). |
|
#project_description# |
Description of the project for which the interview is being used. |
|
#project_leader# |
Leader of the project for which the interview is being used. |
|
#sent_on# |
Date the interview was sent. |
|
#scope_item_caption# |
Asset, business component, or person associated with the interview. |
10. To create a new page, select New page from the Question Type column and do not complete any other fields on the line. If no pages are created, the entire survey will be created on a single page.
11. To delete a page, question, item, or option, simply delete the corresponding line. Keep in mind that the numbering will not reset automatically and must be updated manually.
12. When finished creating questions for the survey, click the Questions Rules worksheet to begin creating rules for the survey’s questions (see figure below). These rules allow certain questions to be hidden or displayed depending on answers provided to other questions.
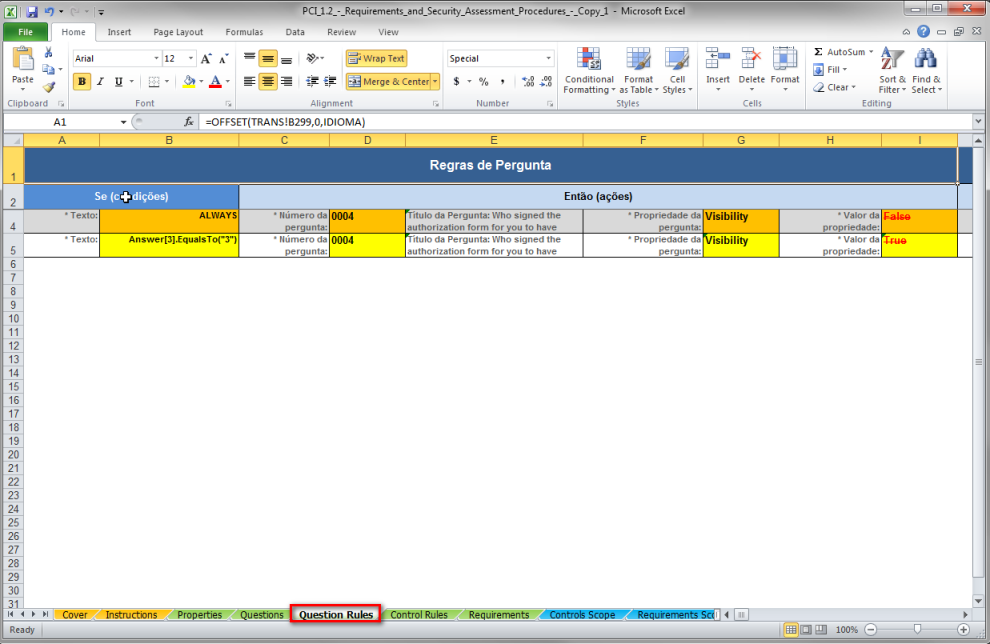
Listed below are explanations for each field needed to create a question rule:
|
Field |
Description |
|
*Text |
Enter the condition to be evaluated as true or false. This field should be completed with a valid condition that refers to questions registered on the Questions worksheet. For example: Answer[6].EqualsTo(“1”), Answer[3].Contains(“1”,”2”), or ALWAYS. |
|
*Question Number |
Enter the number of the question that will be affected if the condition is evaluated to be true. The question will appear in the adjacent cell once a question number is entered. |
|
*Question Property |
Specify the property of the question that will be affected if the condition is evaluated to be true. For question rules, the only property will be the question’s visibility. |
|
*Property Value |
Select the modification to be made to the property selected if the condition is evaluated to be true. For the question to be visible if the condition is true, select “True” from the drop-down list. Otherwise, select “False”. |
|
* Order of Execution |
Specify the order the system should follow to execute the rule by entering a value from 1 (executed first) to 100 (executed last). This prevents rules from conflicting in the event of contradictions. |
13. To delete a rule, simply delete the corresponding line.
14. When finished specifying question rules, click the Requirements worksheet to create associations between compliance questions and requirements from authoritative documents previously published in the system (see figure below).
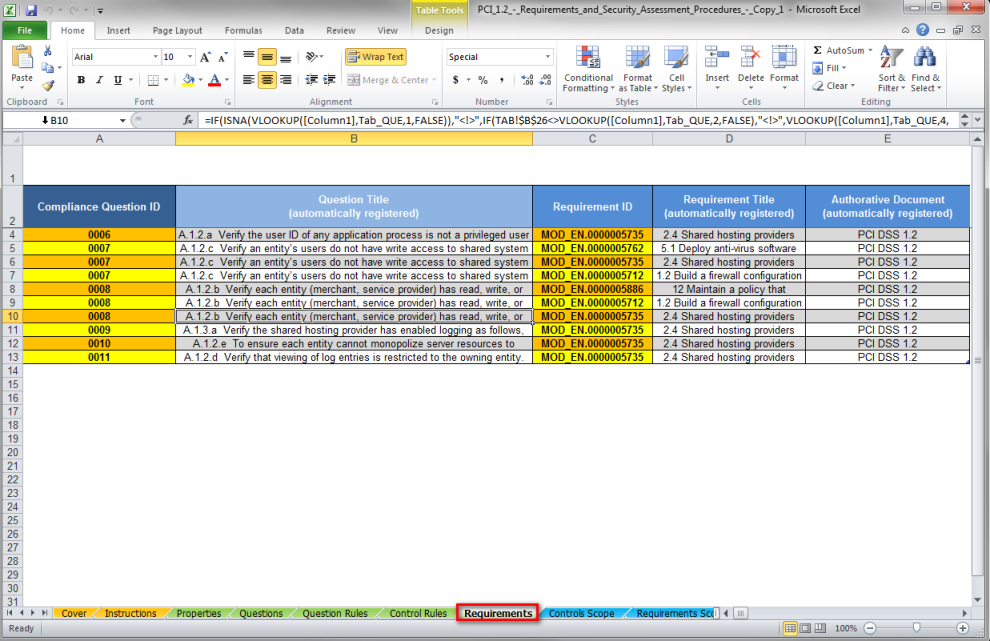
Listed below are explanations for each field needed to create associations between compliance questions and requirements from one or more authoritative documents:
|
Field |
Description |
|
*Compliance Question Number |
Enter the number of the compliance question previously registered on the Questions worksheet to be associated with a requirement. |
|
Question |
Once a question number is entered in the previous field, the question itself is automatically entered in this field. |
|
*Requirement ID |
Enter the ID for the requirement with which you want to associate the question.
For existing surveys that were exported, the associated requirements can be referred to on the Requirements Scope worksheet. |
|
Requirement Title |
The title of the requirement associated with the question is automatically completed by the system when the survey is imported. |
|
Authoritative Document |
The name of the authoritative document containing the associated required is displayed here. This field is completed automatically by the system when the survey is imported. |
15. Once finished creating all the questions and rules, save the file to your computer.
Note: The new survey must be imported to the system and published before it will be available for use. For details on how to import a survey, see Chapter 8: Knowledge -> Surveys -> Importing Surveys. For details on publishing surveys, see Chapter 8: Knowledge -> Surveys -> Publishing Surveys.