Cross-references allow users to indicate which requirements from an authoritative document relate to requirements from other authoritative documents. These associations constitute the set of cross-references registered in the system, which can be viewed by generating the Cross-Reference Report.
Most of the time, these relationships are not coincidences, since an authoritative document may be a categorization of requirements very different from other documents even though they have themes in common.
This information may assist in the planning of complementary analyses (through more in-depth studies on a section of the authoritative document under analysis, for example), given that other authoritative documents may go into further details on a certain set of requirements. Queries can also be created to view analysis results for requirements that are cross-referenced with other requirements that were analyzed in compliance projects.
Modulo provides a number of cross-references between requirements with the system installation, though you can also create your own. For details on managing cross-references, see Chapter 8: Knowledge -> Compliance Knowledge -> Authoritative Documents -> Creating and Editing Authoritative Documents and Cross-References -> How to Manage Cross-References between Requirements. To import cross-references, see Chapter 8: Knowledge -> Compliance Knowledge -> Authoritative Documents -> Importing Cross-References.
Note that the Cross-Reference Report can only be generated to show the cross-references between two authoritative documents at a time.
1. Access the Knowledge module.
2. Select Authoritative Documents from the Compliance Knowledge option on the menu.
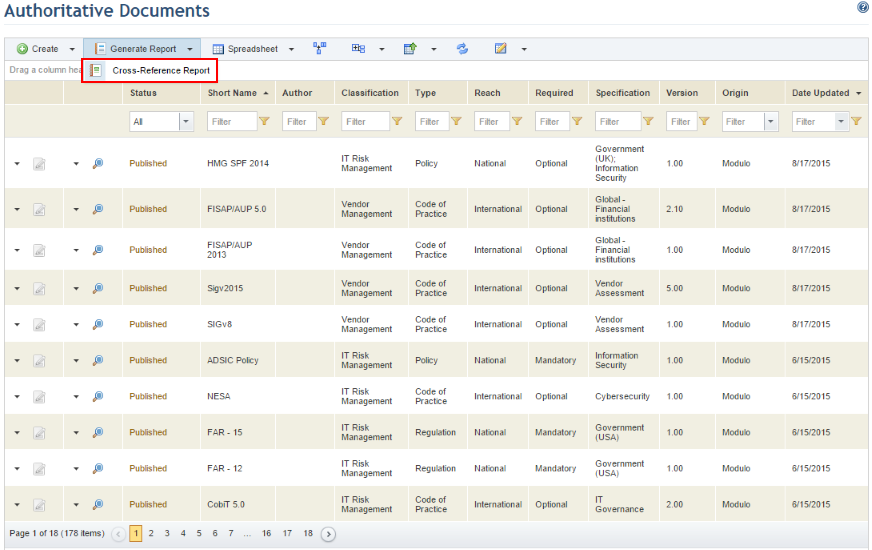
3. In the Authoritative Documents section, click Generate Report and select the Cross-Reference Report option that appears from the drop-down list (see figure below).
The system displays a screen where you can select the pair of documents whose requirements were cross-referenced to generate the report.
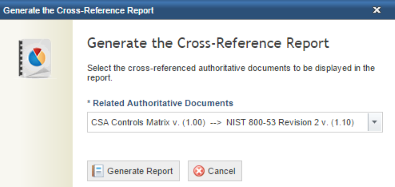
4. Select a pair of previously cross-referenced authoritative documents and click Generate Report (see figure below). If you want to quit the operation, click Cancel.
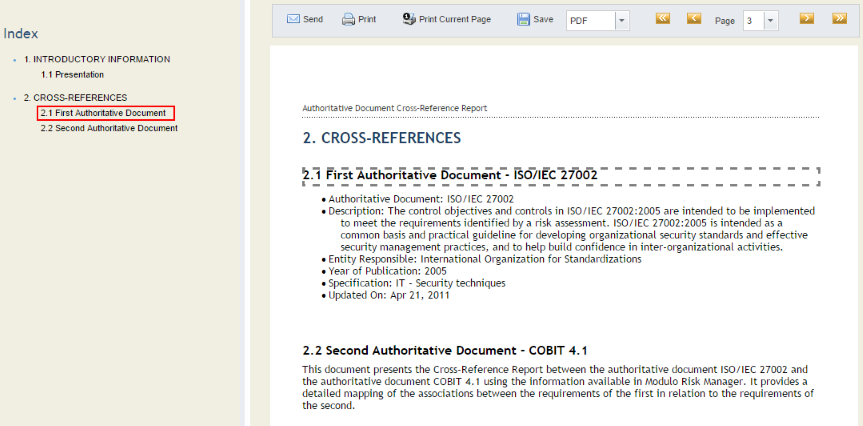
The report will load in a new window, showing a table of cross-references between requirements from the pair of authoritative documents selected (see figure below).
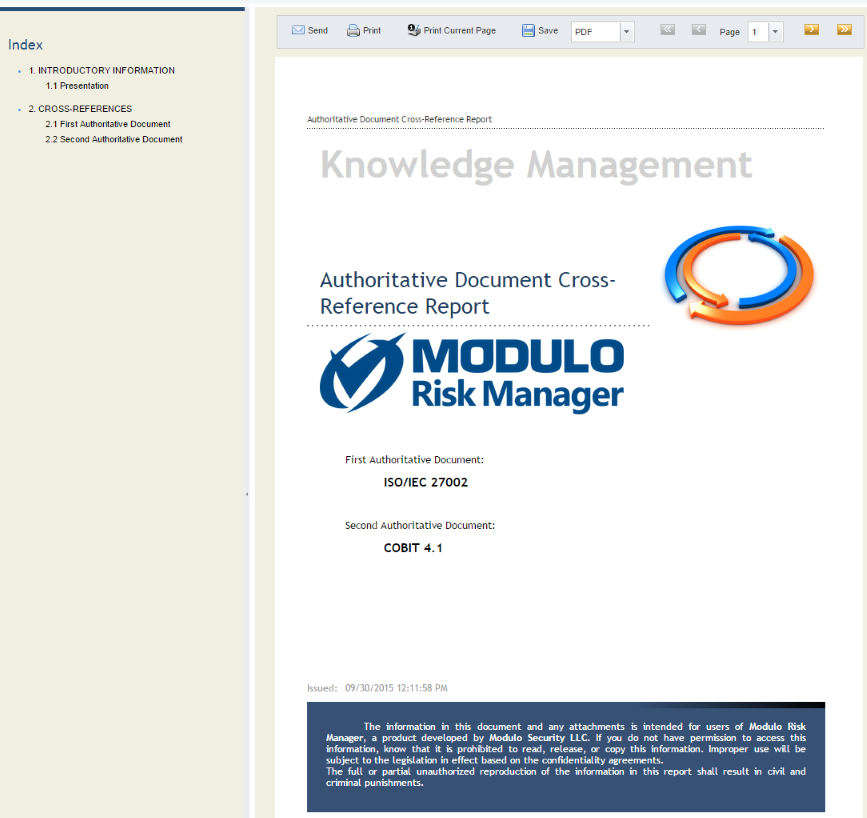
Note: Reports are best viewed in PDF format.
5. All reports provided by the system include a menu on top to facilitate navigation. If you want to send the report via e-mail, click Send. The message template for sending reports and the message service must have been configured correctly in the Administration module.
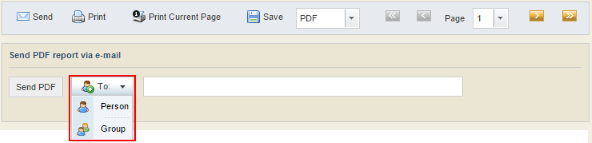
The system displays an area where you can specify recipients for the e-mail. You can insert e-mail addresses by clicking To (see figure below) or manually, separating each address by a semicolon. The system allows up to 30 e-mail addresses to be selected at a time.
If, for example, you selected Person, the system displays a window where you can select the people to which you want to send the report (see figure below).
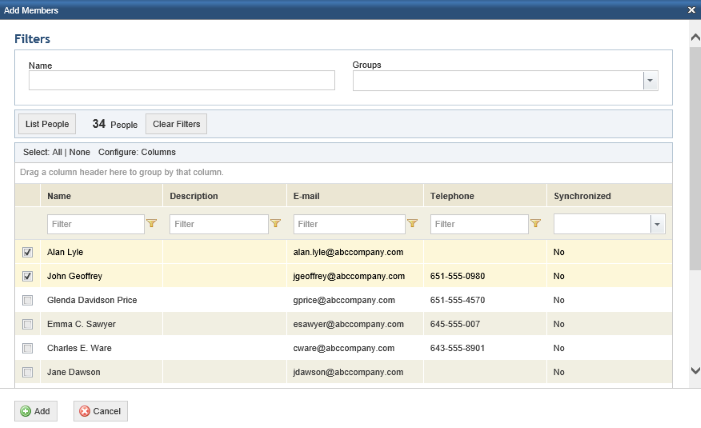
6. Once finished specifying recipients, click Send PDF (see figure below).

The system displays a success message.
7. To print a full report, click Print, or select Print Current Page to only print the page you are viewing.

8. To save a report, select either PDF or RTF as the format from the drop-down list and click Save.
9.
The navigation buttons from this menu can be used to browse through the report’s
pages. Click First Page ( ) to go to the beginning of the
report; click Previous Page (
) to go to the beginning of the
report; click Previous Page ( ) to go to the previous page; click
Next Page (
) to go to the previous page; click
Next Page ( ) to go to the next page in the
report; and click Last Page (
) to go to the next page in the
report; and click Last Page ( ) to skip to the end.
10. To navigate the report pages, you can also select the page from the drop-down list from the Page field.
11. You can also browse the report by clicking the name of a topic from the table of contents on the left (see figure below).
12. When finished viewing the report, click Close in the upper right corner of the screen. This report can be generated again at any time if you want to view any new associations created.