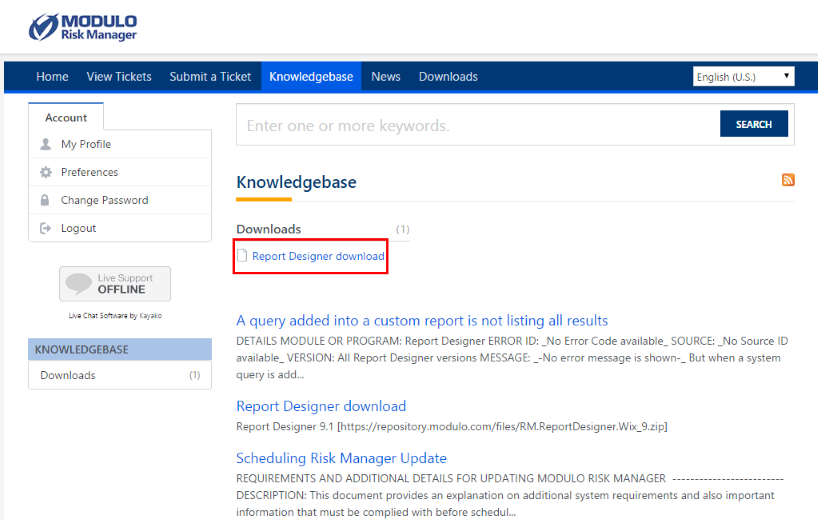
1. Access the Online Support portal. This can be done through the system itself, in the Administration module. For details on creating an account to access Online Support, see Chapter 17: Administration -> Online Support.
2. On the Online Support homepage, select Knowledgebase and click Report Designer download (see figure below).

3. Click the link that appears to download the zipped file with the latest version of Report Designer.
Note: Your browser security settings might block the download process. In this case, you will have to allow the operation manually.
4. When finished, extract the file and open the installation wizard by double-clicking the file named RM.ReportDesigner.Wix.msi.
Note: Microsoft .NET Framework 4 must be installed on your machine before you can install Report Designer. You can download it at the following link:
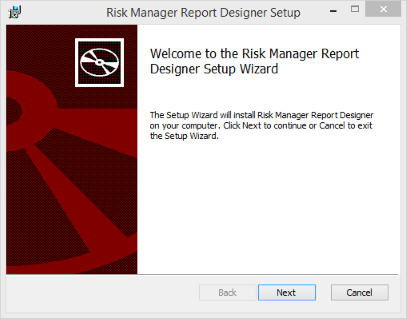
5. When the file is opened, the installation wizard will appear (see figure below). Click Next to proceed with the installation or click Cancel to quit.
6. Read the terms in the License Agreement and, if you accept, mark the I accept the terms in the License Agreement checkbox (see figure below).
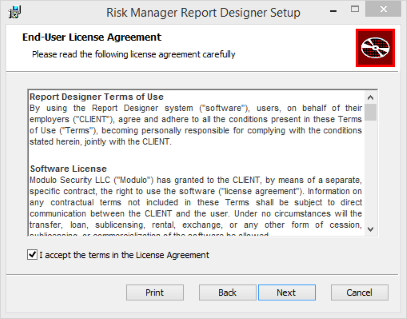
7. Click Next to proceed with the installation. Optionally, you can click Print to print a copy of the agreement. If you want to quit the operation, click Cancel.
8. Select the destination folder for Report Designer. By default, this folder is located in C:\Program Files (86x)\Modulo\ (see figure below).
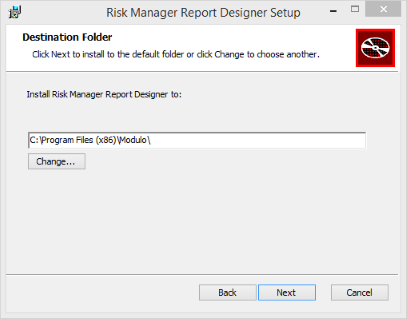
9. Click Next to proceed with the installation. If you want to change the destination folder, click Change… and select another folder. If you want to quit the operation, click Cancel.
10. Click Install to install the program.
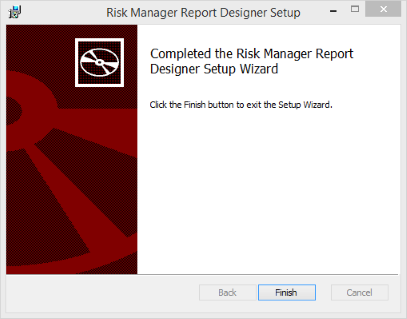
11. When the installation is complete, click Finish (see figure below).
