This topic explains how to view and edit the locations of events, available through the Workflow module.
For events that treat a single non-implemented control or non-compliance, each event will automatically inherit the location of its related asset. Consolidated events created to treat multiple non-implemented controls or non-compliances, on the other hand, inherit their location from the first asset related to a non-implemented control or non-compliance that has a specified location (assets in this case are considered in alphabetical order). If the asset related to the non-implemented control or non-compliance does not have a specified location, the event will inherit its location from the perimeter to which the asset belongs. If this perimeter does not have a location specified for it, the event’s location will be the system default, which varies according to the language in which the system was installed: Washington D.C. for English and Spanish, and Brasília for Portuguese. Note that changing the location of the asset or perimeter will not update the location of the event.
By default, the location suggested for child events is that of their parent event, which you can accept or edit. If no location was specified for the parent event, the location of its child events will be the system default, according to the language in which it was installed.
An internet connection is required to display maps, and the option to display them must be enabled in the Display Options section of the Administration module. The map and address search providers must be preconfigured in the system configuration file (web.config). Keep in mind that some providers require a key or access code that is available only to those who purchase their license. It is the user’s responsibility to acquire it.
1. Access the Workflow module.
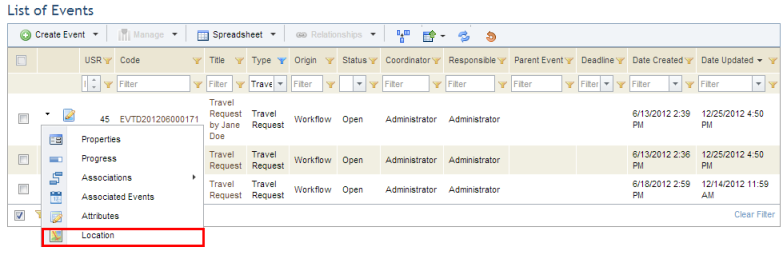
2. In the Events section, click Edit next to the event whose location you want to edit and select Location from the drop-down list that appears (see figure below).
The system displays the location registered for the event.
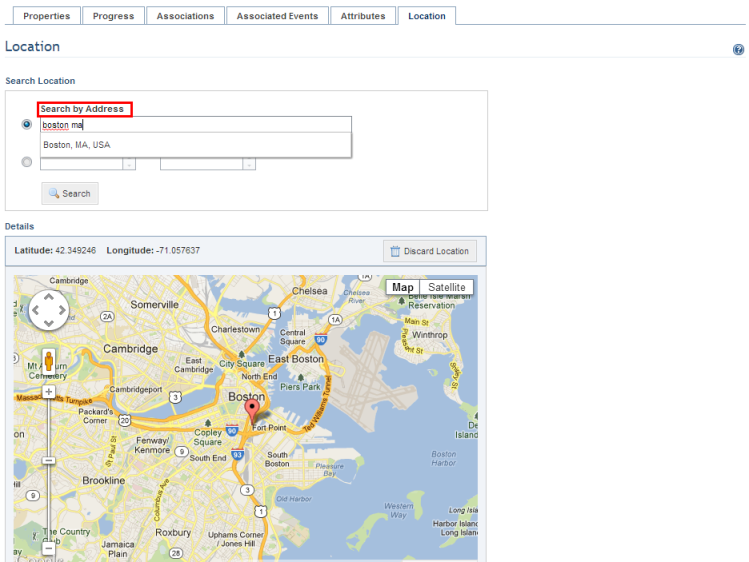
3. If you want to search the location by address, select the Search by Address option and enter the address information where the event is taking place in the selected field.
4. Click the correct option that appears on the dropdown menu. The latitude and longitude appear by default on the top part of the map (see figure below).
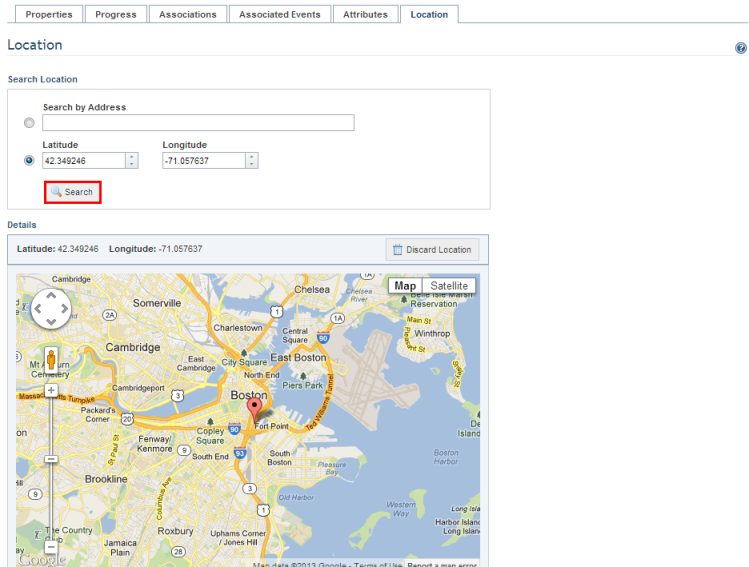
5. If you want to search the location by coordinates, select the Latitude Longitude option.
6. In the Latitude field, enter the latitude of the location where the event is taking place using a number between -90 and 90 with up to 6 decimal places.
7. In the Longitude field, enter the longitude of the location where event is taking place using a number between -180 and 180 with up to 6 decimal places.
8. Click Search to view the coordinates entered in the Latitude and Longitude fields (see figure below).
9. In the Description field, enter any pertinent information on the location of the event.
Note: Another way to indicate the location of an event is by dragging the pin to the desired location. The corresponding coordinates will automatically be updated.
10. When finished, click Save. If you want to quit the operation, click Cancel.
The system requests confirmation to save the event location (see figure below).
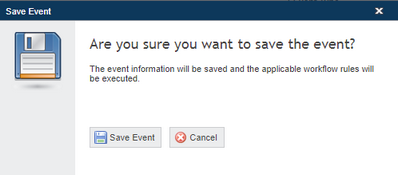
11. Click Save Event to confirm. If you want to quit the operation, click Cancel.
The system displays a success message and executes the applicable workflow rules, if enabled.
Note: For the location to be displayed on maps in this section, the option to view maps must be enabled. For details on how to enable maps, see Chapter 17: Administration -> Customizations -> Display Options. If there is no internet connection, an alert is displayed and the map will not be shown.