This section explains how to use the main tools provided by Report Designer to edit a report template.
This program works similarly to a standard text and layout editor and allows report templates to be customized according to your organization’s needs. You can then select these customized templates to generate reports used throughout the system. Text, images, layouts, cover pages and tables of content are a few examples of what can be adjusted or created using this program.
Once downloaded and installed, you can open the program and begin editing templates. The program will only recognize templates exported from the system that use the *.mrep file extension. For details on exporting templates so they can be edited, see Chapter 3: Organization -> Organizational Reports -> How to Manage Generic Report Templates, Chapter 5: Risk -> Risk Reports -> How to Manage Risk Report Templates and Chapter 6: Compliance -> Compliance Reports -> How to Manage Compliance Report Templates.
1. Click the Report Designer shortcut or click the executable file RM.ReportDesigner located in the installation folder to open the program.
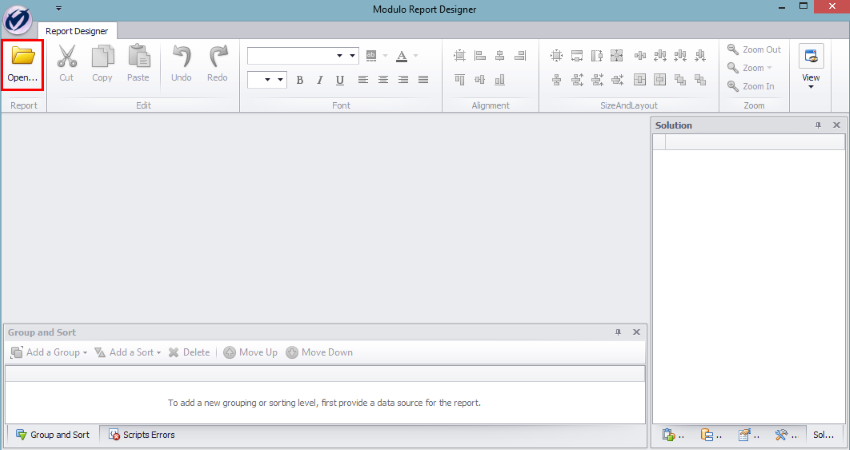
2. The program opens with its main features disabled. To enable them and begin editing a template, click Open in the upper left corner of the program (see figure below).
The program opens a window where you can browse for .mrep templates previously exported from the system (see figure below).
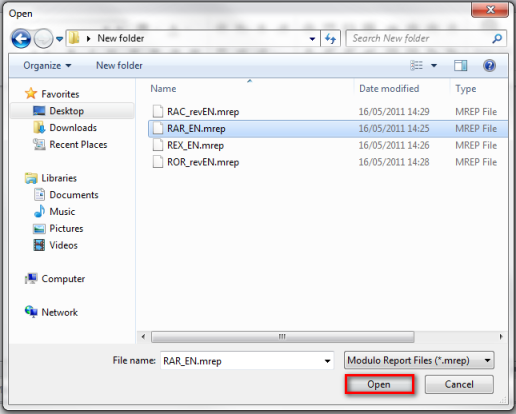
3. Select the template you want to open and click Open.
4.
Click the arrows (  ) next to the template’s name in the
Solution window to locate the page to be edited (see figure below).
) next to the template’s name in the
Solution window to locate the page to be edited (see figure below).
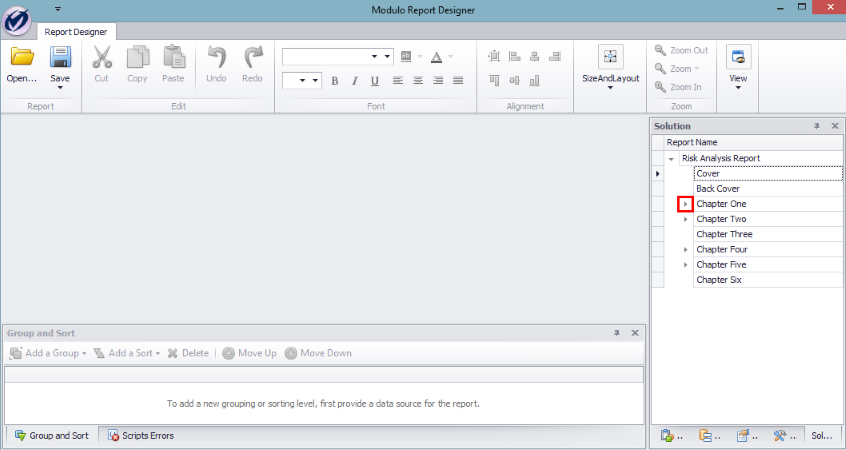
5. Double-click the name of the page you want to edit to open it. Note that the editing tools previously disabled when the program was opened will now be enabled.
The page selected loads so that you can begin editing (see figure below).
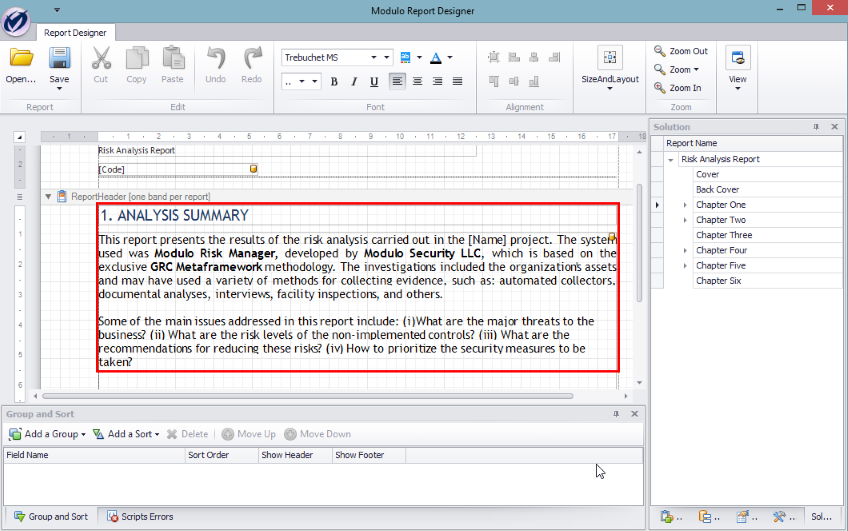
6. To edit existing text on the page, double-click the text box containing the text you want to edit.
7. When finished editing, click outside the text box to store the changes.
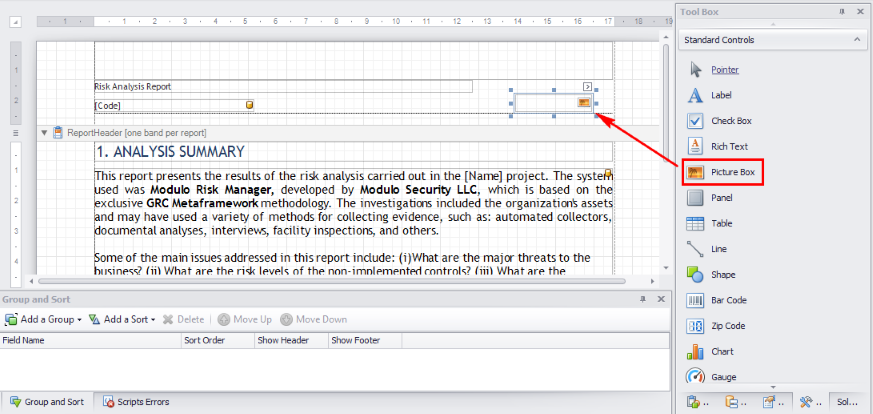
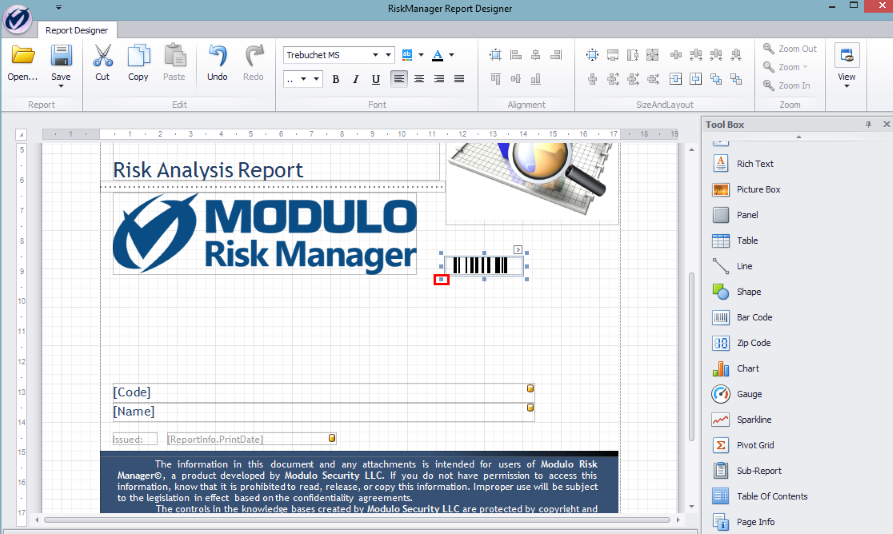
8. In the Tool Box window, you can add various elements to the report, including text, images, forms, tables, charts, and labels by dragging the element selected to the page (see figure below).
9. If the element added does not fit on the page, the program will alert you by highlighting the problematic area in red (see figure below). This occurs, for example, when resizing or moving any element. Follow the grid lines to be sure the elements will fit and be displayed properly.
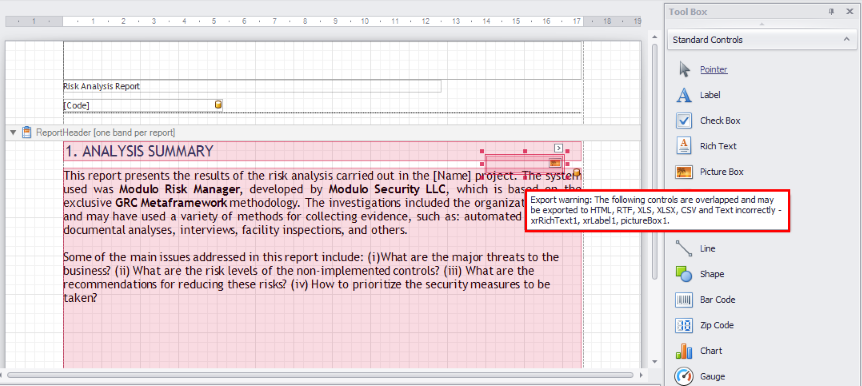
Note: The program will not indicate when you have exceeded a standard A4 page size. You can import the template to the system and generate a report to view the changes and check for layout issues.
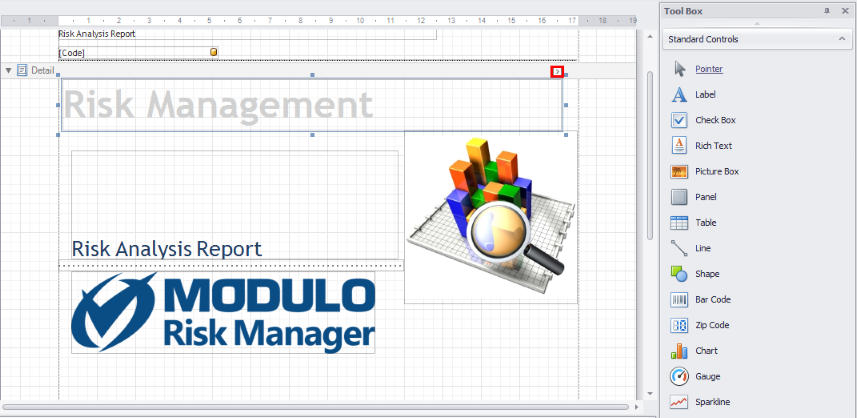
10. To edit an
element added to the page, click the element and then click the arrow ( )
that appears in the upper right corner of the box (see figure below).
)
that appears in the upper right corner of the box (see figure below).
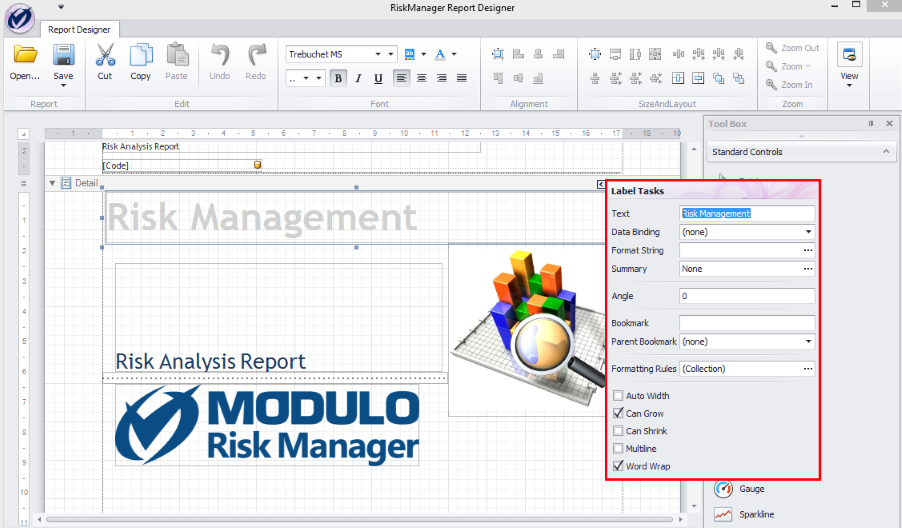
The system displays a task window where information on the element selected can be edited – in this case, an image (see figure below).
11. To insert an image, click Browse in the Image field to locate the file to be included (see figure below).

12. Once selected, you can resize the element by dragging the edges of the box (see figure below).
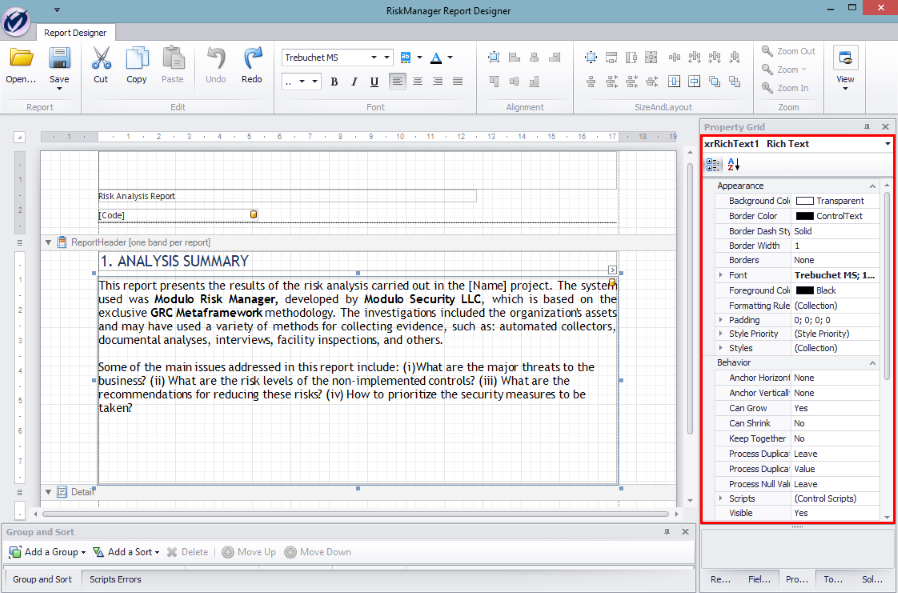
13. In the Field List window, you can select pre-defined columns from queries to be included in the report. You can expand the queries until you locate the column you want to include and drag it to the desired location (see figure below). Columns allow specific information to be displayed that vary according to the data selected when generating the report. For example, if you inserted a column for the project code, only the column will be displayed when editing the template, which is indicated in Report Designer by the column name in between brackets. However, when the end user generates the report, the system will automatically replace the column with the code of the project selected as the data source for the report.

14. In the Property Grid window, several options for editing the page are also provided, including colors, fonts, and bookmarks (see figure below).
Note: If a page or section is selected and the value of the Visible property is changed to "No", all the content in that page or section will be hidden when the report is generated by the system.
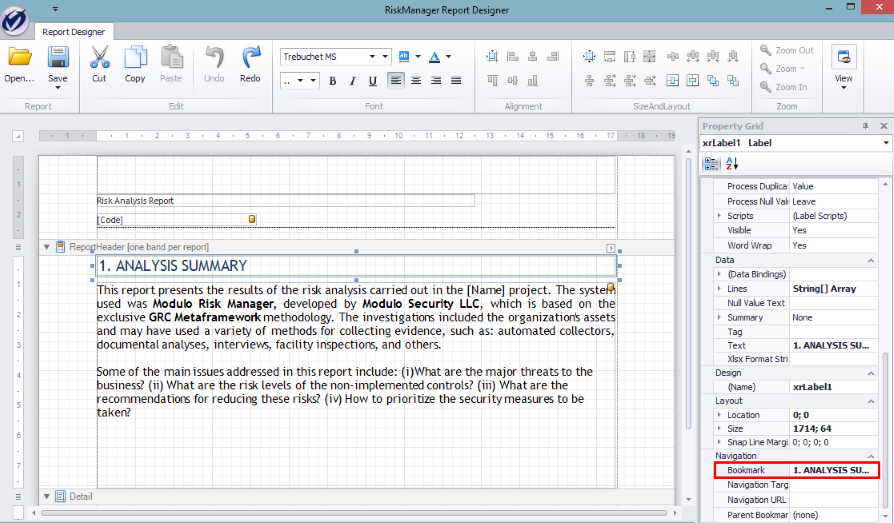
15. To edit the report’s table of contents click the element to be listed in the contents and edit the text that will be displayed using the Bookmark field in the Property Grid window. If the header name is "1. ANALYSIS SUMMARY", you can create a bookmark that will appear in the final report that reads "Chapter 1: Analysis Summary" (see figure below). Note that only elements that contain the Bookmark field can be listed in the table of contents.
Note: Although you can create and edit the table of contents and other elements through Report Designer, you cannot preview the final version until you generate a report using the template.
16. When finished editing the report, click Save in the upper left corner. The changes will be saved to the *.mrep file, which can then be imported to the system and used to generate reports.