This section explains how to edit a REST query in the Integration module, as well as manage its audience. Through the audience feature, access to queries can be restricted. Once people or groups are included in the audience of a REST query, audience members will be able to view the query in the Manage REST Queries section of the Integration module, as well as in Queries section of the Home module. In addition, if the query is used as a data source for an aggregated query, audience members will be able to view the results of the REST query in the results of any aggregated queries in which it was used. Note that you will only be able to view the queries you created or in which you were included as an audience member, and that only the author of the query will be able to edit and delete it.
1. Access the Integration module.
2. Click the Aggregated Queries option.
3. In the Aggregated Queries section, click Manage REST Queries.
The system displays the list of REST queries.
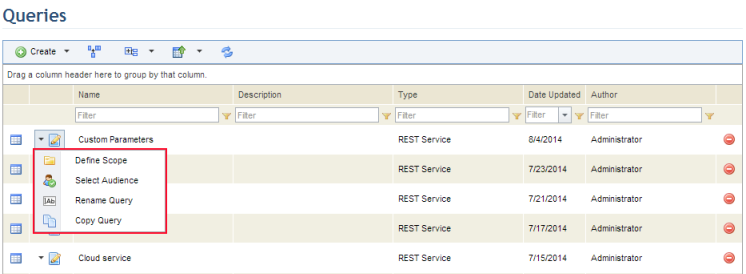
4. Click Edit next to the query and select the item you want to edit from the drop-down list that appears (see figure below).
5. Click Edit Query to edit the configurations for the query.
The system opens a new window where the main properties of the query can be configured.
6. Make the necessary changes and click Save. If you want to quit the operation, click Cancel. For details on how to edit each of the fields, see Chapter 15: Integration -> Aggregated Queries -> Manage REST Queries -> How to Create a REST Query.
The system displays a success message.
7. Click Select Audience to choose the people and groups who will be able to view the query in the Home module, in the Manage REST Queries section of this module, and in the results of any aggregated queries in which it is used.
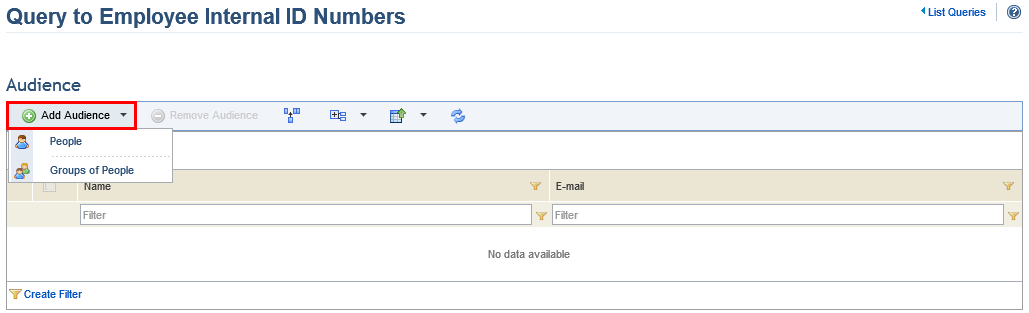
The system displays a screen where people and groups can be added to the audience of the query.
8. Click Add Audience and select People or Groups of People to include new audience members (see figure below).
9. In the window that appears, select the people or groups of people you want to include in the audience of the query and click Add (see figure below).
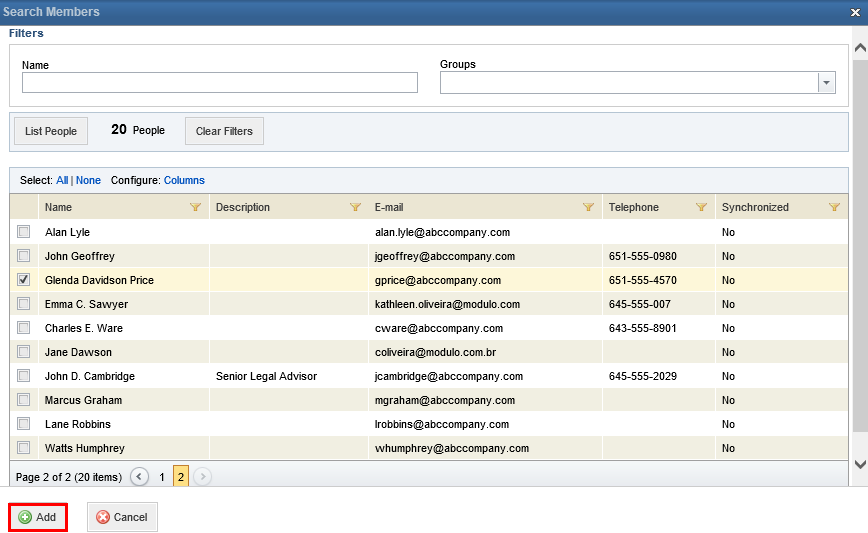
The system displays a success message.
10. To remove a person or group from the audience, select the checkbox next to their names and click Remove Audience.
The system displays a success message.