 )
next to the policy and select the option you want to edit (see figure
below).
)
next to the policy and select the option you want to edit (see figure
below).This topic explains how to edit a policy through the Manage Policies section and select which users will be able to view it under the My Policies section of this module. Only policies in which you have editing privileges may be edited in this section. Note that when you edit a published policy, its version number will be updated and its status will revert to "Being Edited". However, the audience will always view its last published version, regardless of the status of the policy. For more information about publishing policies, see Chapter 7: Policy -> Manage Policies -> How to Publish a Policy.
1. Access the Policy module.
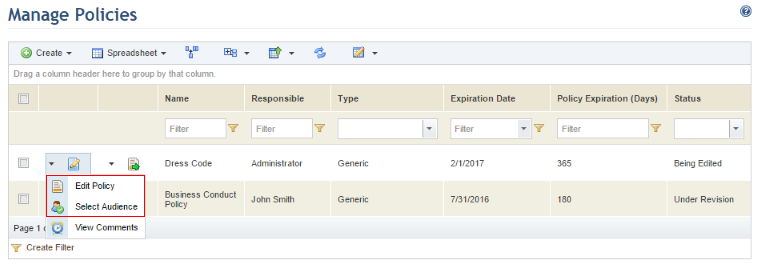
2. Select the Manage Policies option on the menu.
3.
In the Manage Policies section, click Edit ()
next to the policy and select the option you want to edit (see figure
below).
4. If the policy has been published and the Edit Policy option is selected, the system requests confirmation that you want to open the policy and create a new version (see figure below).
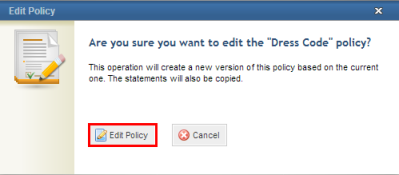
5. Click Edit Policy to confirm. If you want to quit the operation, click Cancel.
The system displays the Properties tab, where the default and custom properties of the policy can be edited (see figure below).
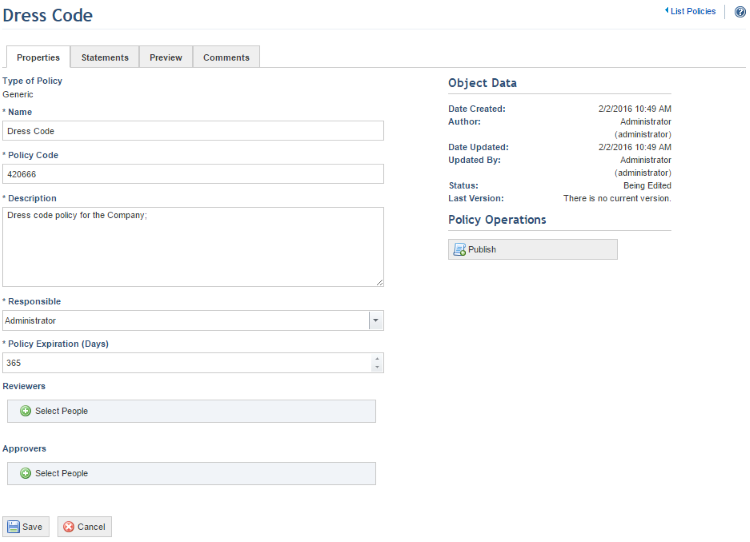
6. Make the necessary changes and click Save. If you want to quit the operation, click Cancel.
The system displays a success message.
7. Click the Statements tab to edit the statements of the policy.
8.
Click Create New Statement ( ) to create a new statement or
Edit () to edit an existing one.
) to create a new statement or
Edit () to edit an existing one.
The system displays an area where you can enter and edit the contents of the statement selected (see figure below).
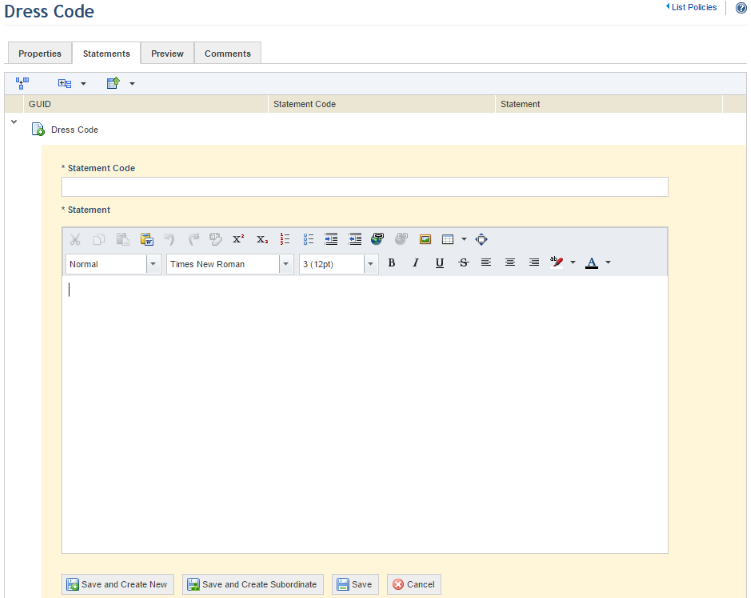
9. Make the necessary changes and click Save. If you want to save the statement and create a new one, click Save and Create New. If you want to save the statement and create one beneath it, click Save and Create Subordinate. If you want to quit the operation, click Cancel. Note that any number of child statements may be included beneath a statement, and any number of statements may be included in a policy.
The system displays a success message.
10. To delete a
statement, click Delete ( ) next to the statement you want to
remove.
) next to the statement you want to
remove.
The system requests confirmation of the deletion (see figure below).
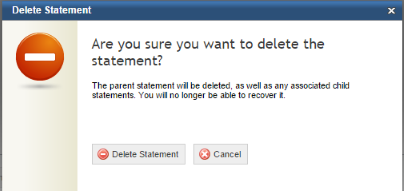
11. To confirm deletion, click Delete Statement. If you want to quit the operation, click Cancel.
The system displays a success message.
12. To view the policy structure with all of its statements, click the Preview tab.
13. To return to the list of policies, click List Policies in the upper right corner.
14. To select
the audience for a policy, click Edit () next to it and
then click Select Audience.
The system displays a screen where you can manage the audience of the policy.
15. Click Add Audience and select People or Groups of People (see figure below).
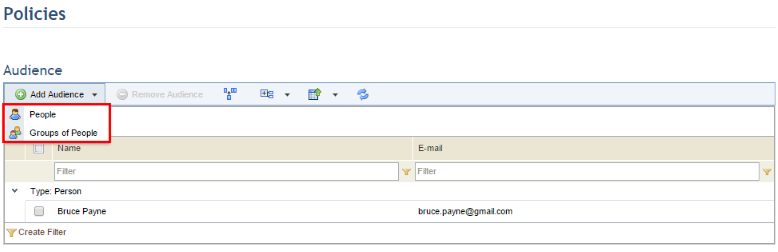
16. Next, select the people or groups of people you want to include and click Add (see figure below).

The system displays a success message.
17. To remove people or groups from the audience, select the checkboxes next to their names and click Remove Audience.
The system displays a success message.