1. Access the Knowledge module.
2. In the Knowledge menu, click the Surveys option.
3. Click Edit next to the survey for which you want to create questions.
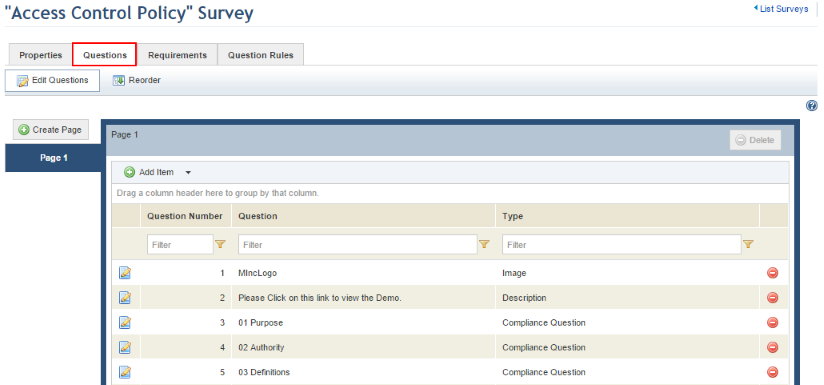
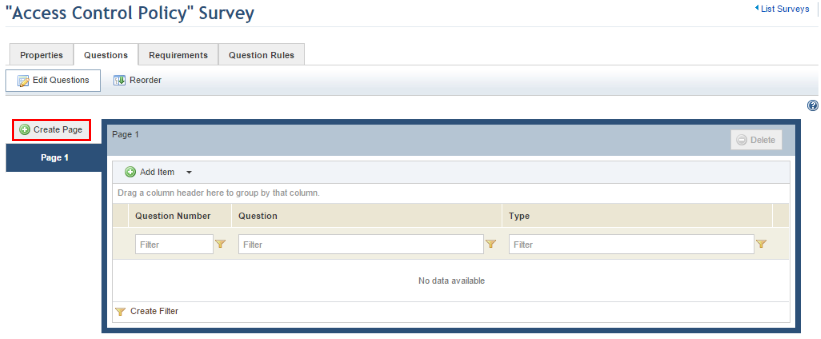
4. Click the Questions tab (see figure below). Here you can create pages and the questions, images, and descriptions to be included in each.
5. Click Add Item and select the type of question or item you want to include in one of the survey’s pages (see figure below).
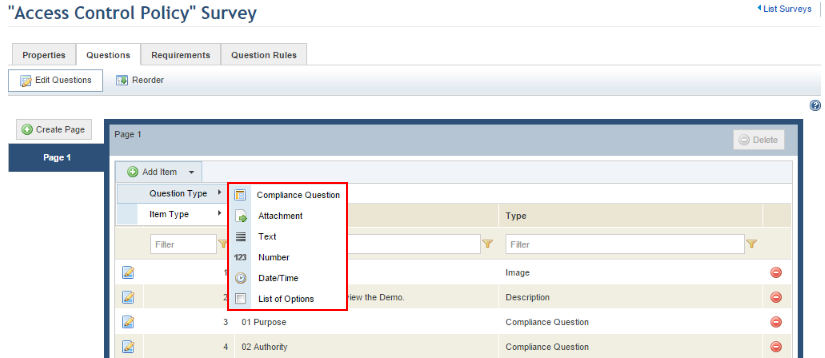
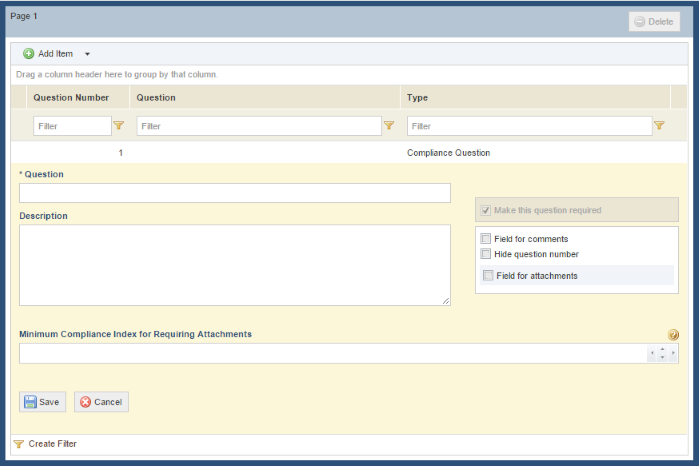
6. Select the Compliance Question in Question Type to create a question that allows you to verify whether the associated requirements are in accordance with the organization (see figure below). Note that this question type is only available for compliance surveys.
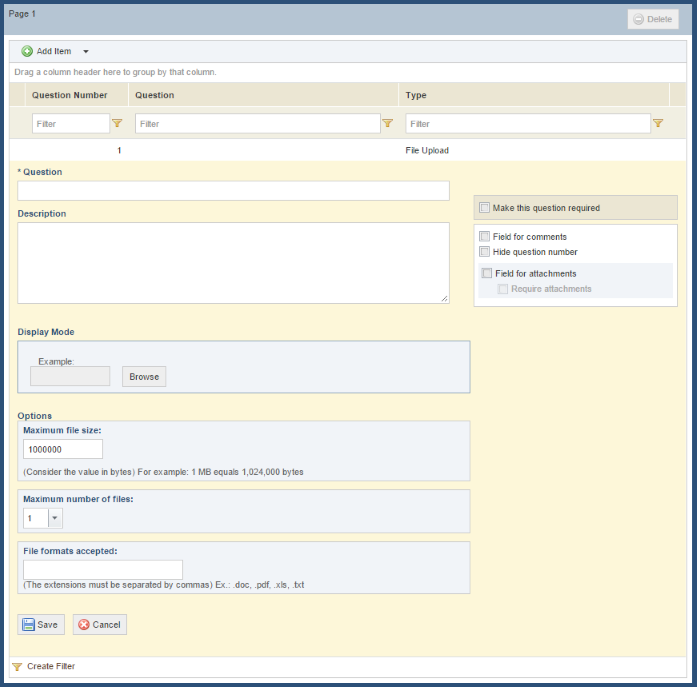
7. Select Attachment under Question Type to allow interviewees and reviewers to attach one or more files to the response as evidence (see figure below).
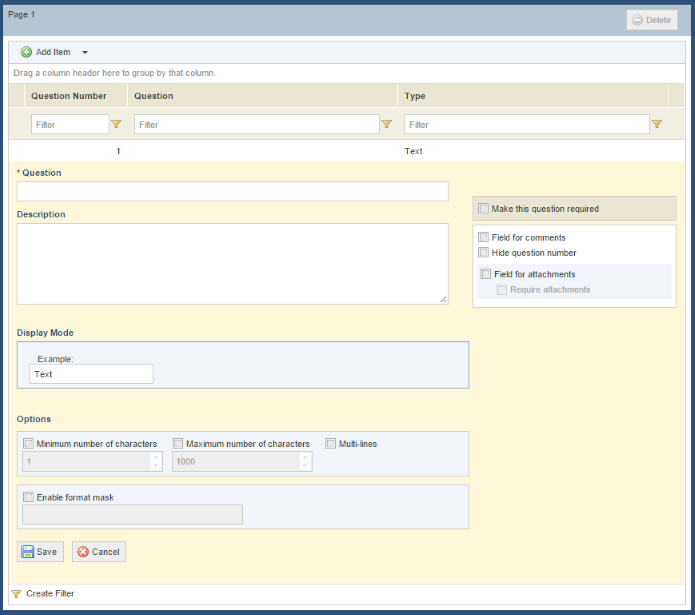
8. Select Text under Question Type to create a question that obtains responses as free text with a single line, with multiple lines, or with a format mask (see figure below).
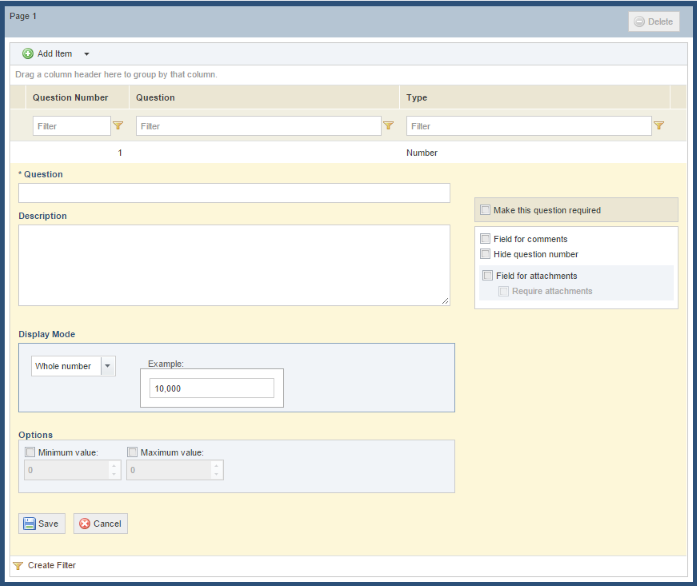
9. Select Number under Question Type to obtain responses in integers, real numbers, or monetary values (see figure below).
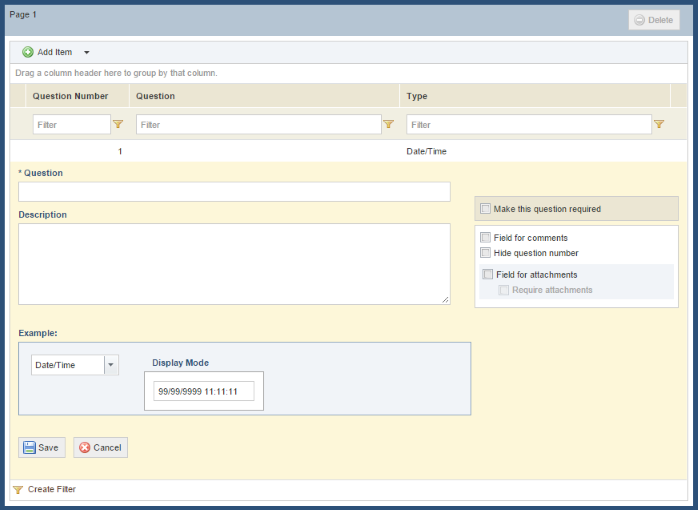
10. Click the Date/Time option under Question Type to obtain responses as dates, times, or dates and times (see figure below).
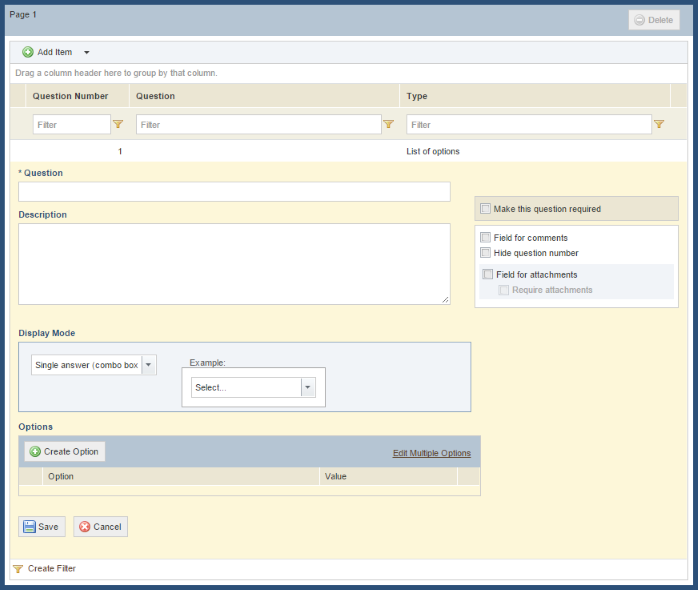
11. Select the List of Options option under Question Type to offer a list of options for interviewees or reviewers to choose from, which may be single answer (combo box or radio buttons) or multiple answer (checkbox) (see figure below).
Additional options are available as checkboxes for each question type. In general, these options have precedence over question rules, which means that if a field for attachments is selected as required in this section, and later a question rule that does not require attachments for this question is created, an attachment will still be required, for example.
The table below provides details on each of the fields according to each type of question and provides instructions on how they should be completed:
|
Field |
Description |
Question Types Supported |
|
*Question |
Enter the question itself. |
All |
|
Description |
Free text with multiple lines that appears below the question, which may contain guidelines for the interviewee on how to answer the question, for example. |
All |
|
Make this question required |
Requires completion of the question by interviewees and reviewers. By default, this parameter is disabled for Compliance questions because these questions are already required. |
All |
|
Field for comments |
Enables an additional field for comments that can be added by interviewees and reviewers. Rules can be created to allow the comments entered to be included in the Evidence section of a control as well as to determine whether the comments will be required. |
All |
|
Hide question number |
Determines whether the question number is hidden from interviewees and reviewers. Note that the question number will also be hidden in the list of responses provided, which can be downloaded by the interviewee or the reviewer. |
All |
|
Field for attachments |
Enables an additional field for interviewees and reviewers to attach evidence. A rule can be created to allow the files attached to be included in the Attachments section of a control or to require the attachment depending on the responses provided to other questions. Use the Require attachments option when evidence must be attached to the response. |
All |
|
Display mode |
Determine if the response entered by the interviewee or reviewer should be the date, the time, or the date and time. |
Date/Time |
|
Maximum file size |
Allows a maximum file size in bytes to be specified (1 MB = 1,024,000 bytes). |
Attachment |
|
Maximum number of files |
Allows a maximum number of files allowed for upload to be specified, with a maximum of 10. |
Attachment |
|
File extensions allowed |
Allows the accepted file extensions to be specified, separated by commas (for example: doc, xls, pdf). |
Attachment |
|
Minimum number of characters |
If selected, specifies the minimum number of characters to be entered by interviewees. |
Text |
|
Maximum number of characters |
If selected, specifies the maximum number of characters to be entered by interviewees. |
Text |
|
Multi-lines |
If selected, the field will be displayed with several lines to be completed by interviewees. If not, only one line will appear. |
Text |
|
Mask |
If selected, enter the format mask for the field to be completed by interviewees and reviewers. (For details on creating format masks, see Appendix -> Masks -> Format Masks in Surveys.) |
Text |
|
Display mode |
Determine if the value entered by the interviewee or reviewer should be in the integer, real number, or monetary value format. |
Number |
|
Minimum value |
If selected, specifies a minimum value to be entered by interviewees or reviewers. |
Number |
|
Maximum value |
If selected, specifies a maximum value to be entered by interviewees or reviewers. |
Number |
|
Options |
In the Option field, enter the response option that will be visible to the interviewee and reviewer for the question. This field accepts a maximum of 500 characters. In the Value field, assign a value to each response option created, which will later be used to create rules for the survey |
List of Options |
|
Minimum Compliance Index for Requiring Attachments |
Enter a value representing the minimum Compliance Index for an attachment to become mandatory (between 0 and 100). For example, if the value "75" is entered and the user selects a response option associated with a Compliance Index value greater than or equal to 75%, they will be required to attach evidence to the question, regardless of the answer chosen. If you do not want attachments to be required according to the Compliance Index, leave this field blank. Question rules can also be manually created to require attachments using the MoreCompliantThan method. |
Compliance Question |
12. Select Image under Item Type to include an image in the survey, such as one showing the theme of the survey. The file formats accepted are JPG, PNG, and GIF with the maximum size of 1 MB. The image can be previewed before being included (see figure below).
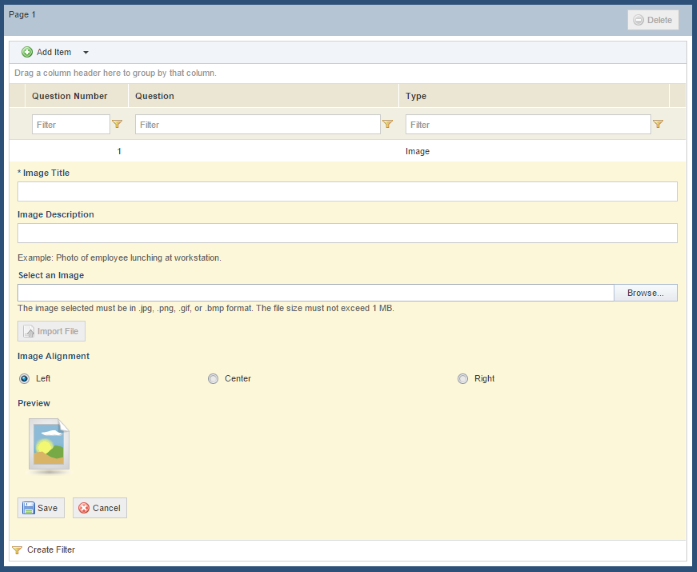
Listed below are explanations for each field to add an image to a risk survey:
|
Field |
Description |
|
*Image Title |
Title of the image. |
|
Image Description |
Free text with one line that appears below the title. |
|
Select an Image |
Select a file in JPG, PNG, or GIF format with the maximum size of 1 MB using the Browse button and import it to the system by clicking Upload. |
|
Image Alignment |
Aligns the picture, either left, center, or right. |
13. Select Description under Item Type to include a description, presentation, or instructions for the survey either in HTML or plain text. The final version can be previewed by clicking the Preview tab (see figure below).
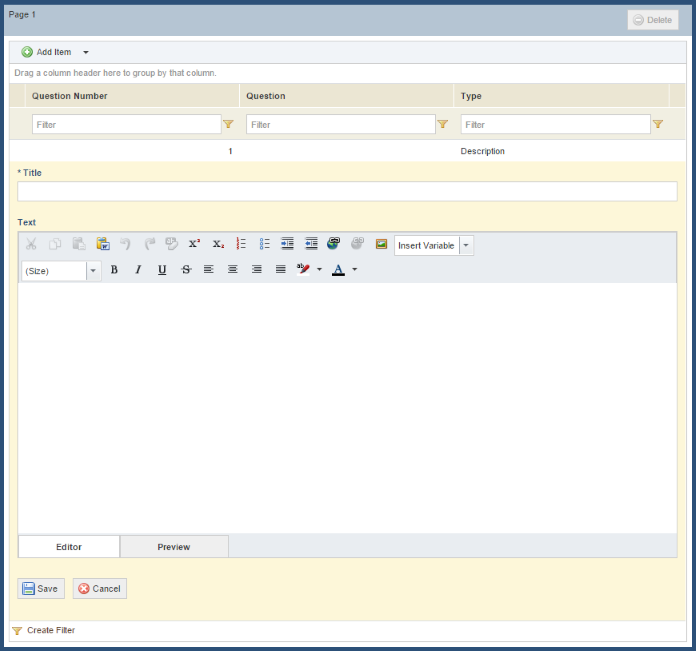
Note: Variables inserted to the description will be automatically replaced by the system with the corresponding information, and can be included by clicking Insert Variable and selecting one from the drop-down list. For example, if the #interviewee_name# variable is inserted, the system will replace the variable with the name of the interviewee who receives the final interview based on the survey.
Listed below are explanations for each type of variable that can be added to a survey description:
|
Field |
Description |
|
#interviewee_name# |
Name of the interviewee. |
|
#project_code# |
Project code for which the interview is being used. |
|
#project_name# |
Name of the project for which the interview is being used. |
|
#project_type# |
Type of project for which the interview is being used (risk or compliance). |
|
#project_description# |
Description of the project for which the interview is being used. |
|
#project_leader# |
Leader of the project for which the interview is being used. |
|
#sent_on# |
Date the interview was sent. |
|
#scope_item_caption# |
Name of the object which the interview is associated with. |
14. Click Create Page if you want to create a new page with additional questions (see figure below).
15. Click Reorder and drag the page, question, or item to reorder the content. The page and question numbers will automatically be renumbered (see figure below). If a question is reordered and a rule is associated with the question, the condition for the rule will be automatically updated.
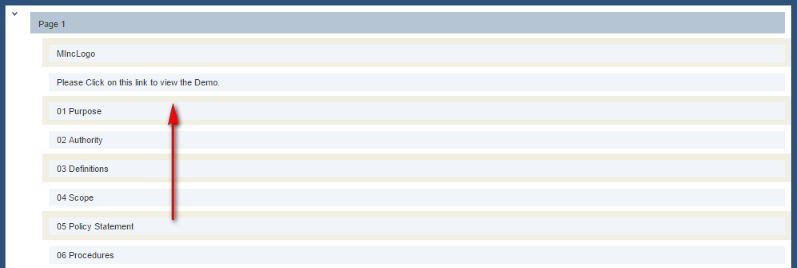
Note 1: The Expand Groupings and Retract Groupings buttons can be used to show all the questions on each page or hide all the questions on each page (see figure below).
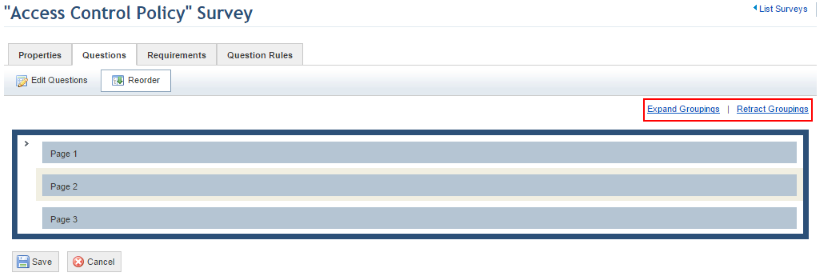
16. When finished reordering the content, click Save to record the modifications. If you want to quit the operation, click Cancel.
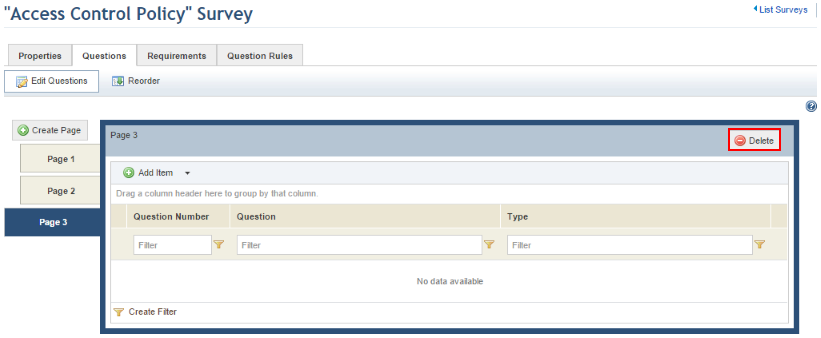
17. To delete a page, return to the Edit Questions section, select the page you want to delete, and click Delete (see figure below). This will also delete all the questions created on the page.
The system requests confirmation of the deletion (see figure below).
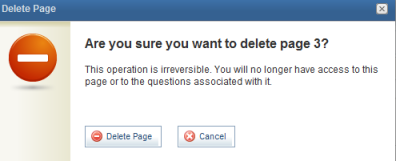
18. Click Delete Page to confirm. If you want to quit the operation, click Cancel.
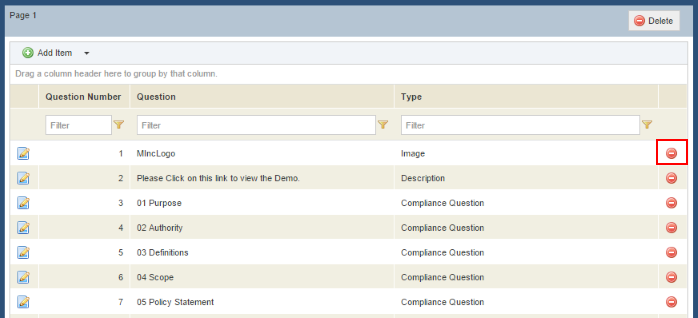
19. To delete any question or item from a page, click Delete next to it (see figure below). Any rules associated with the question will be highlighted in red and must be deleted or corrected before the survey can be published.
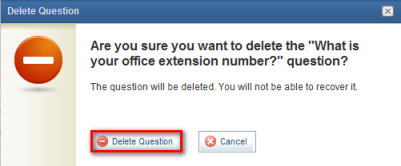
The system requests confirmation of the deletion.
20. Click Delete Question to confirm (see figure below). If you want to quit the operation, click Cancel.
The system displays a success message.