
1. Open Microsoft Visual Studio and open the project created in the previous topic.
2. Click Select Perspective in the main menu (see figure below).
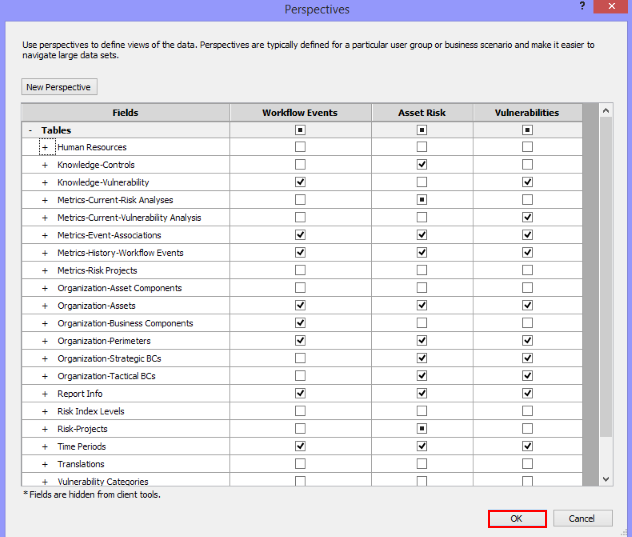
3. In the window that appears, click New Perspective, provide a name for it, and select which tables and fields you want to be available in it. When finished, click OK (see figure below).
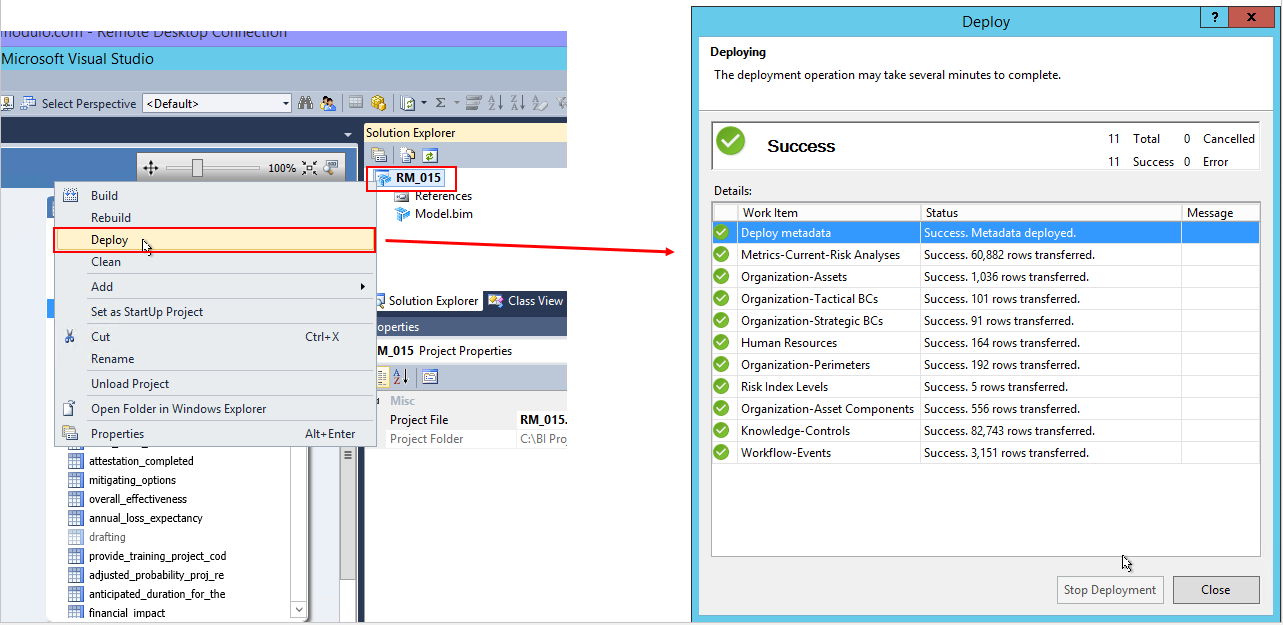
4. To finish and transfer the changes to Microsoft Analysis Services, the project must be deployed. To do so, right-click the root of the project in the Solution Explorer section and click Deploy (see figure below). The perspectives will be transferred to Analysis Services along with the updated information.
Once synchronized, the new perspective will be available in the list of perspectives in the system, allowing it to be selected for use in intelligence reports. For more information on synchronizing perspectives, see Chapter 16: Intelligence -> Intelligence Solution Reports -> How to Synchronize Perspectives and Select their Audiences.