1. Access the Organization module.
2. Select Groups of People from the People option on the menu.
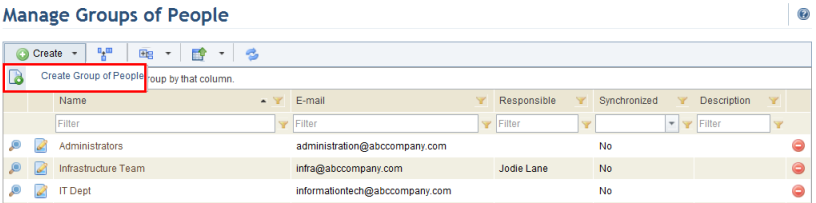
The system displays the list of people registered.
3. In the Groups of People section, click Create and select the Create Group of People option (see figure below).
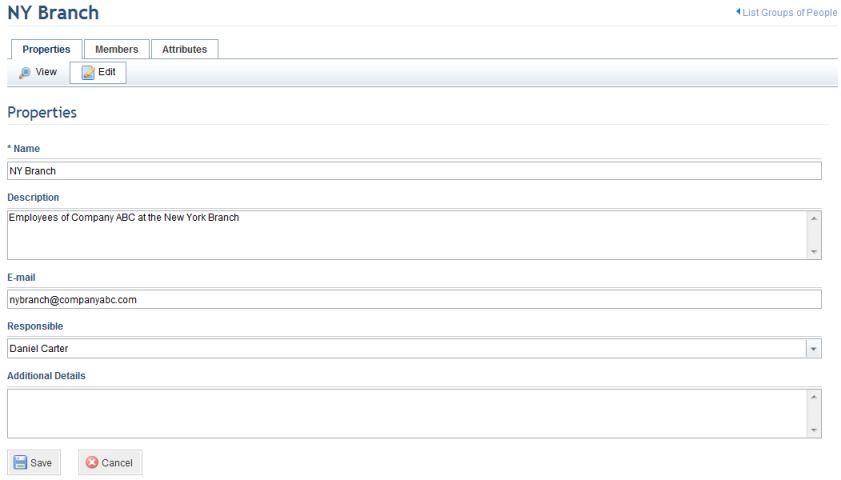
The system displays a screen where information on the new group of people can be entered (see figure below).
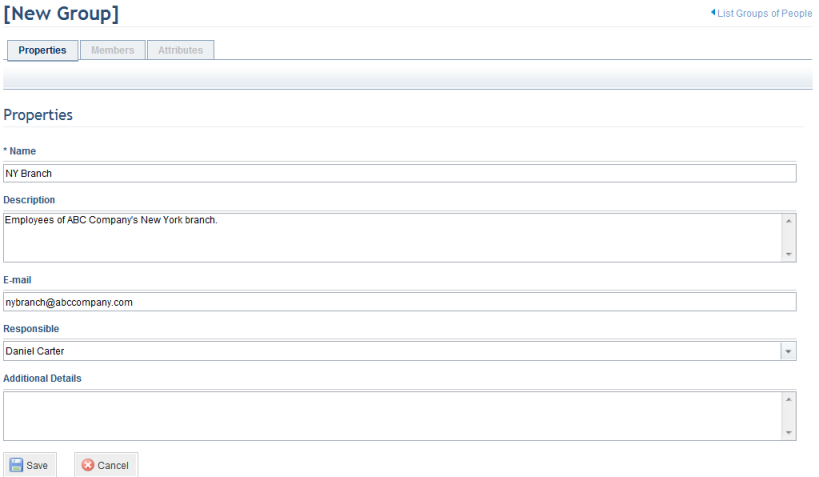
4. Fill in the Name field with a name that identifies the group of people.
5. Fill in the Description field with additional information that helps identify or describe the group of people being created.
6. In the E-mail field, enter a valid e-mail address for the group of people being created. This field is used for informational purposes only. Notifications via e-mail and notifications in the Home module are sent to group members individually.
7. In the Responsible field, select the person responsible for the group of people. This role is responsible for keeping information on the members of the group up to date. Note that the person must be included in the Organization Module Users profile to have access to the module.
8. Fill in the Additional Information field with any other details about the group of people being created.
9. When finished, click Save. If you want to quit the operation, click Cancel.
The system displays a success message and enables the Members and Attributes tabs, where you can add people to the group.
10. Click the Members tab to add and remove members from the group. Note that you can also add and remove a person from groups through the Manage People section of this module.
11. Click Add Members (see figure below).
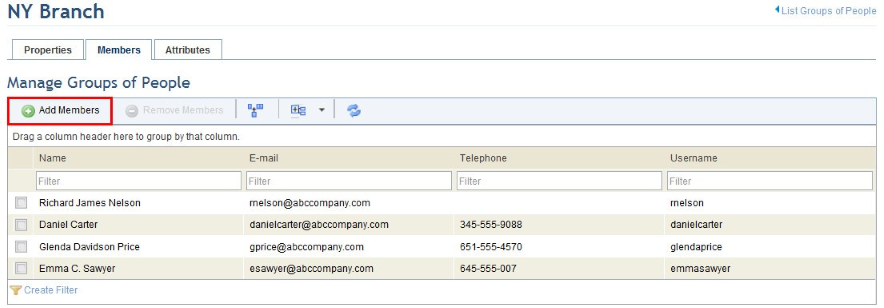
The system displays a window where new members can be added.
12. In the window that appears, select the people you want to add to the group and click Add Members (see figure below).
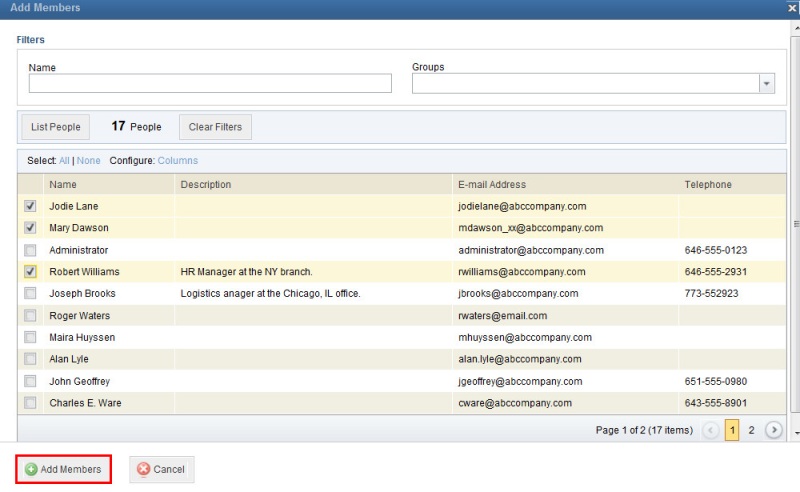
The system displays the updated list of group members.
Note: If the group of people was created through synchronization with an external directory, members should be added through the directory. In this case, this option will be disabled in the system.
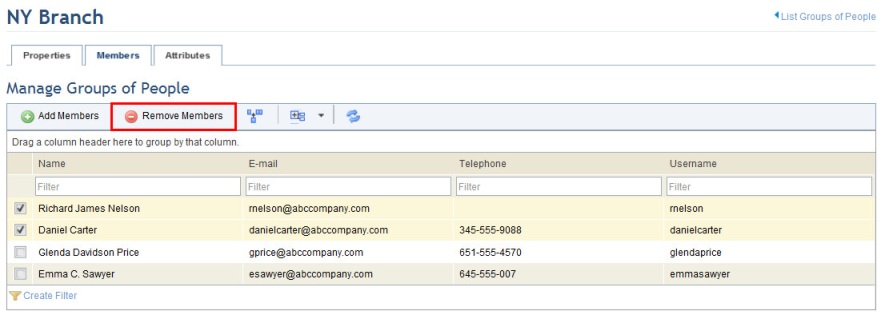
13. To remove people from the group, mark the checkboxes next to their names and click Remove Members (see figure below).
The system requests confirmation to remove the members (see figure below).
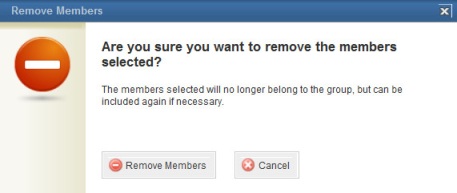
14. Click Remove Members to confirm. If you want to quit the operation, click Cancel.
The system displays the updated list of group members.
15. Click the Attributes tab to provide values for any attributes created for groups of people in the Administration module (see figure below). For details on managing attributes, see Chapter 17: Administration -> Customizations -> Objects and Attributes.
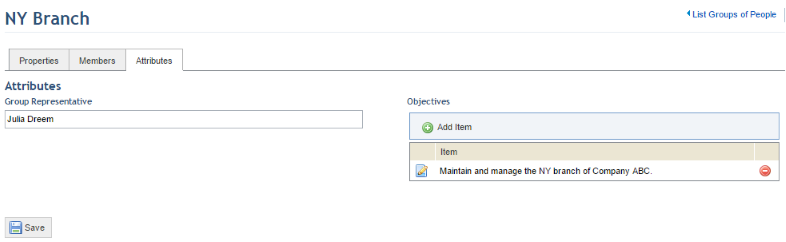
16. To enter or edit the value of an attribute, click the field for it. The information that can be entered for each depends on the type of attribute (Attachment, Date/Time, E-mail, etc.) and any configurations set for it (regular expression mask, maximum or minimum number of characters, etc. Note that some attributes may be required.
17. When finished, click Save at the end of the page.
The system displays a success message.
18. Click the List Groups of People link in the upper right corner to return to the main list of groups.
19. To edit a previously registered group, click Edit next to its name on the list (see figure below).
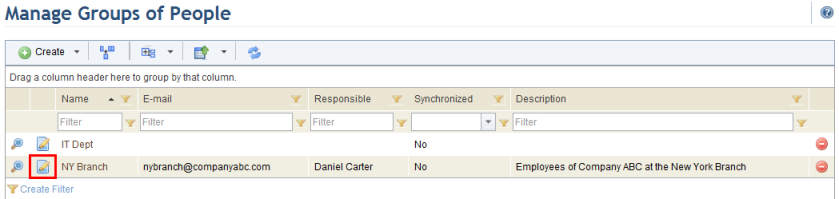
The system displays a screen where the properties of the group can be edited (see figure below).
20. Make the necessary changes and click Save. If you want to quit the operation, click Cancel.
The system displays a success message.