1. Access the Workflow module.
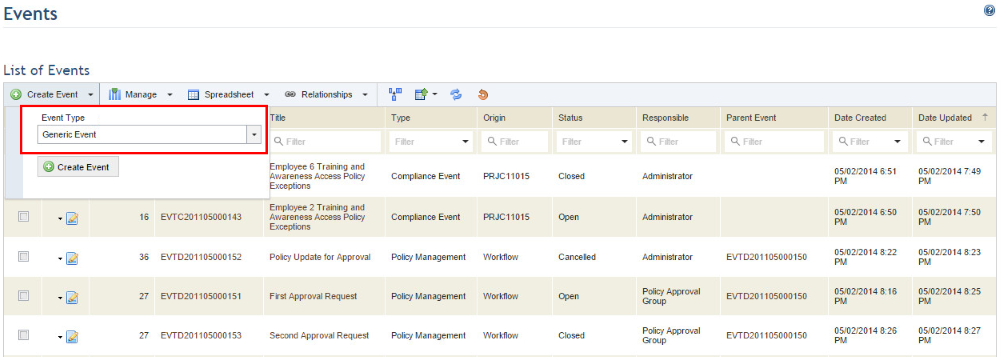
2. In the Events section, click Create Event.
3. In the Event Type field, define the type of the event being created (see figure below).
4. Click Create Event.
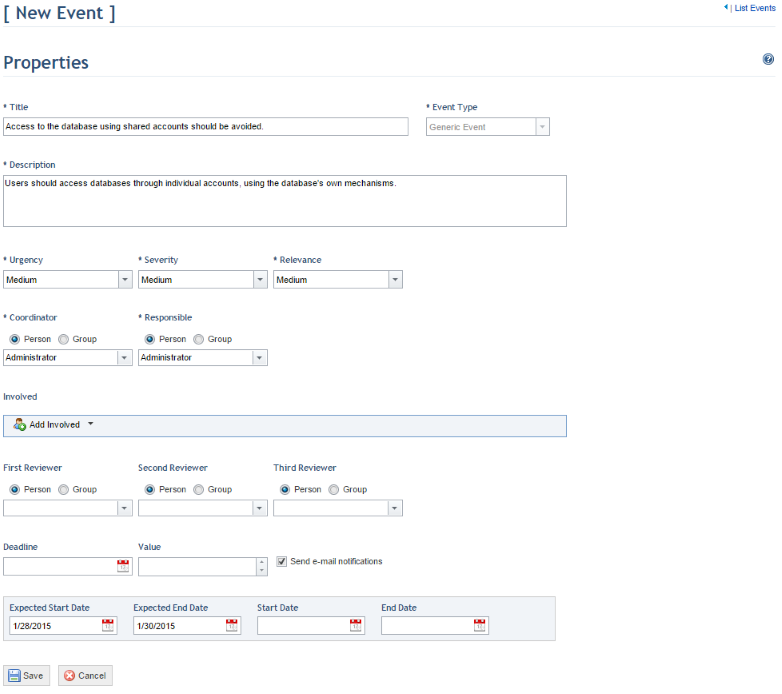
The system displays a screen where information on the new event can be registered (see figure below). Note that the Event Type field is automatically completed with the type selected.
Note: The event type can be changed in generic and custom events once the event is saved, as long as the Event Type field is enabled in one of the tabs of the event's layout, and as long as the user has permission to do so. Some default types are not available for event creation in this section because events of these types can only be created through other system modules and solutions. The table below lists the event types and the modules and solutions in which events of these types are created.
|
Module or Solution |
Event Type |
|
ERM |
Enterprise Risk Event |
|
Risks |
Risk Event |
|
Compliance |
Compliance Event |
|
Continuity |
Plan Approval |
|
|
Plan Activation |
|
|
Continuity – Revision for BIA |
|
|
Test Plan |
Although these types cannot be used to create events in the Workflow module, when editing an event you can change its type to one of the types listed, with the exception of compliance events. However, "Risk Event" events can only be changed to types in which the association with controls and vulnerabilities is enabled in the Object Types section in the Administration module.
5. In the Title field, enter a title for the event using up to 2,500 characters.
Note: The system does not prevent events from being registered under the same title. However, to ensure that they can be easily identified, it is important to choose sufficiently informative and unique titles. Try to avoid titles that are either too general or abstract, such as "Request", "Support Request", or "Commercial Proposal".
6. In the Description field, enter information describing the event that does not exceed 5,500 characters. Only enough information for the reader to understand what the event is about, its purpose, and the tasks it generates should be included.
7. In the Urgency field, define the urgency (U) with which the event should be treated. This is scored on a five-level scale: 1 - Very Low, 2 - Low, 3 - Medium, 4 - High, and 5 - Very High.
8. In the Severity field, define the severity (S) of the event, which is the impact it will have on the organization if left untreated. This is scored on a five-level scale: 1 - Very Low, 2 - Low, 3 - Medium, 4 - High, and 5 - Very High.
9. In the Relevance field, define the relevance (R) of the event. This is scored on a five-level scale: 1 - Very Low, 2 - Low, 3 - Medium, 4 - High, and 5 - Very High.
10. In the Coordinator field, select the person or group of people who will be assigned as event coordinator. By default, this role receives permission to view the event, create child events for it, manage its associations with related events, edit all of its properties, update its status, and include it in the scopes of queries. Also by default, the system assigns the event’s author as the coordinator.
11. In the Responsible field, select the person or group of people who will be assigned as responsible for the event. By default, this role receives the same permissions as the event coordinator, except for the permission to edit the Coordinator field. Also by default, the system assigns the event’s author to this role.
12. In the Involved field, you can include the people and groups involved in the event by clicking Add Involved. To remove them, click Remove next to each. By default, the people and groups assigned to this role receive permission to view the event, update its progress, and include it in queries.
13. In the First Reviewer, Second Reviewer, and Third Reviewer fields, you can optionally assign people or groups to review the event by selecting a name from the drop-down list. To remove a reviewer, select the blank option from the list. By default, these roles receive the same permissions as the event coordinator, except for the permission to associate and disassociate events.
Note 1: The people and groups assigned to roles in the event must be included in a Workflow profile so that they can access the module. For details, see Chapter 17: Administration -> Access Control -> Access Profiles.
Note 2: If a list of restrictions is specified for an event role, only the people and groups included in this list will be available to be assigned to that role. For more information, see Chapter 17: Administration -> Access Control -> Role Restrictions.
14. In the Deadline field, you can specify a deadline for the event. This field can be used in workflow rules created in the Administration module so that events can be automatically closed once the deadline defined for them is over, for example.
15. In the Value field, enter a monetary value for the event. This value can be expressed in various ways (expected loss, initial budget, costs, losses, estimated earnings, etc.) and may assume either negative or positive values.
16. If you want the system to send notifications via e-mail regarding the event, mark the Send e-mail notifications checkbox.
Note: For notifications to be sent via e-mail, the message service must be configured in the Message Service section of the Administration module; message templates regarding events must be enabled in the Message Templates section of the Administration module; and a valid e-mail address must have been provided for the people assigned in the Manage People section of the Organization module. Notification messages regarding events also appear in the Notifications section of the Home module, sent to group members individually if a group was assigned.
17. In the Expected Start Date field, enter the estimated start date for the event.
18. In the Expected End Date field, enter the estimated end date for the event.
19. In the Start Date field, enter the actual start date for the event. This can be updated in the future when the event has in fact started.
20. In the End Date field, enter the actual end date for the event. This can be updated in the future when the event has in fact ended.
21. When finished, click Save. If you want to quit the operation, click Cancel.
The system requests confirmation to create the event (see figure below).
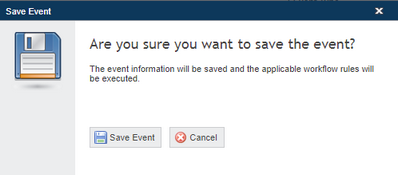
22. Click Save Event to confirm. If you want to quit the operation, click Cancel.
The system displays a success message and executes the applicable workflow rules, if enabled.
23. To create child events, click the Associated Events tab that will appear once the new event has been saved, click Create Event, and follow steps 3-21 listed above. Note that each child event can also have child events of its own, also created in the Associated Events tab for it. Once saved, a link to the parent event will be displayed in the upper right corner of the page. However, note that existing events can also be added as child events through the main list. For details, see Chapter 10: Workflow -> Events -> Associating and Disassociating Events.