1. Access the Events solution.
2. In the Monitoring section, select View Timeline.
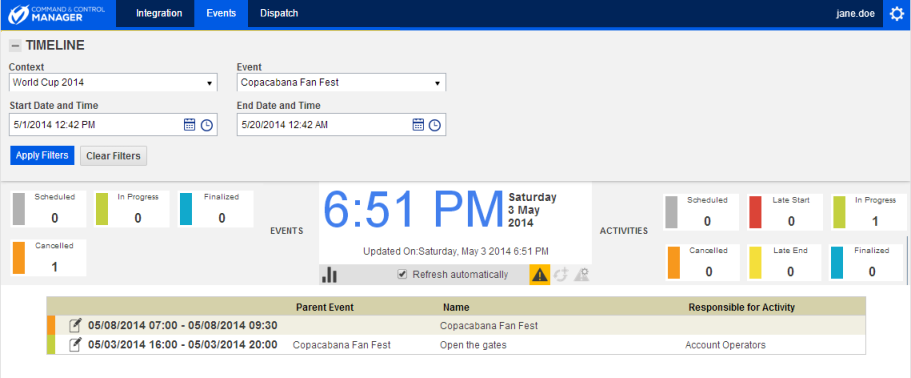
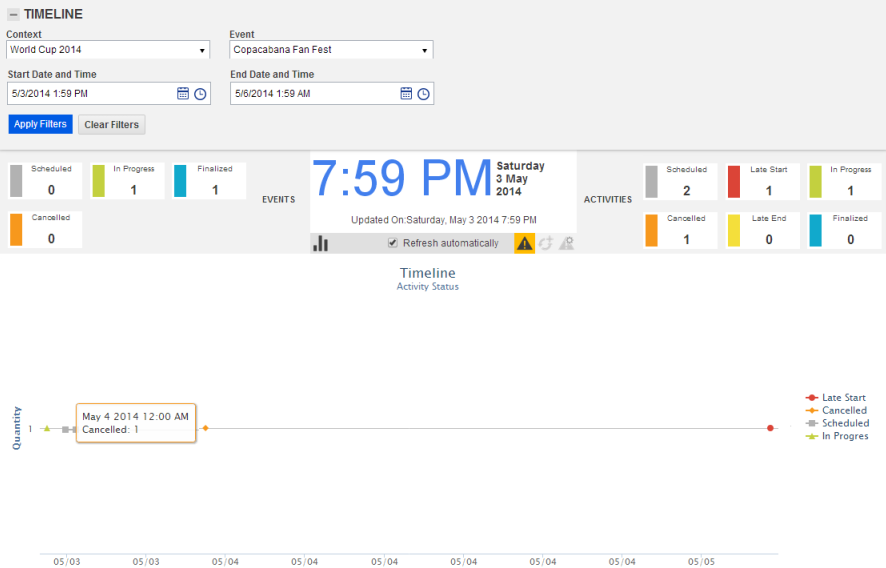
The system displays the timeline in a new window, listing by default all scheduled events and activities registered for that day (see figure below). Note that up to 200 activities and 200 events can be displayed on the timeline.
3. In the Context field, select a context from the drop-down list to filter the timeline.
4.
In the Event field, select an event from the drop-down list to filter the
timeline. In the Start Date and Time and End Date and Time fields,
select a time range for the timeline by clicking Calendar ( ) and Time (
 ).
).
5. When finished, click Apply Filters. To remove all filters, click Clear Filters.
The system displays the events and activities according to the filters selected. All items will be displayed with a name and a time range. In addition, each activity will be displayed with information on the person responsible for it and the parent event with which it is associated. Both activities and events will be marked with colors indicating the status of each object.
6. By default, the list of monitored items is refreshed every minute. To refresh it manually, unmark the Refresh automatically checkbox.
7. To filter the results by the status of the events or activities, select one of the status options available. Each option displays the total number of events or activities with that status.
8.
To edit the status of an event, click Edit ( )
next to it.
)
next to it.
9. Click Start Event, Finalize Event or Cancel Event to update its status. If you want to quit the operation, click Close.
10. To edit the
status of an activity, click Edit ()
next to it.
11. Click Start Activity, Finalize Activity or Cancel Activity to update its status.
If the Finalize Activity option was selected, a pop-up window is displayed (see figure below).
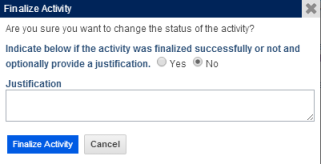
12. Select Yes or No to define whether the activity was finalized successfully.
13. In the Justification field, provide an explanation for the finalization of the activity.
14. Click Finalize Activity to confirm. If you want to quit the operation, click Cancel.
If the Cancel Activity option was selected, a pop-up window is displayed (see figure below).
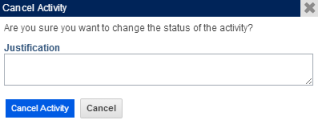
15. In the Justification field, provide an explanation for the cancellation of the activity.
16. Click Cancel Activity to confirm. If you want to quit the operation, click Cancel.
The system displays a success message. Note that once an activity is finalized or cancelled, its status cannot be edited through the timeline, only through the Scheduled Events section.
17. To view
past alerts and any new alerts on upcoming activities, click Alerts
( ). A list of alerts with information on
each activity is displayed above the list of monitored items (see figure below).
Alerts related to events that have been deleted will be displayed with "deleted"
in parentheses next to them.
). A list of alerts with information on
each activity is displayed above the list of monitored items (see figure below).
Alerts related to events that have been deleted will be displayed with "deleted"
in parentheses next to them.
18. Click
Load More ( ) to view more alerts.
19. To delete
an alert, select the alert you want to delete and click Delete ( ).
).
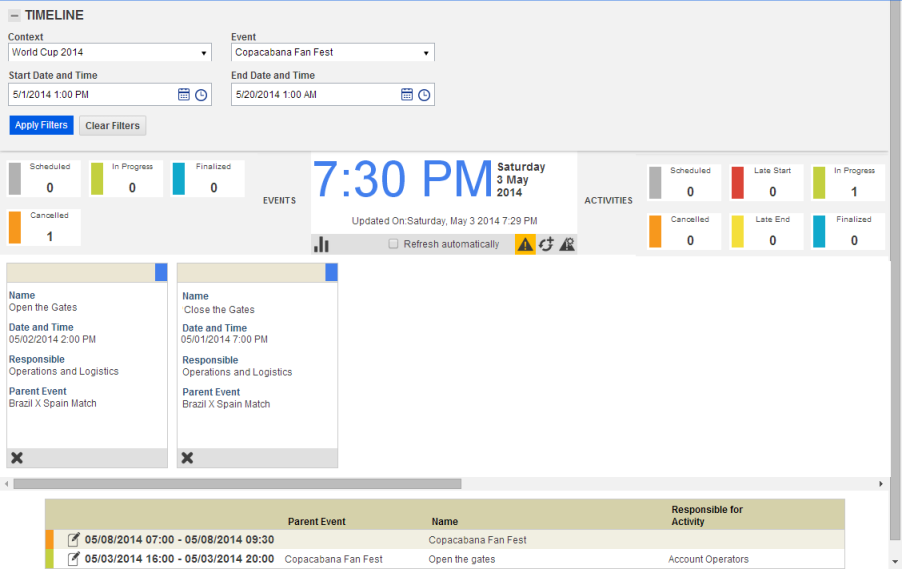
20. Click
View Timeline ( ) to view the timeline of activities by
status. You can view additional information on the plotted activities by placing
the mouse over them (see figure below).
) to view the timeline of activities by
status. You can view additional information on the plotted activities by placing
the mouse over them (see figure below).
Note: If both the Events and Dispatch solutions are enabled, you can also view alerts when calls are registered within a certain distance from the location of any given activity. This allows managers to ensure that each activity is not impacted by the incident related to the call. To specify this distance, see the steps below.
21.
Click Configure Alerts ( ) to configure alerts for calls
registered near the location of an activity. These alerts allow managers to
ensure that the activity is not impacted by the incident related to the call.
) to configure alerts for calls
registered near the location of an activity. These alerts allow managers to
ensure that the activity is not impacted by the incident related to the call.
The system displays a pop-up window where the alerts can be configured (see figure below).
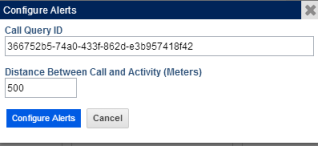
22. In the Call Query ID field, enter the ID of the query with the calls you want to view alerts on. Call queries are registered in the Queries section of the Dispatch solution.
23. In the Distance Between Call and Activity field, enter the distance, in meters, between the location of the incident related to the call and the location of the activity and its routes. Alerts will be displayed for any calls registered within this radius.
24. To save your changes, click Configure Alerts. If you want to quit the operation, click Cancel.
The system displays a success message.