1. Access the Events solution.
2. In the Calendars section, select View Resources.
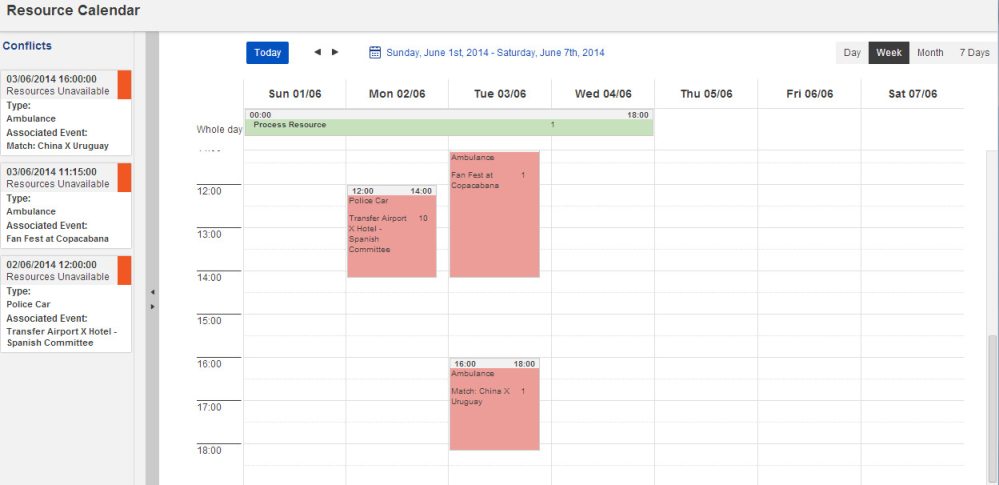
The system displays the calendar in a new window, by default listing both the available and assigned resources registered in the system for the current week (see figure below). Available resources are represented in green and each cell displays the asset type and the number of units available. Likewise, assigned resources are shown in red cells that include the assigned resource’s name, the associated asset type, and the number of units assigned. The following scheduling conflicts will also be listed on the left:
•When there are two or more events taking place at the same time and location, displayed in brown.
•When there are no available resources registered to match the assigned resources, displayed in red.
•When a resource is assigned prior to the start date and time of availability, also displayed in red.
•When the number of assigned resources exceeds the number available for one or more events at the same time or for an individual event, displayed in purple.
•When a participant is assigned to two events scheduled to take place simultaneously, displayed in orange.
3.
Select the format in which the resources will be displayed on the calendar. The
options are: Day, Week, and Month. Use the arrow buttons to navigate to the next
or past time intervals. You can also click Calendar (  )
and select the date you would like to view.
)
and select the date you would like to view.
4. Click the resource you want to view more details on.
A pop-up window will be displayed listing the default properties of the resource selected (see figure below).
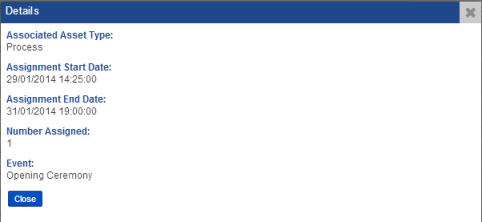
5. Click Close in the bottom left corner to close the pop-up and return to the main screen.