1. Access the Administration module.
2. Select Role Restrictions from the Access Control option on the menu.
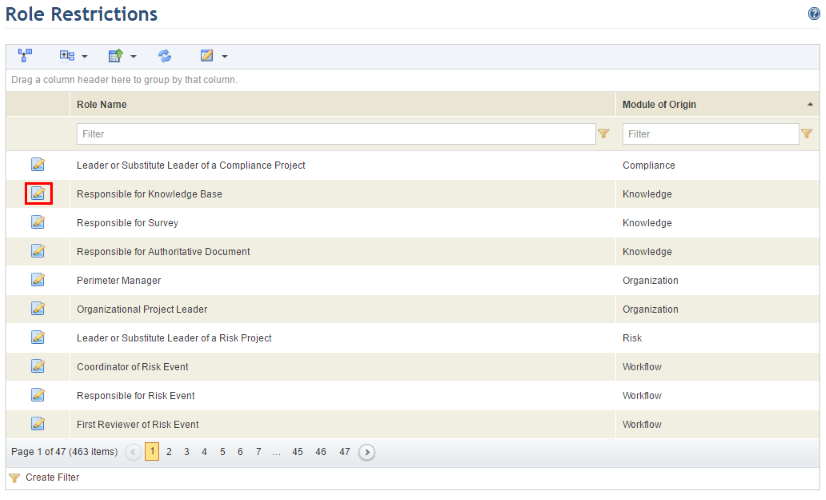
3. Click Edit next to the role for which you want to restrict who can be assigned to it (see figure below).
The system displays the Role Restrictions section, where you can decide whether or not to restrict assignments and specify which people or groups of people can be assigned to the role selected (see figure below).
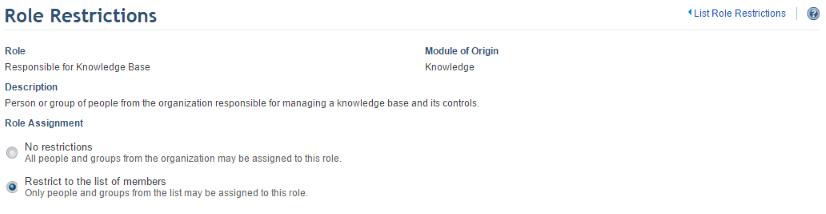
4. In the Role Assignments section, select the No restrictions option if you do not want to restrict who can be assigned to the role and click the Apply Settings option. By selecting this option, any person or group (when applicable) from the organization can be assigned to the role selected. By default, the system allows anyone to be assigned to roles.
5. If you want to restrict who can be assigned to the role select, select the Restrict to the list of members option and click Apply Settings. If you select this option, you should then create a list containing the allowed people or groups (when applicable) who can be assigned to the role.
The system enables an area where you can create the list (see figure below).
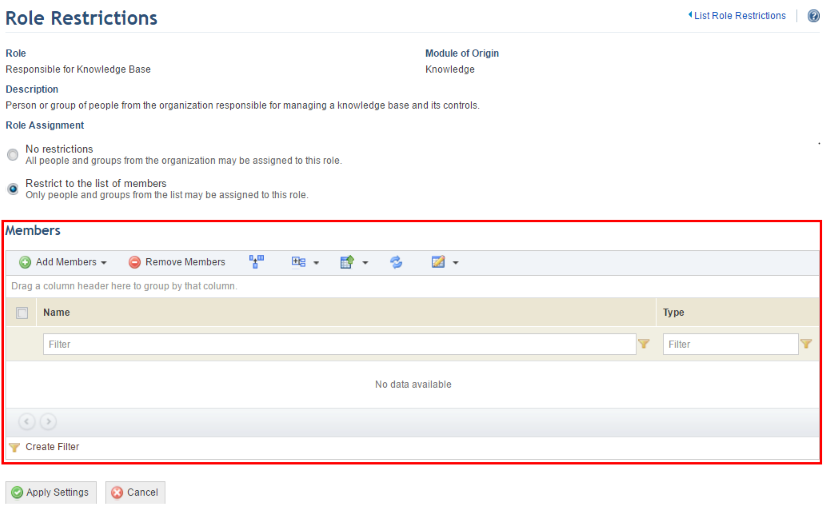
6. In the Members section, click Add Members and select People or Groups from the list that appears.
If, for example, you selected People, the system displays a screen where you can select the people to be added to the list (see figure below).
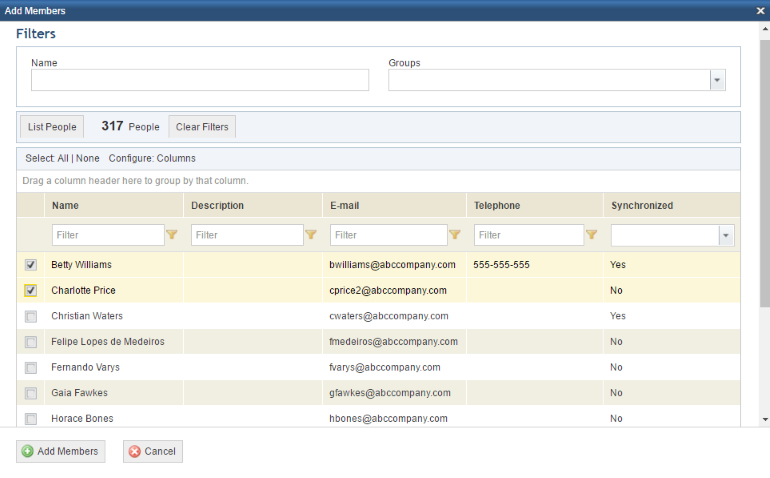
7. Mark the checkboxes next to the people you want to add to the list and click Add Members.
The system displays a success message.
8. When finished, click Apply Settings.
The system displays a success message.