This topic explains how to register the Modulo Questionnaires app as an authorized application so it can access certain system features through the API. Once the application has been registered in the system, it can be used in an Android device to access risk projects and answer questionnaires to which you have been assigned as analyst or to which you have access through other permissions in the project.
1. Access the Administration module.
2. Select Authorized Applications from the Integrations option on the menu.
3. In the Manage Authorized Applications section, click Add Application.
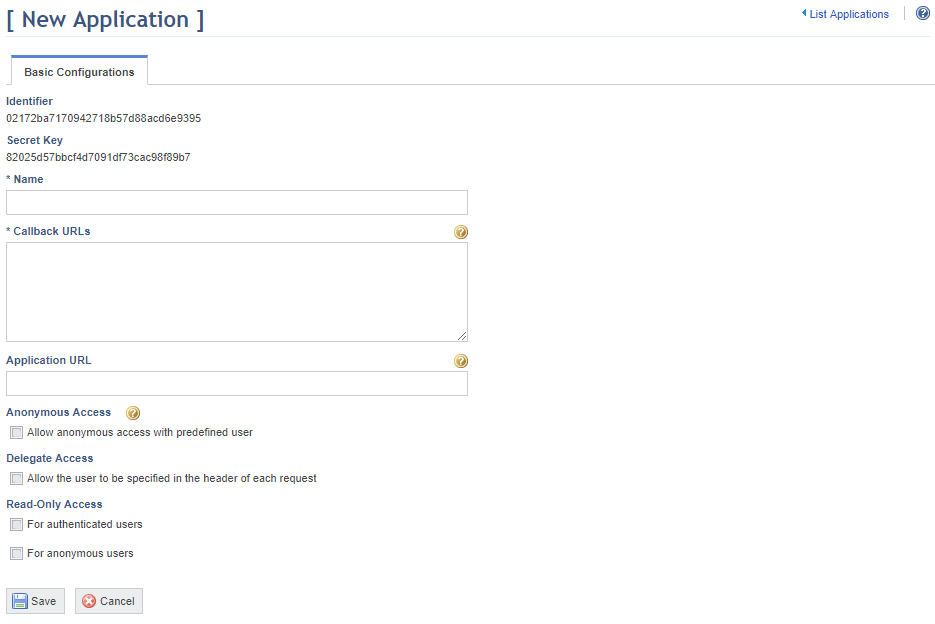
The system displays the Basic Configurations tab, where information on the application to be registered should be entered (see figure below).
4. In the Name field, enter the name to be used to identify the Modulo Questionnaires app using up to 100 characters. This field is required.
5. In the Callback URLs field, enter "questionnaires://auth", which will be the address where the app will receive callback data from the system. This field is required.
6. Leave the Application URL field blank.
7. Leave the Allow anonymous access with predefined user checkbox from the Anonymous Access section blank, since all application users will need to provide their system access credentials.
8. Leave the Allow the user to be specified in the header of each request checkbox blank, since all application users must authenticate with their own access credentials.
9. Leave the checkboxes unmarked in the Read-Only Access section, since all application users will need write access.
10. When finished, click Save. If you want to quit the operation, click Cancel.
The system enables the Available Features, Advanced Configurations, and Active Tokens tabs.
11. Click the Available Features tab to select the features that the app will be allowed to access (see figure below).
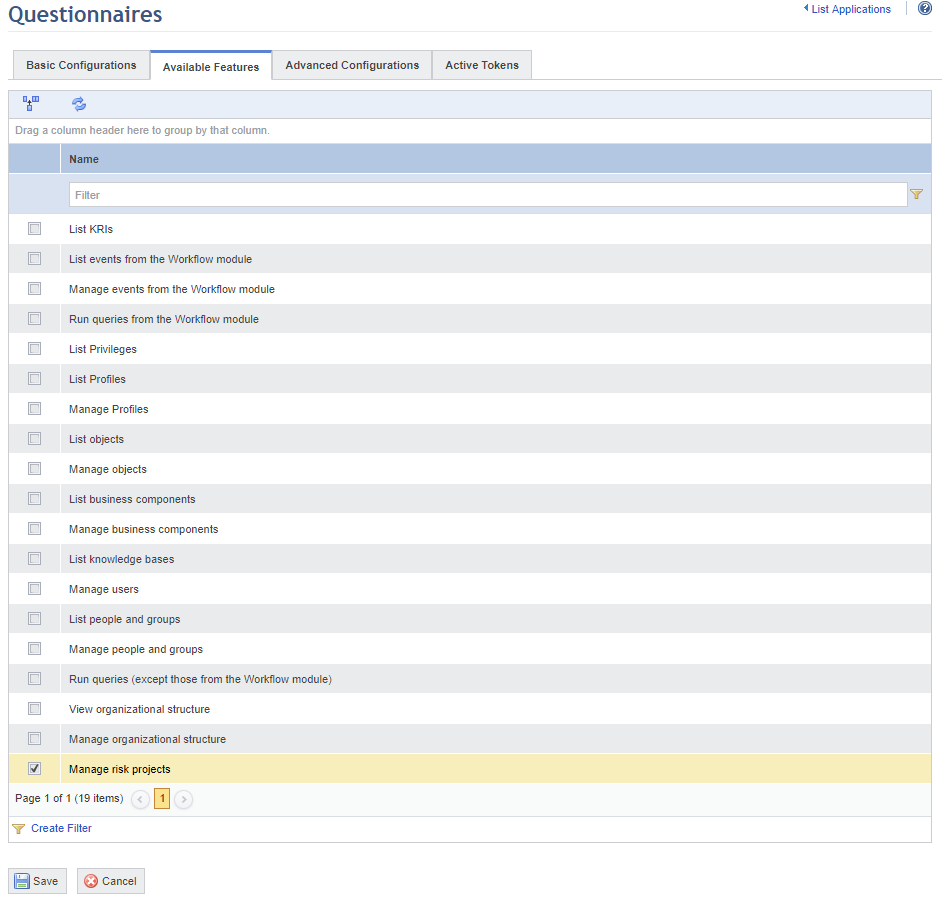
12. Mark the checkbox next to Manage risk projects. This will allow the app to access risk projects.
13. When finished, click Save. If you want to quit the operation, click Cancel.
The system displays a success message.
14. Click the Advanced Configurations tab to specify some additional features related to the authentication process (see figure below).
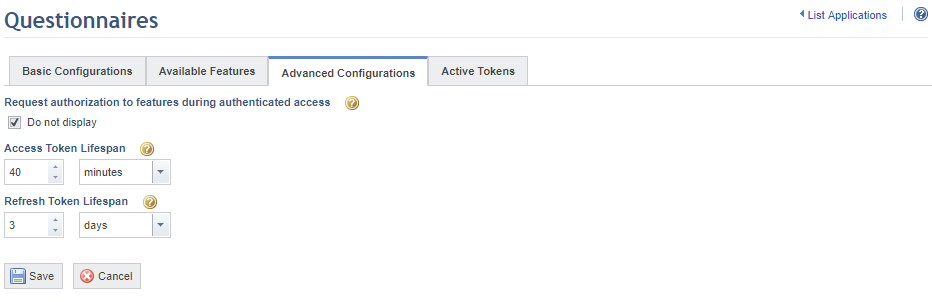
15. In the Request authorization to features during authenticated access section, mark the Do not display checkbox if you do not want the authorization screen requesting access to the features to be displayed. In this case, the system will trust the app and will grant access to the selected features.
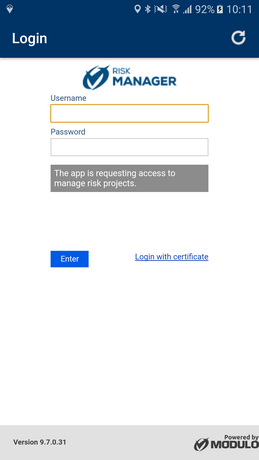
16. If you choose to show this authorization screen with the list of features, you can enter a customized message in the Customized message to request authorization during authenticated access field. This message will be displayed instead of the default list of features in the screen to authorize the application to access the system (see figure below).
17. In the Access Token Lifespan section, specify the validity period for the access tokens issued by the system. An access token is used to grant authorized applications access to the API feature. For security reasons, the lifespan of the access token should be short, as it is sent in all calls to the API and can be used to access all the operations with the same username of the user who has access to these operations. Anonymous access tokens have the same lifespan, which, by default, is one day. In order to access the application, then, users will have to provide their usernames and passwords every day unless the token lifespan is extended.
18. In the Refresh Token Lifespan section, specify the validity period for the access token to be updated. Once the token has expired, users will have to provide their usernames and passwords to access the application. The lifespan for the refresh token must be higher than the lifespan for the access token.
19. When finished, click Save. If you want to quit the operation, click Cancel.
The system displays a success message.
20. Click the Active Tokens tab to view the list of users with active tokens, the number of access and refresh tokens associated with each, the date when the most recent one was issued, and the date when they will expire. Note that a single user may have more than one access token associated with their account if they accessed the system through the API using, for example, two different devices.
21. To delete the tokens associated with a user, mark the checkbox next to the user and click Delete Tokens. Note that, in this case, the user will need to enter credentials again to gain access to the system features.
The system requests confirmation of the deletion of the tokens (see figure below).
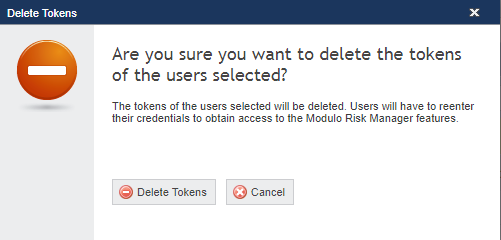
22. Click Delete Tokens to confirm. If you want to quit the operation, click Cancel.
The system displays a success message.
23. Click the List Applications link in the upper right corner to return to the main list of authorized applications.