1. Access the Events solution.
2. In the Scheduled Events section, select Manage Available Resources.
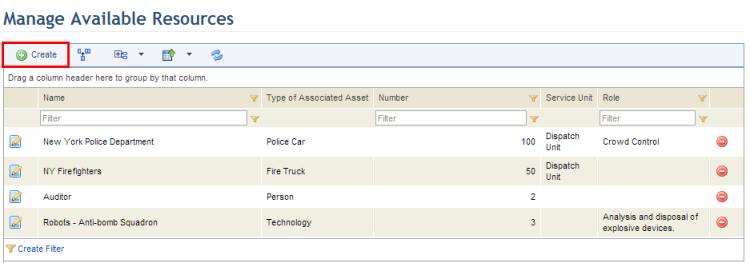
The system displays the list of resources.
3. To create an available resource, click Create (see figure below).
The system displays a page where the available resource can be registered.
4. In the Name field, enter the name of the resource using a maximum of 400 characters.
5. In the Type of Associated Asset field, select the type of asset represented by the resource to be allocated to events. Any custom asset types registered in the Object Types section of the Administration module will also be listed here.
6. In the Number field, enter a positive number to indicate the quantity available of this resource.
7. In the Responsible for Available Resource field, select the group of people responsible for managing the resource.
8. In the Role field, provide a brief description of the purpose of the resource using a maximum of 400 characters.
9.
In the Start of Availability and End of Availability fields, click
Calendar ( ) and select the respective dates and
times indicating when the resource is available to be allocated to scheduled
events. The start date and time must be earlier than the end date and time.
) and select the respective dates and
times indicating when the resource is available to be allocated to scheduled
events. The start date and time must be earlier than the end date and time.
10. When finished, click Save. If you want to quit the operation, click Cancel.
The system displays a success message. The new resource will be available for association with scheduled events. Once saved, additional information on the available resource will appear on the top right corner of the page (see figure below), which will also be available as column options in the main list.
