1. Access the ERM solution.
2. In the Loss Database section, select Manage Loss Events.
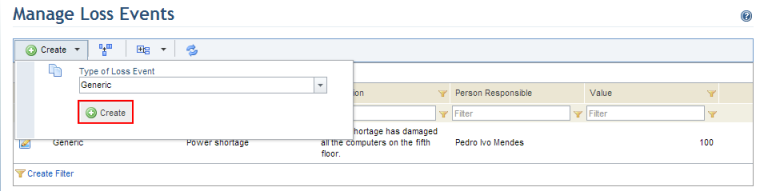
3. Click Create, select a loss event type from the list, and then click Create (see figure below). Any custom types of loss events created in the Object Types section of the Administration module will be listed here. Note that the type of loss event selected cannot be changed afterwards.
The system displays a page where the properties of the loss event can be defined. Any attributes created for loss events in the Objects and Attributes section of the Administration module will also be available here.
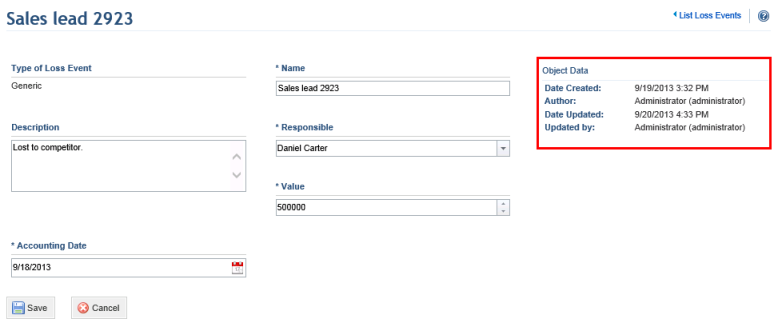
4. In the Name field, enter a name to identify the loss event using a maximum of 2,500 characters.
5. In the Description field, provide a description for the event using a maximum of 5,500 characters.
6. In the Responsible field, select the person who will be responsible for the event. By default, people assigned to this role have permission to edit loss events for which they have been assigned as responsible.
7. In the Value field, enter a value to represent the loss arising from the incident. This field accepts positive and negative values.
8. In the Accounting Date, define the date when the loss will be considered.
9. When finished, click Save. If you want to quit the operation, click Cancel.
The system displays a success message. Once saved, additional information on the loss event will appear (see figure below), which will also be available as column options in the main list.