This topic explains the procedure required by the system when a user is deleted from a directory service and this directory service has been integrated with the system. This will only be necessary if you selected the option for the system to request confirmation before applying deletions performed in the directory when you created the integration task. If you did not, users deleted in the directory will also be deleted from the system automatically.
For details on integrating an external directory with the system, see Chapter 17: Administration -> Integrations -> Integration Tasks -> Creating a Task to Integrate with an LDAP.
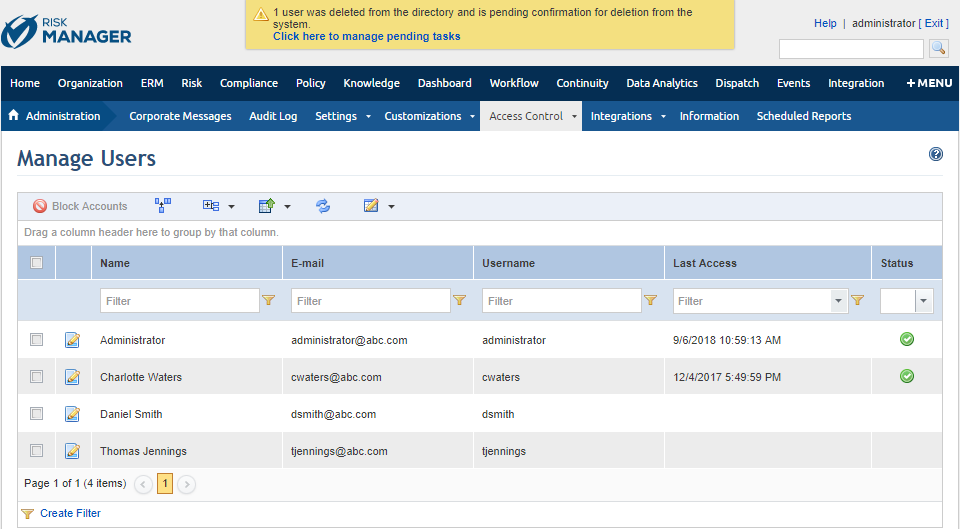
1. Access the Administration module.
2. Select Manage Users from the Access Control option on the menu.
The system displays a message indicating a pending task in the system (see figure below).
3. Click the Click here to manage pending tasks link to view the pending tasks concerning users who were deleted from the directory.
4. In the Pending User-Related Tasks section, select the user whose deletion from the system you want to confirm and click Approve Task to apply the directory deletion to the system (see figure below).
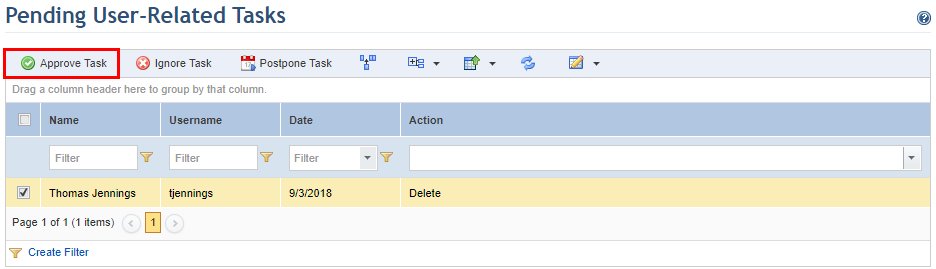
The system requests confirmation of the deletion.
5. Click Approve Task (see figure below) to confirm deletion. If you want to quit the operation, click Cancel.
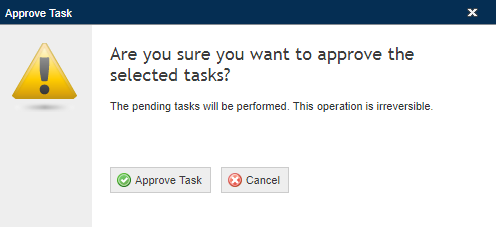
The system displays a success message.
6. In the Pending Users section, select the user whose deletion from the system you want to ignore and click Ignore Task so that the user will remain registered in the system (see figure below).
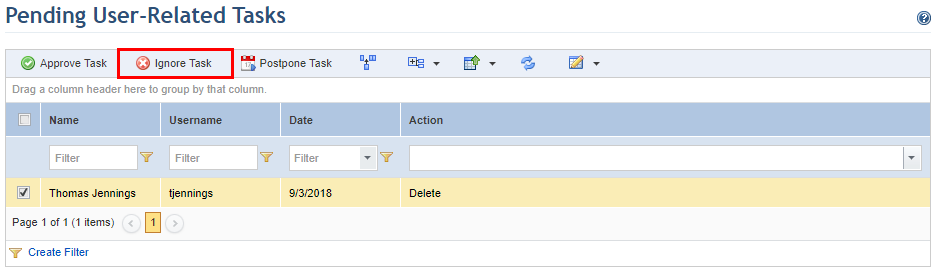
The system requests confirmation to ignore deletion of the user (see figure below).
7. Click Ignore Task (see figure below) to confirm. If you want to quit the operation, click Cancel.

The system displays a success message.
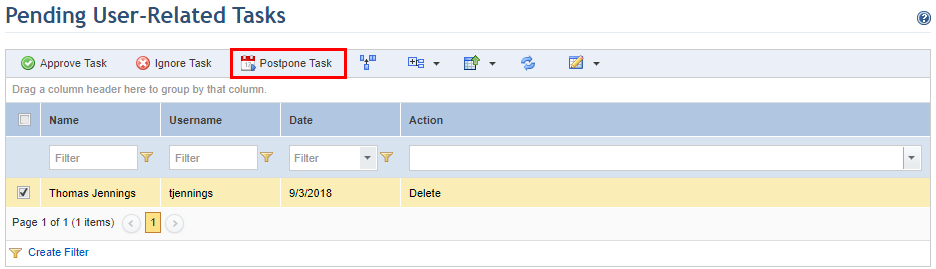
8. In the Pending User-Related Tasks section, select the user whose deletion from the system you want to postpone until the next synchronization and click Postpone Task so that the user remains in the system (see figure below).
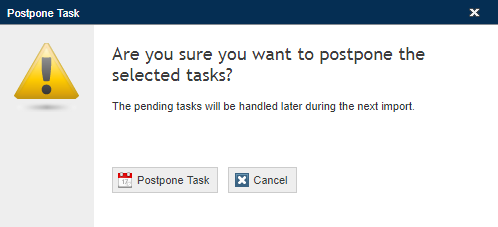
The system requests confirmation to postpone the deletion.
9. Click Postpone Task (see figure below) to confirm. If you want to quit the operation, click Cancel.
The system displays a success message.