Dashboard Designer uses a local database as the temporary repository for the data sources used in dashboards. Installing the SQL database manager is required only once. Note that Dashboard Designer can be downloaded separately, allowing you to get the most up-to-date version of the program without having to download the SQL database manager again.
1. Access the Data Analytics module.
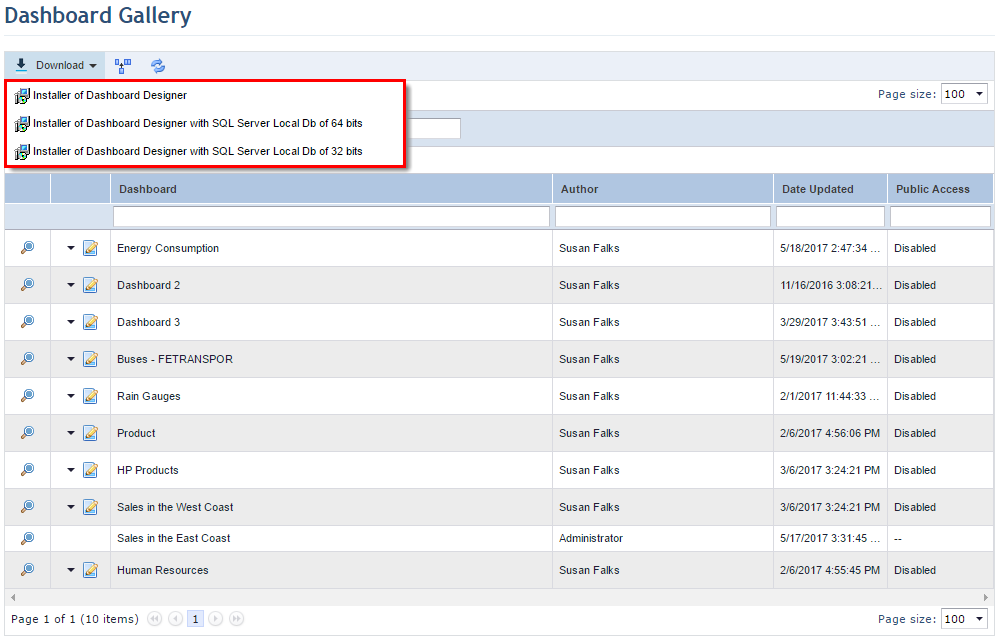
2. In the Dashboard Gallery section, click Download and select the Installer of Dashboard Designer option to download only the program or the Installer of Dashboard Designer with SQL Server Local Db versions 32 or 64 bits to also download the SQL database manager (see figure below). It is important that you know which version is used in your operating system to download the compatible version of the database manager.
Note: Your browser security settings might block the download process. In this case, you will have to allow the operation manually.
3. When finished, open the installation wizard by double-clicking the file name.
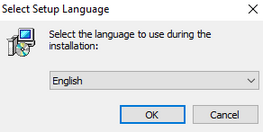
4. When the file is opened, the installation wizard will appear (see figure below). Select the language from the drop-down list and click OK to confirm or Cancel to quit the operation. The language selected here will be used in both the installation wizard and Dashboard Designer. Keep in mind that, once installed, to change the language of the program you need to reinstall it and select the language you want in this step.
5. Read the license agreement and, if you accept the terms of the agreement, mark the I accept the agreement checkbox (see figure below).
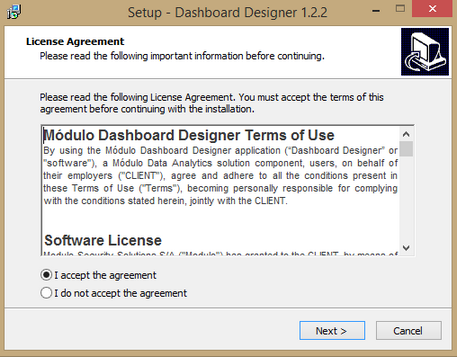
6. Click Next to proceed with the installation or Cancel to quit the operation.
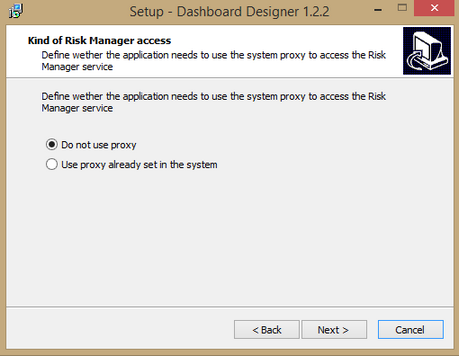
7. In the following step, mark the Use proxy already set in the system checkbox if you want to use the proxy configured in your machine to access Modulo Risk Manager.
8. If not, mark the Do not use proxy checkbox and click Next (see figure below).
Note: Some corporate networks may require a proxy. In this case, you can configure the proxy settings locally on your machine if this access option is selected. On your computer the proxy address can be configured in Control Panel -> Network and Internet -> Internet Options -> Connections tab -> Local Area Network (LAN) settings.
9. In the next step, enter the web address of the Modulo Risk Manager instance to which Dashboard Designer will be linked (see figure below).
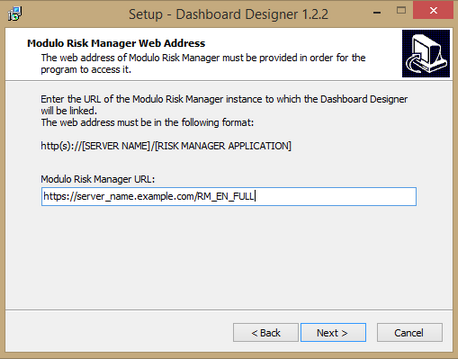
10. Click Next to proceed with the installation, Back to return to the previous step, or Cancel to quit the operation.
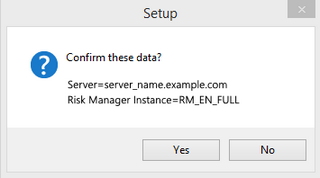
11. Click Yes if the URL data is correct or No to quit the operation (see figure below).
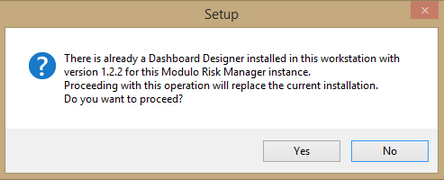
12. If this version of Dashboard Designer is already installed on your computer, a pop-up window will appear to confirm that the current installation will be overwritten. Click Yes to continue or No to quit the operation (see figure below).
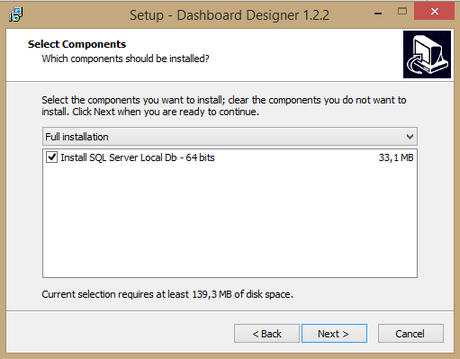
13. In the next step, mark the checkbox next to the SQL database manager that you want to install and click Next to proceed with the installation, Back to return to the previous step, or Cancel to quit the operation (see figure below).
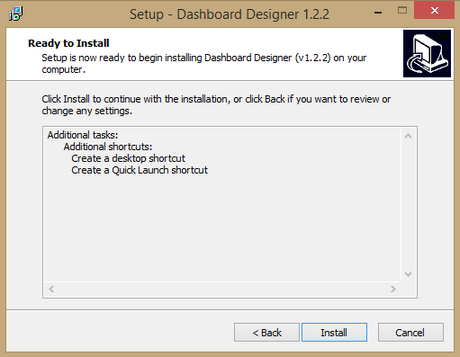
14. Next, mark the Create a desktop shortcut checkbox to create a Dashboard Designer shortcut on your computer desktop.
15. Mark the Create a Quick Launch shortcut to create a Dashboard Designer shortcut on the quick launch bar of your computer.
16. Click Next to proceed with the installation, Back to return to the previous step, or Cancel to quit the operation (see figure below).

17. Click Install to install the program, Back to return to the previous step, or Cancel to quit the operation (see figure below) . Any Dashboard Designer application already installed on your computer must be closed before the wizard can update it.
18. When the installation is complete, click Finish.