
This topic explains how to import a spreadsheet containing organizational information to the system, as well as how to import previously registered information that was exported and edited through the import template. There are also two options in this section to delete all assets and all perimeters in the system, allowing the existing structure to be automatically deleted before importing a new spreadsheet. These two actions are irreversible and should be used with caution.
1. Access the Organization module.
2. Select the Export/Import option from the menu and click the Import Organization tab.
3. If you want to delete all assets from the Organization module to clean the structure before a new spreadsheet is imported, click Delete All Assets in the Delete System Objects section.
4. In the pop-up window that appears, click Delete Assets to delete all assets registered in the system. If you want to quit the operation, click Cancel (see figure below).
The system displays a success message.
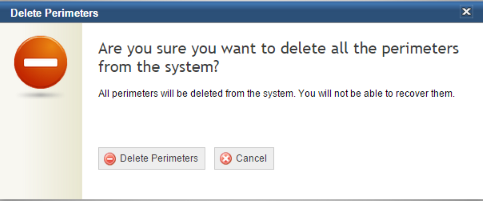
5. If you want to delete all perimeters from the Organization module to clean the structure before a new spreadsheet is imported, click Delete All Perimeters in the Delete System Objects section.
6. In the pop-up window that appears, click Delete All Perimeters to delete all perimeters and their assets registered in the system. If you want to quit the operation, click Cancel (see figure below).
The system displays a success message.
7. In the Select an option field of the Import Organization tab, select one of the available options according to what you want to import.
8. In the Select a file to import field, click Browse and select a file in the dialog box that appears.
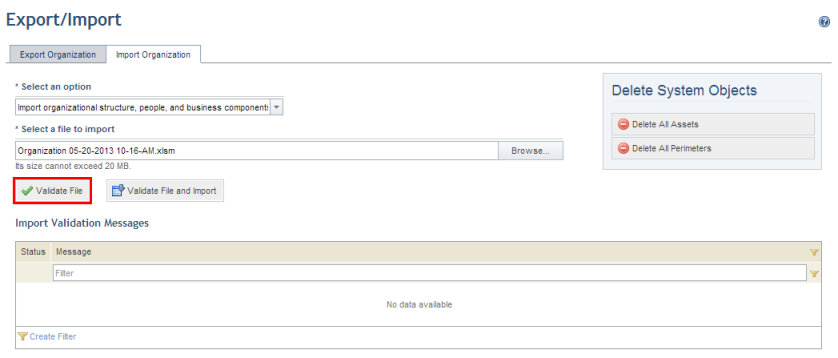
9. Click Validate File so that the system can check for errors that would prevent the file from being imported (see figure below).
Note 1: If invalid information is inserted in a required field, the spreadsheet will not be imported and the information will have to be corrected. On the other hand, if invalid information is inserted in an optional field, it will be disregarded when the file is imported. For example, if the name of a person is inserted in the Latitude field of the Assets worksheet, the spreadsheet will be imported, but this information will be ignored.
Note 2: If more than 200 errors are detected, the system will display an alert indicating that there are too many errors for the spreadsheet to be imported.
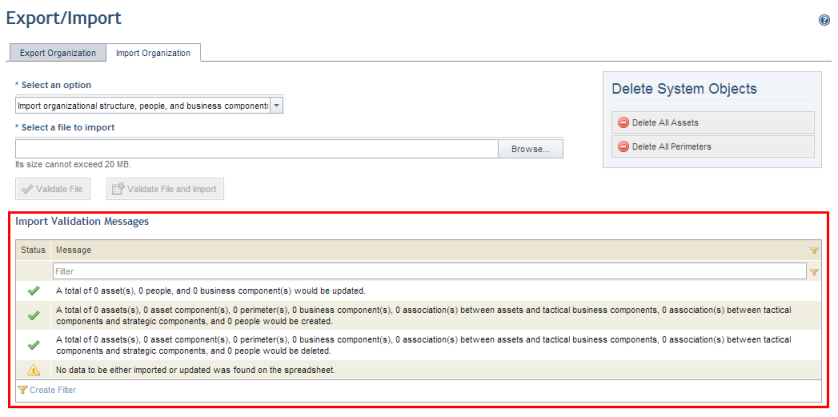
When Validate File is clicked, the system displays a validation success message if no errors are found. A summary of what will occur in the system when the spreadsheet is imported is also displayed (see figure below).
10. Once validated, select the spreadsheet again and click Validate File and Import to import the information to the system.
The system displays a success message confirming that the information was imported and displays the validation and error messages, if any.
Note: When an organizational structure is imported either after being created from scratch or after the exported structure was deleted and recreated through the spreadsheet, the system creates a new perimeter in the organizational structure under the name "Imported – mm/dd/yyyy hh:mm:ss" (see figure below). However, if an existing organizational structure was only edited through the spreadsheet, the new and edited items will appear in the organizational structure in the system as indicated on the spreadsheet. Keep in mind that, for perimeters created through the spreadsheet, the person logged in the system will be assigned by default as the responsible for the perimeter.
