This section explains how to export and import the "\App_Data\MapQueriesConfig.xml" file, used to configure layers for the map in the Integration module and the Events and Dispatch solutions. This file is located in the "CCM" folder for the system. Also explained is how to import KML files that can automatically generate layers.
It is important to note that the system only uses one XML file at a time. In other words, when the Export Layers option is selected, the exported file will contain all the layers available. Likewise, when the Import Layers option is selected, the file uploaded will replace all existing layers in the system.
The Import KML Files option is used to migrate these files to the system server and automatically generate a new layer in one of the existing categories, which will be available for selection. When imported, these files do not replace the XML file. Instead, a new layer is registered in the XML file and is displayed in the Layers window on the map.
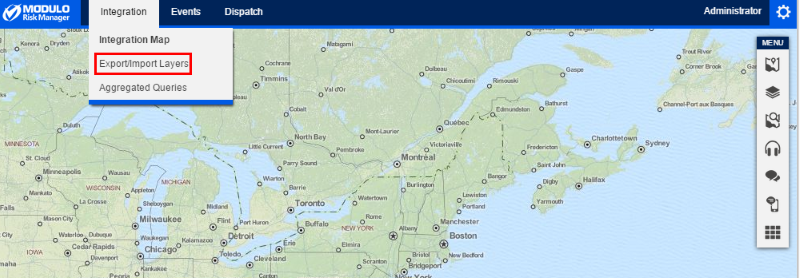
1. Access the Integration module and select the Integration Map option.
2. Click Integration in the upper left corner and select Export/Import Layers from the drop-down list (see figure below).
The system displays the Export/Import Layers section (see figure below).
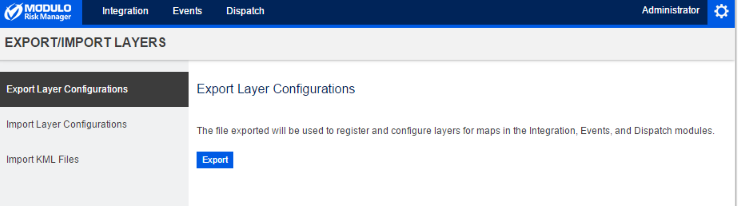
3. To export the XML file containing the current layer configurations used in the system, click Export Layer Configurations.
4. In the section to the right, click Export.
The XML file containing the configurations for all layers registered will be saved to your computer so that it can be edited and imported back to the system.
5. To import an XML file containing previously configured layers, click Import Layer Configurations.
6. In the section to the right, select Choose Files. In the window displayed, locate the file on your computer and click Open.
7. Click Validate and Import.
The system checks for errors in the file and, if none is found, displays a success message. Keep in mind that this file contains the complete configurations for all layers in the system. Any layers or settings that are not included in this file will be removed from the interface.
Note: The system will not import the file if any of the following errors are found:
•If an ID for an icon or template is repeated;
•If an icon or template used in a layer is not found because its ID or path is invalid;
•If the structure of the XML is invalid;
•If the file is not an XML file;
•If the file size exceeds the maximum limit allowed.
8. To import a KML file, click Import KML Files.
The system displays an area where KML files can be imported to the system as layers (see figure below).
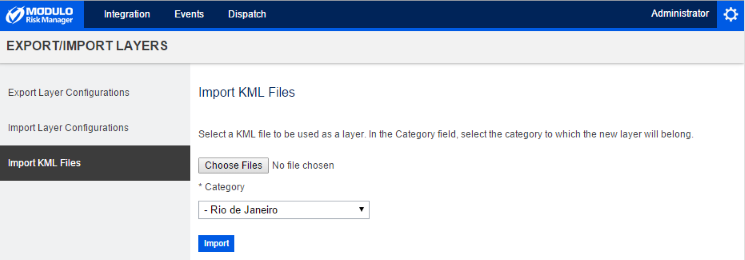
9. Click Choose Files to select a KML file to be imported. In the window displayed, locate the file on your computer and click Open.
10. In the Category field, select the category to which the new layer will belong in the Layers window of the map. The categories available in the drop-down list were previously registered in the XML file, as detailed in Appendix -> Layers for the Integration Map -> How to Create Layer Categories.
11. Click Import.
The system uploads the file to the application server and registers a new layer in the configuration file. The layer is available for use immediately in the Layers window.