 ) in the upper-right corner of the
dashboard or item to export it.
) in the upper-right corner of the
dashboard or item to export it.This topic explains how to export a dashboard and its items.
Both the dashboard and the dashboard items can be exported to PDF format or as images. In addition to these options, dashboard items can also be exported to an Excel spreadsheet.
1. Access Dashboard Designer.
2. In the window that appears when you log in to the application, select the dashboard you want to export and click Open.
3.
Click Export to () in the upper-right corner of the
dashboard or item to export it.
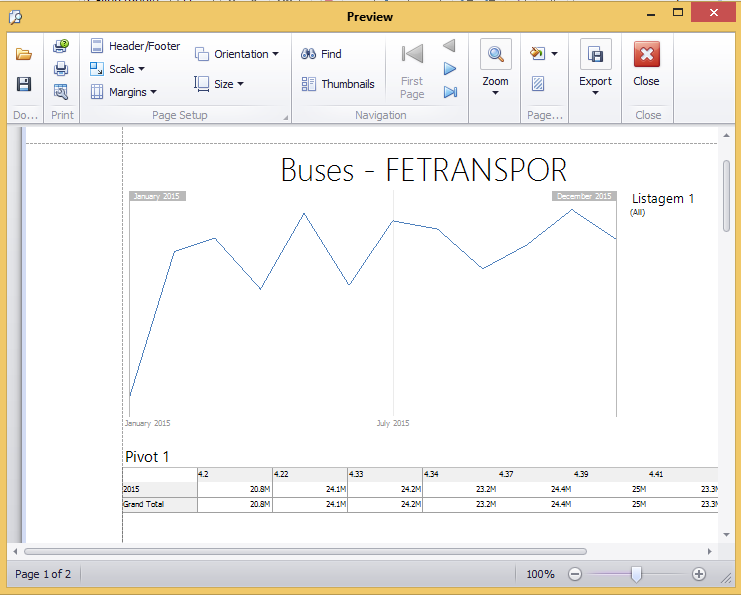
4. In the drop-down list, select the Print Preview option to preview the dashboard or item.
The application displays the preview version in a new window (see figure below).
5. Select the Export To PDF option to export the dashboard or item to PDF format or Export To Image to export them as an image. The Export To Excel option is displayed for dashboard items only.
If you selected the option to export to PDF, the system opens a window where you can specify the file details (see figure below).
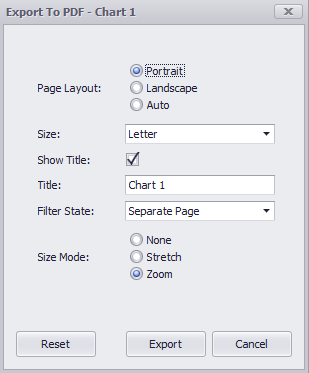
6. In the Page Layout field, select the layout orientation.
7. In the Size field, select the paper size of the file.
8. Mark the Show Title checkbox to display the dashboard title.
9. In the Title field, enter the title of the dashboard.
10. In the Filter State field, select the display option for the filters applied to the dashboard.
11. Click Reset to restore the default properties of the file.
12. Click Export to confirm. If you want to quit the operation, click Cancel.
If you selected the option to export as an image, the system opens a window where you can specify file settings (see figure below).
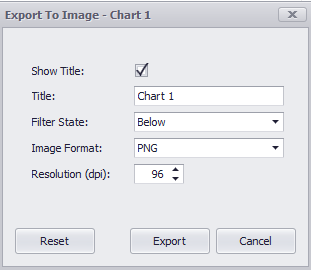
13. Mark the Show Title checkbox to display the dashboard title.
14. In the Title field, enter the title of the dashboard.
15. In the Filter State field, select the display option for the filters applied to the dashboard.
16. In the Image Format field, select the format in which the image will be displayed.
17. In the Resolution (dpi) field, set the resolution of the image, in dots per inch.
18. Click Reset to restore the default properties of the file.
19. Click Export to confirm. If you want to quit the operation, click Cancel.
If you selected the option to export an item to an Excel spreadsheet, the system opens a window where you can define the spreadsheet settings (see figure below).
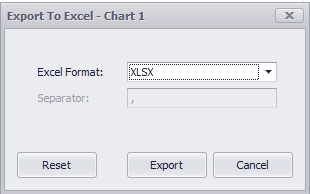
20. In the Excel Format field, select the format of the spreadsheet.
21. Click Reset to restore the default properties of the file.
22. Click Export to confirm. If you want to quit the operation, click Cancel.
The dashboard or item is exported in the chosen format and settings.