This topic explains how to edit a query in the Organization module. The scope, filters, columns displayed in the results, name, description, display mode, audience, and editors of a query can be configured through this option.
1. Access the Organization module.
2. In the Queries section, click the List Queries link.
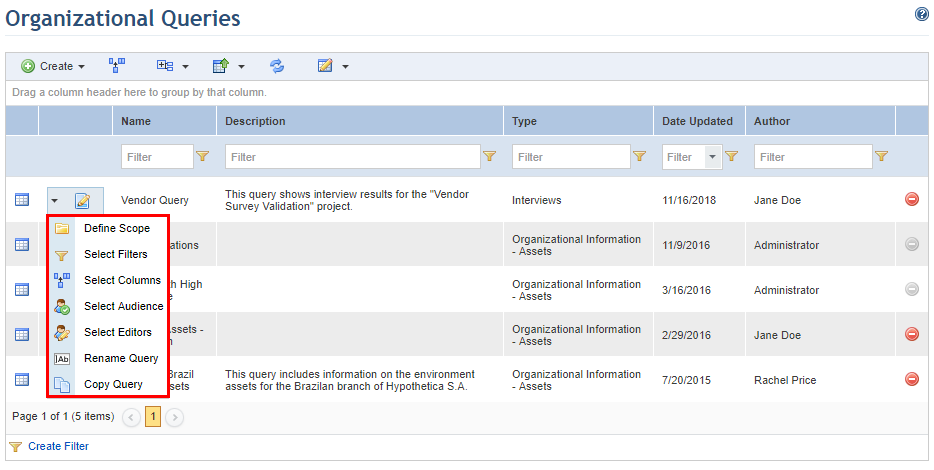
3. In the Organizational Queries section, click Edit next to the query and select the item you want to edit from the drop-down list that appears (see figure below).
If the Select Filters option was selected, for example, the system will open the Filters step in which the filters for the query can be edited.
4. Make the necessary changes and click Proceed to continue editing. If you want to run the query without having to complete the other steps, click Generate Query. If you want to cancel query-editing, click Cancel. To return to the previous step, click Back.
5. When the Results step is reached, you can choose to either save the changes made in a new version of the edited query or to save them in the original query itself. Click Save to save the changes in the original query. Click Save As to keep the original query and create a new version of it that includes the changes made. If you want to cancel query-editing, click Cancel.
Note: When the query is run at a later date, its results will be displayed according to the display mode (table, map, or integrated overview) selected the last time it was saved. In addition, for results displayed on a map, the zoom level and position of the map will also be saved as they were configured here. Keep in mind that the option to display maps must be enabled in Administration -> Customizations.
The system displays a success message.