This topic explains how to edit an event’s location by manually entering the location of an event or by pinning the location on the map. It is important to know that access to some of the features depends on the Location Services settings of your device. Also note that you can only edit the locations of open events and that you must have permission to edit events in the system.
1. Tap Events and select the event whose location you want to edit.
2. Tap the Details tab and then tap the map displayed on the screen.
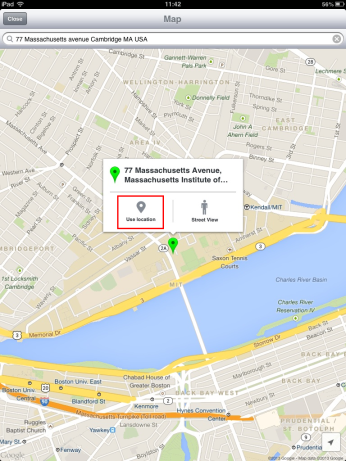
3. To manually define the event’s location, tap the Address search box on the top of the screen, enter the event’s location, and tap Search.
4. A pin and pop-up will appear to confirm the new event location on the map. To use this location, tap Use location (see figure below).
5. A pop-up will appear to confirm the address update. To confirm the new location, tap Yes. If you want to quit the operation, tap No (see figure below).

6. You can also update the event’s location by tapping the new location on the map for over a second. A pin and a pop-up will appear with the latitude and longitude of the new location. Tap Use location to use this location as the new event location.
7. A pop-up will appear to confirm the address update. To confirm the new location, tap Yes. If you want to quit the operation, tap No.
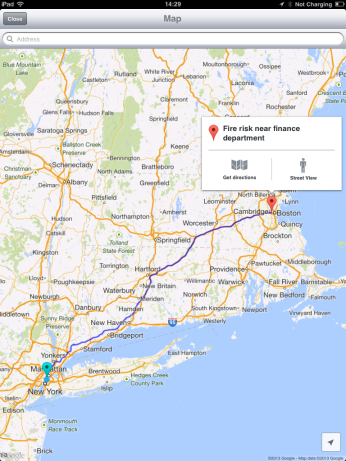
8. You can also plot routes from your location to the event’s location. To do so, tap the pin where the event is located and tap Get directions. The route will be plotted from your current location to the event’s location (see figure below).