This topic provides orientation on customizing the justification options that are available in the evaluation phase of risk and compliance projects when non-implemented controls, requirements, or vulnerabilities are accepted.
1. Access the Administration module.
2. Select Projects from the Customizations option on the menu.
3. Click the Justifications tab.
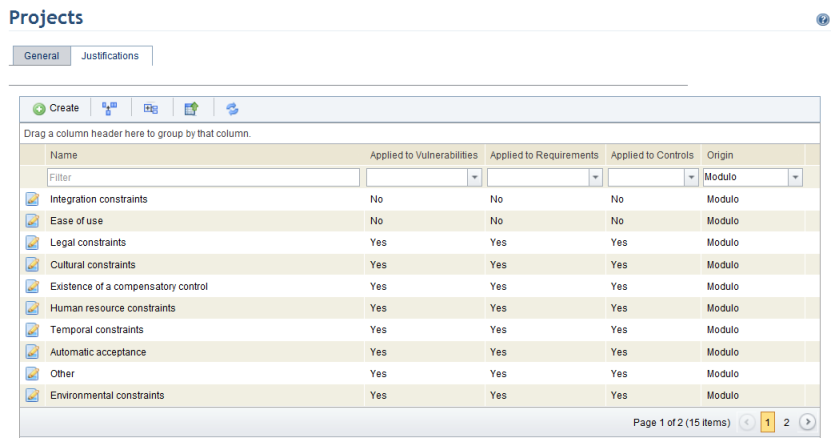
The system displays the justifications available (see figure below).
4. To create a justification, click Create.
The system displays an area where the new justification can be registered (see figure below).
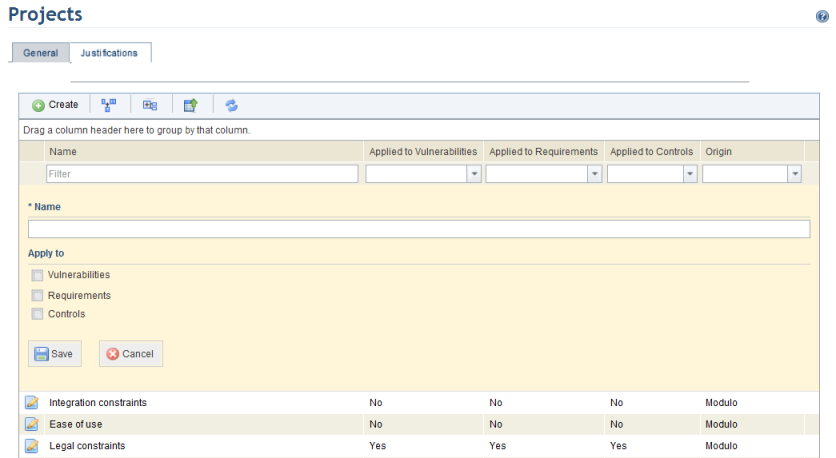
5. In the Name field, enter a name for the justification using up to 60 characters.
6. In the Apply to section, mark the checkboxes next to the items for which the justification should be available.
7. Click Save.
The system displays a success message.
8. To edit a previously registered justification, click Edit next to the justification you want to edit.
9. Make the necessary changes and click Save. Note that only custom justifications can have their names changed.
The system displays a success message.
10. To delete a justification, click Delete next to its name. Note that only custom justifications can be deleted; however, those provided by Modulo can be disabled at any time.
The system requests confirmation to delete the justification (see figure below).
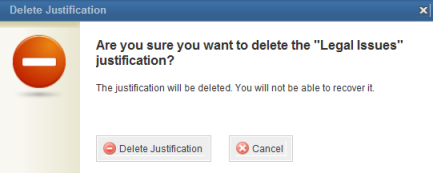
11. To confirm deletion, click Delete Justification. To cancel the operation, click Cancel.
The system displays a success message.