1. Access the Administration module.
2. Select Projects from the Customizations option on the menu.
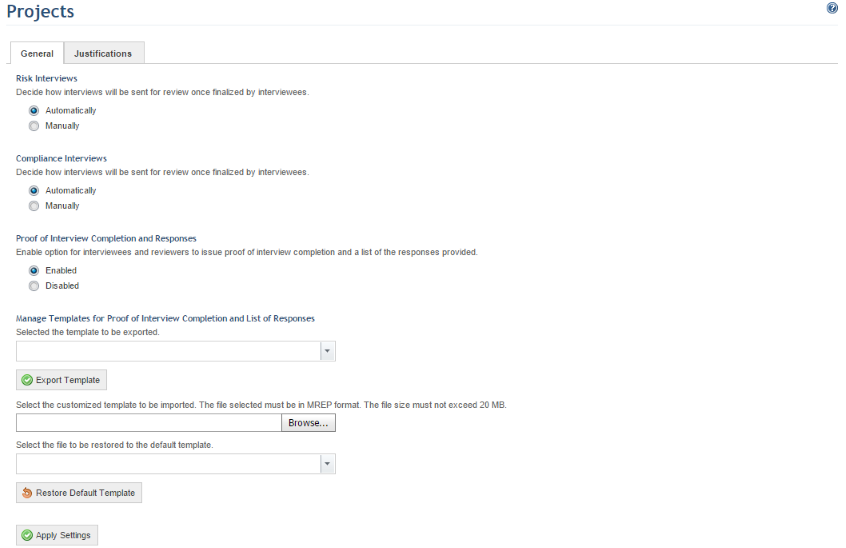
The system displays a screen where you can customize the default options for projects and interviews (see figure below).
3. In the Risk Interviews and Compliance Interviews sections, select Automatically if you want the system to send interviews to reviewers once completed automatically. Select Manually if you want to manually send the interviews through the Reviews page from the Analysis tab in the projects.
4. In the Proof of Interview Completion and Responses section, select Enabled if you want interviewees and reviewers to have access to documents with proof of interview completion and a list of the responses provided once they finish answering or reviewing the interview. If enabled, these documents will either be sent to the interviewees or reviewers via e-mail or made available through a download link in the Analysis tab of projects. Select Disabled if you do not want these documents to be available for interviewees/reviewers.
5. To customize the template for the documents with the proof of interview completion and list of responses provided (in English or Portuguese), select the template you want to edit from the drop-down list in the Manage Templates for Proof of Interview Completion and List of Responses section and click Export Template.
6. After customizing the template in Report Designer and saving it on your computer, click Browse and select the customized file to import it to the system. Note that the file must be in .mrep format and no larger than 200MB.
7. To restore the default template for these documents, select the template to be restored to default in the appropriate field and click Restore Default Template.
8. Click the Apply Settings option to confirm.
The system displays a success message.