 ) (see figure below).
1. Access the module or solution that contains a list with the information you want to organize into groupings, for example, the Home module.
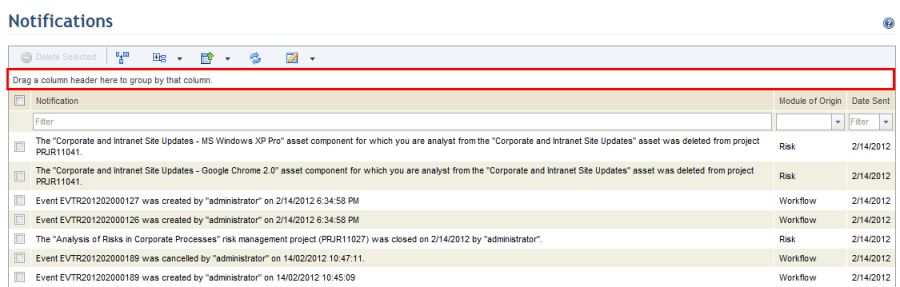
2. Select the section containing the list with the information you want to organize into groupings, for example, the Notifications section.
3.
Drag the column header with the information you want to group to the area below
the Groupings button () (see figure below).
The system displays the information in the list according to the specified groupings (see figure below). In this example, the information was grouped by the Date Sent column.
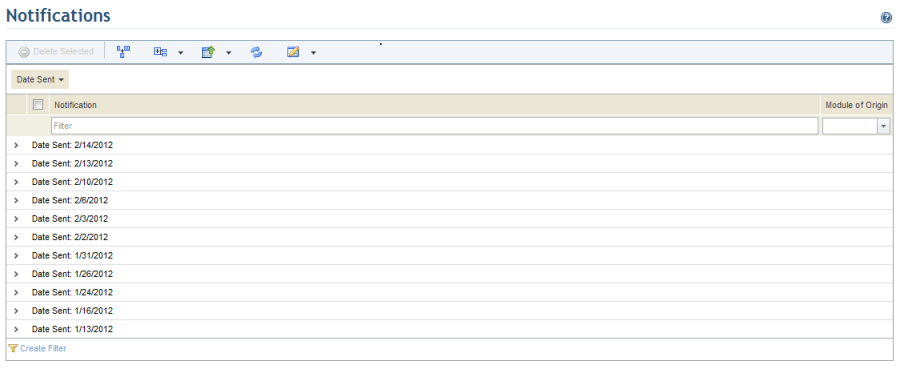
Note: The list can be grouped by more than one column
header. In this case, the information will be grouped according to the order of
groupings below the Groupings button ().
4.
To expand each grouping individually, click Expand ( )
next to each.
)
next to each.
5.
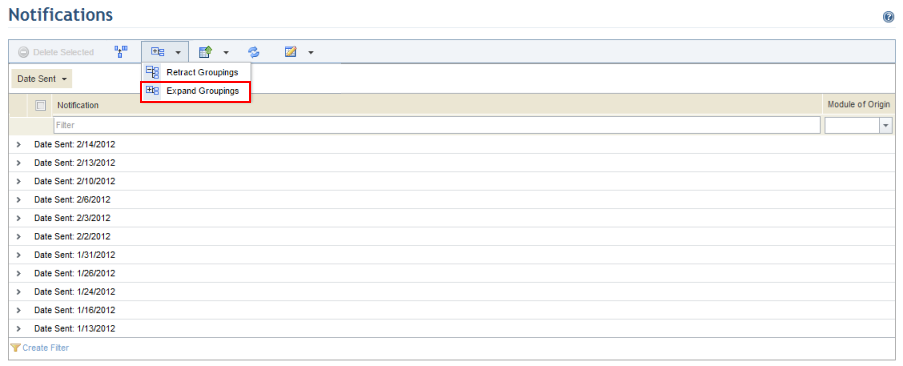
To expand all groupings, click Groupings ()
and then select Expand Groupings from the drop-down list that appears
(see figure below).
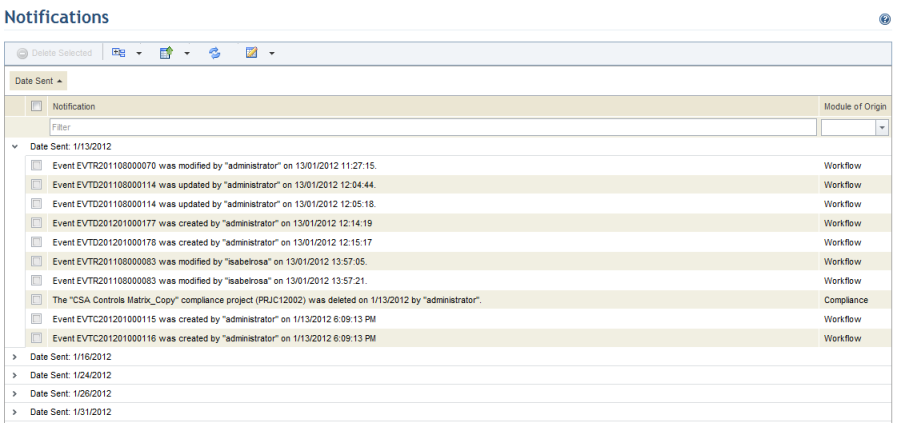
The system displays the information contained in the groupings (see figure below).
6.
Click Groupings ( ) and select Retract Groupings
from the drop-down list to retract all groupings or click Retract (
) and select Retract Groupings
from the drop-down list to retract all groupings or click Retract ( )
next to each grouping to retract them individually.
)
next to each grouping to retract them individually.
7. To ungroup the information, click the column name, drag it to the desired location in the list of headers, and drop it into place.