1. Access the custom module.
2. Select the custom object section you want to access.
The system displays the list of instances registered for the object.
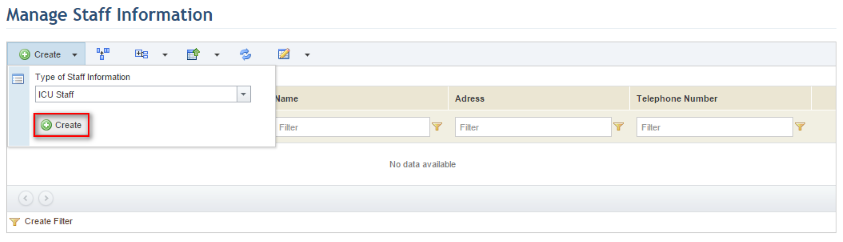
3. Click Create to create a new instance. Select the type of the instance in the field displayed and click Create (see figure below). All types created for the object in the Object Types section of the Administration module will be available for selection.
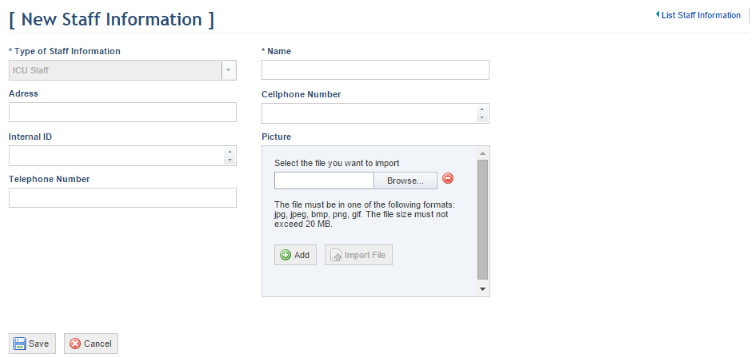
The system displays a window where the properties of the instance can be defined. The fields available correspond to the published attributes associated with the object in the Objects and Attributes section of the Administration module. Note that some fields may be required, depending on the settings configured for each attribute.
4. Complete the fields and click Save. If you want to quit the operation, click Cancel (see figure below).
The system displays a success message. Once saved, additional information on the instance will be displayed (see figure below), which will also be available as column options in the main list.
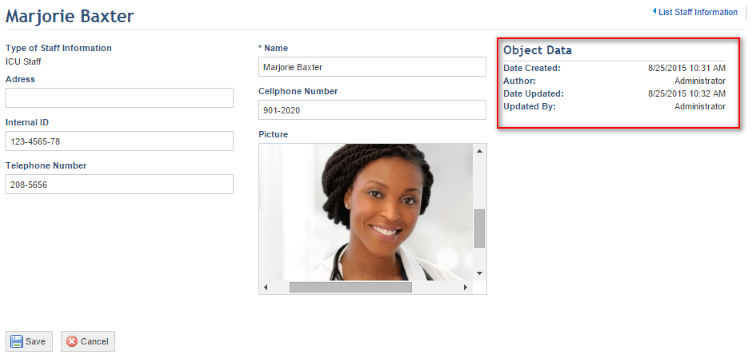
5. Click the link in the upper right corner of the page to return to the main list of instances.
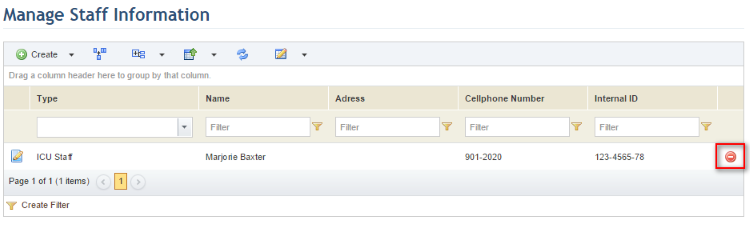
6. To delete an instance, click Delete next to it (see figure below).
The system requests confirmation (see figure below).
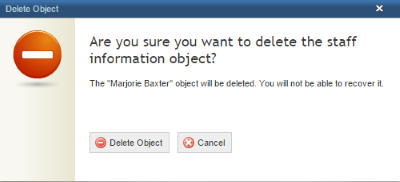
7. Click Delete Object to confirm. If you want to quit the operation, click Cancel.
The system displays a success message.