1. Access the Administration module.
2. Click the Manage Corporate Messages option.
3. In the Corporate Messages section, click Create Message.
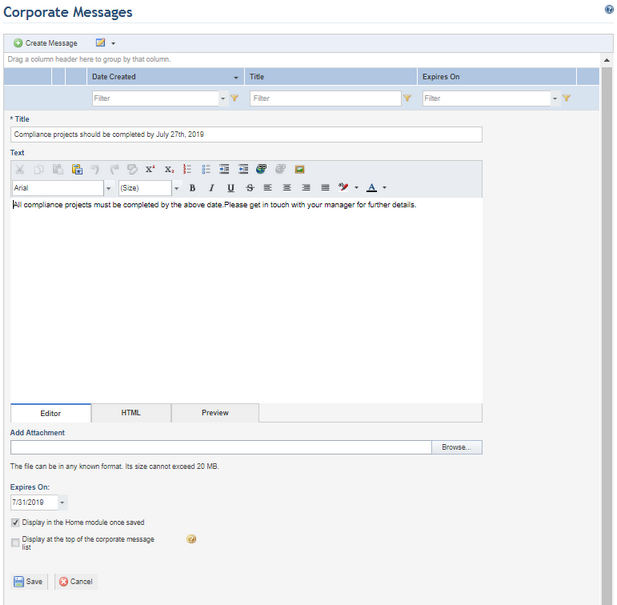
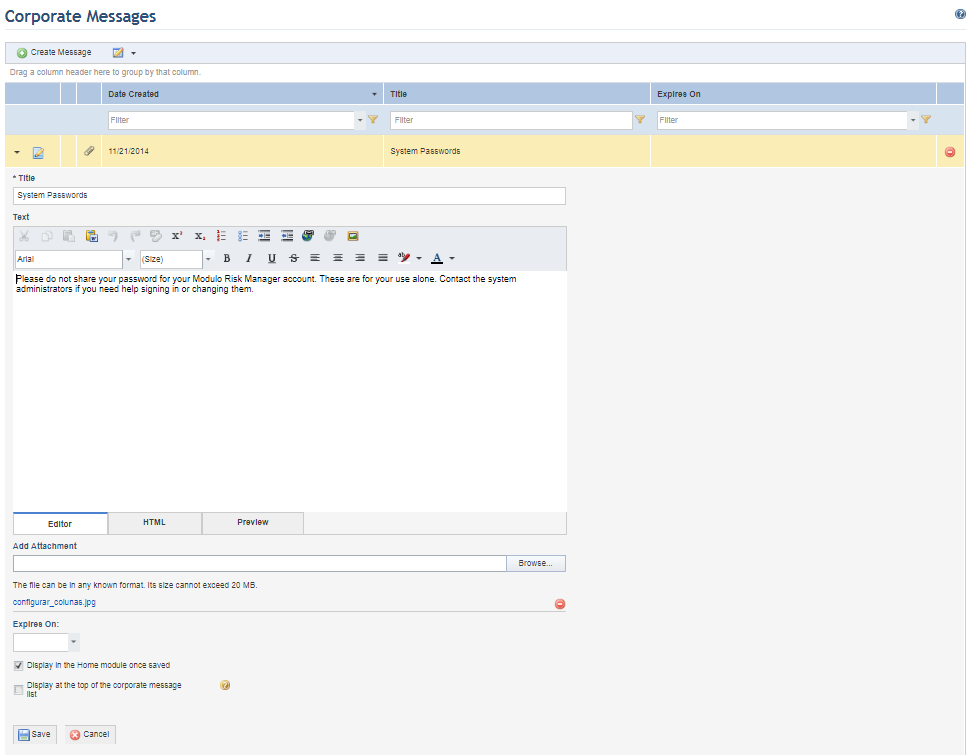
The system displays a screen where the new message can be registered (see figure below).
4. In the Title field, enter a name to identify your corporate message.
5. In the Text field, enter the contents of the message.
6. In the Add Attachment field, click Browse... to select the file you want to attach.
7. In the Expires On field you can set a date for the message to expire. After the selected date, the message will no longer be displayed to users.
8. Mark the Display in the Home module once saved option if you want the message to be immediately available for all users once saved. Leave this option unmarked if you want to save it and restrict its audience before publishing it for all system users.
9. Mark the Display at the top of corporate message list option if you want to pin the message to the top of the list of corporate messages in the Home module. If this option is selected when another message is already pinned, this message will replace the older one at the top of the list of corporate messages, while the older message will return to its place on the list, according to the creation date.
10. To edit the message in HTML, click the HTML tab.
11. To see how the message will be viewed by users, click the Preview tab.
12. When finished, click Save. If you want to quit the operation, click Cancel.
The system displays a success message.
13. To restrict the audience for the message, click Edit next to it and select the Restrict Audience option (see figure below).
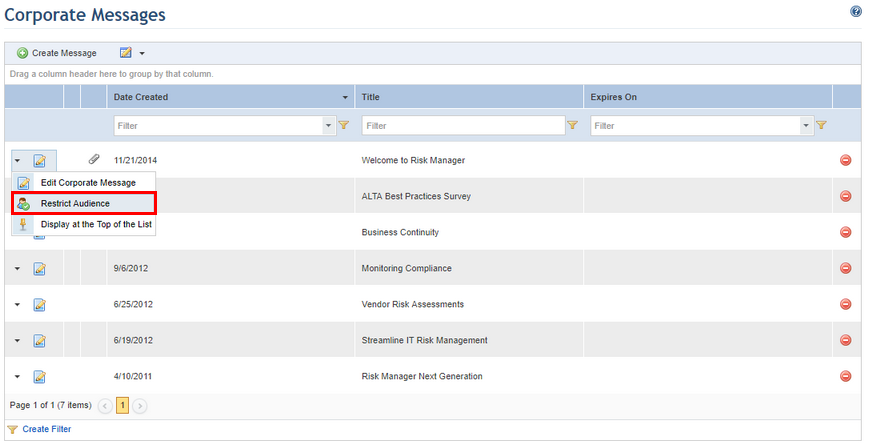
The system displays a screen where the people and groups who will be able to view the message through the Home module can be restricted. If no audience is selected, it will be visible to all system users.
14. Click Add Audience and select People or Groups of People from the drop-down list that appears (see figure below).

15. In the window that appears, select the people or groups of people you want to include in the audience of the message and click Add (see figure below).

The system displays a success message.
16. To remove a person or group from the audience, mark the checkboxes next to their names and click Remove Audience.
The system displays a success message.
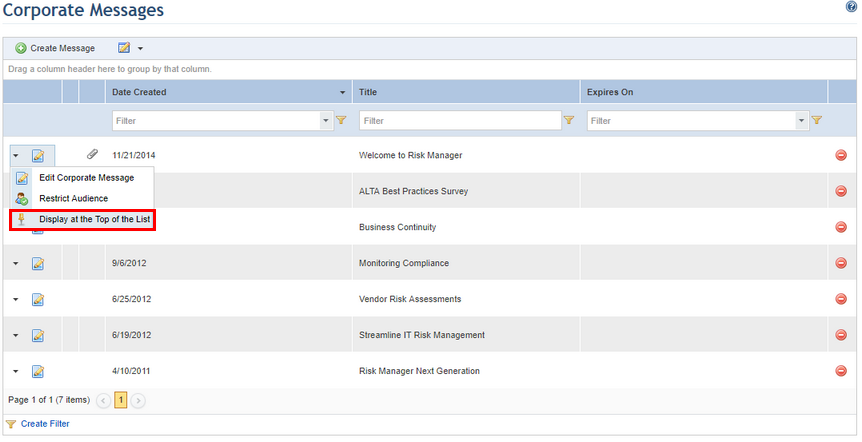
17. To pin a message at the top of the corporate message list in the Home module, click Edit and select the Display at the Top of the List option (see figure below).
The system requests confirmation of the operation (see figure below).
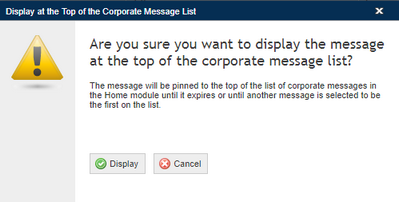
18. To display the message at the top of the corporate message list, click Display. If you want to quit the operation, click Cancel.
The system display a success message.
19. To edit an existing message, click Edit next to the message and select the Edit Corporate Message option.
The system displays an area where its properties can be edited (see figure below).
20. Make the necessary changes and click Save. If you want to quit the operation, click Cancel.
The system displays a success message.
21. To delete a corporate message, click Delete next to the message you want to delete (see figure below).
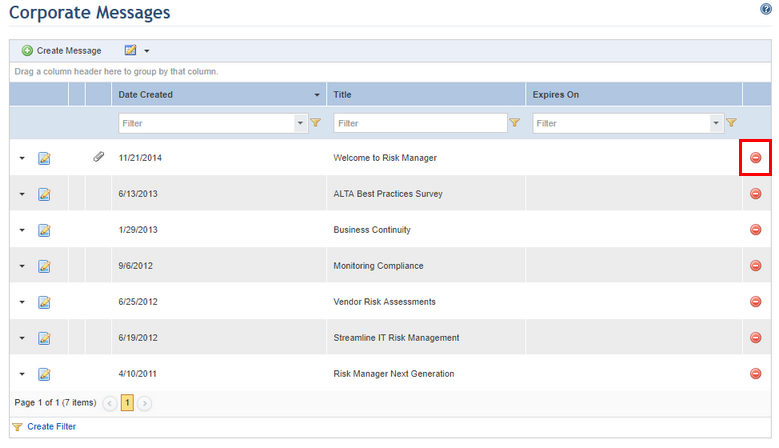
The system requests confirmation of the deletion (see figure below).

22. To confirm deletion, click Delete Corporate Message. If you want to quit the operation, click Cancel.
The system displays a success message.