
1. Access the Administration module.
2. Select Manage Users from the Access Control option on the menu.
3. In the Manage Users section, click Edit next to the person for whom you want to create an account in the system (see figure below).
The system loads an area where you can create the account (see figure below).
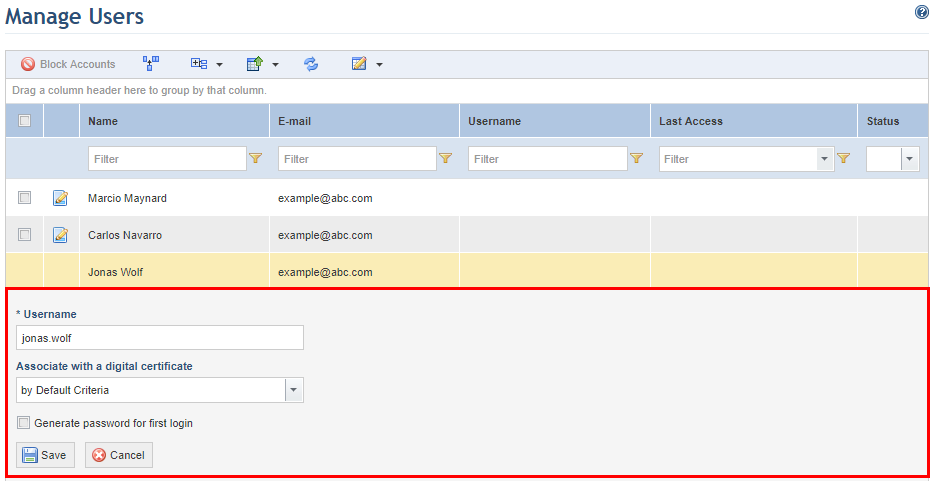
4. In the Username field, enter a unique name for the access account. Usernames cannot be modified once created.
5. In the Associate with a digital certificate field, select how the system will associate a digital certificate with the user. This field only appears if authentication using digital certificates was enabled. The user will then have the option to sign in by entering their credentials or using digital certificates. For details, see Chapter 17: Administration -> Access Control -> Authentication Policy.
Note 1: Certificates can be associated:
•by default criteria. This option will use the criteria selected when authentication using digital certificates was enabled.
•by thumbprint. This option associates a user with a digital certificate using the certificate’s thumbprint entered in the extra field that appears when this option is selected.
•by the user’s name. This option associates a user with a digital certificate by the name specified in the Simple Name field in the Subject of the certificate.
•by the user’s e-mail address. This option associates a user with a digital certificate by the e-mail specified in the Subject field of the certificate.
•by the user’s username (UPN). This option associates a user with a digital certificate by the username specified in the Principal Name field from the Subject Alternative Name extension of the certificate.
Note 2: The User’s criteria option is selected by default when authentication is enabled in the Authentication Policy section, thus the functionality will be only be available for users once a criteria is specified for each account. Similarly, the criteria for associating digital certificates for each account will be by default to use the option configured in Authentication Policy section. In this case, digital certificates will not be associated and this mode of authentication will not be possible. This is useful if, for instance, you want to allow only certain users for which criteria was configured to login using digital certificates.
6. Mark the Generate password for first login checkbox so that the system will generate a password for the new account.
7. Click Save to confirm. If you want to quit the operation, click Cancel.
The system requests confirmation to generate the new password (see figure below).
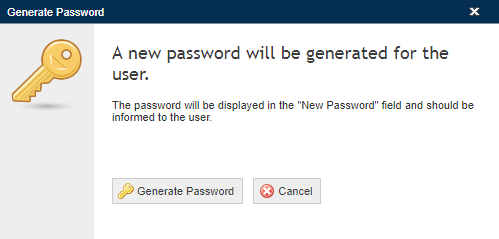
8. Click Generate Password to confirm. If you want to quit the operation, click Cancel.
The system displays the new password created (see figure below). Note that a new password can be generated for any user at any time.
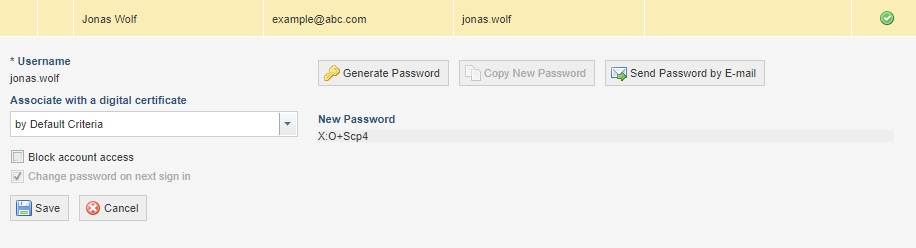
9. If you want to send the password to the user via e-mail, click Send Password by E-mail. For the e-mail to be sent successfully, the message template for this notification and the message service must be configured correctly in the Administration module, and a valid e-mail address must also have been provided for the user.
The system requests confirmation to send the new password (see figure below).
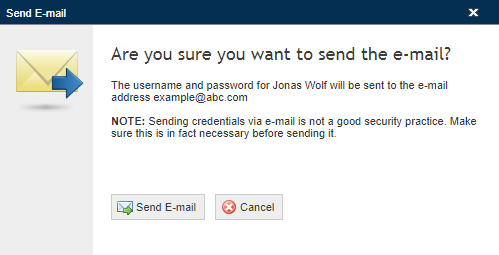
10. Click Send E-mail to confirm. If you want to quit the operation, click Cancel.
The system displays a success message.
11. Unmark the Change password on next sign in checkbox marked by default for the new account if you do not want to require the person to change their account password when they sign in. This setting can be established here for each user individually or for all users in the Authentication Policy section.
12. If necessary, you can block the new account by clicking the Block account access checkbox. The person will not be able to access the system until their account is unblocked. You can also lock multiple accounts at once through the main list.
13. When finished, click Save. If you want to quit the operation, click Cancel.
The system displays a success message.