This topic explains how to create and preview default and custom policies in the system.
1. Access the Policy module.
2. Select Manage Policies from the menu.
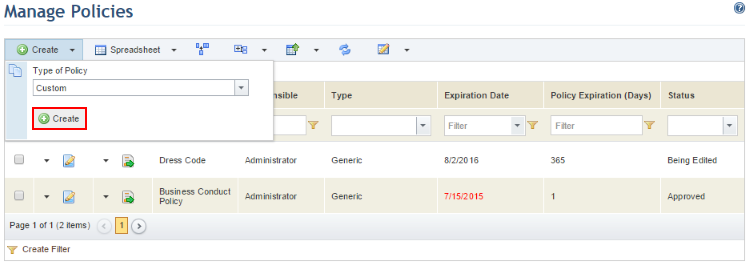
3. Click Create, select the type of policy you want to create in the Type of Policy field, and then click Create (see figure below). Any custom policy types created in the Object Types section of the Administration module will also be available for selection.
The system displays a screen where information on the policy can be entered. Any attributes created for policies in the Objects and Attributes section of the Administration module will also be available here.
4. In the Name field, enter a name to identify the policy using a maximum of 300 characters.
5. In the Policy Code field, enter a code for the policy using a maximum of 30 characters. The code must be unique for each policy and is used to associate it with statements created through the spreadsheet.
6. In the Description field, enter a description for the policy using a maximum of 5,500 characters.
7. In the Responsible field, select the person who will be responsible for the policy. This person will have permission to view and edit it.
8. In the Policy Expiration (Days) field, enter the number of days after which the policy will expire. By default, this field is set to 180 days. Note that expired policies can still be edited and published, although their expiration dates will be displayed in red in the Expiration Date column in the main list.
9. In the Reviewers field, click Select People and select one or more people who will be assigned to review the policy. The list of reviewers represents the order in which each reviewer will receive the policy. To sort the list, drag and drop the name of each person to the desired order.
10. To remove a
person from the list of reviewers, click Remove ( )
next to his or her name.
)
next to his or her name.
11. In the Approvers field, click Select People and select one or more people who will be assigned to approve the policy. The list of approvers represents the order in which each approver will receive the policy. To order the list, drag and drop the name of each person to the desired order.
12. To remove a
person from the list of approvers, click Remove ()
next to his or her name.
Note: The people selected in the Responsible, Reviewers, and Approvers fields must have been previously registered in the Organization module, given user accounts in the Administration module, and included in the Policy Module Users profile in order to access the policies to which they are assigned. It is also important to ensure that valid e-mail addresses were provided so that they can receive notifications sent regarding the policy's revision workflow.
13. When finished, click Save. If you want to quit the operation, click Cancel.
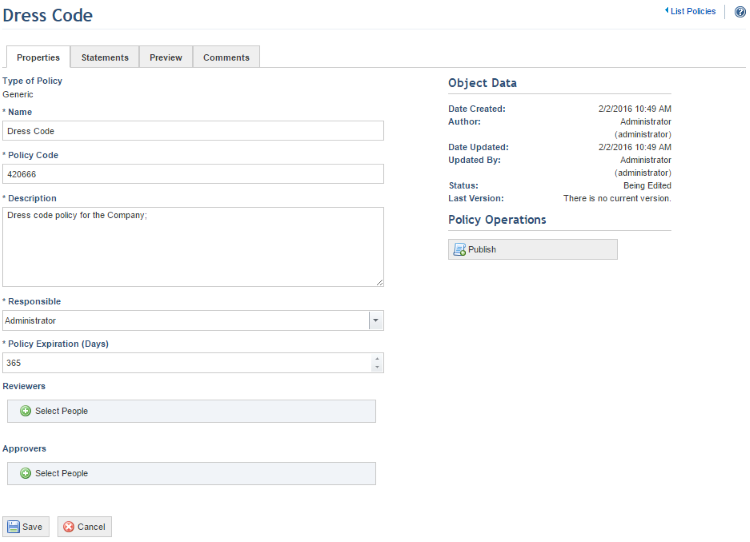
The system displays a success message and enables the Statements, Preview, and Comments tabs. When the policy is saved, additional information on it is displayed in the Properties tab (see figure below), including its author, the date it was created, the date it was updated, the person who last updated it, the status of the policy, and its version. This information will also be available as column options in the main list.
14. Click the Statements tab to create statements for the policy. Any number of child statements can be created under a parent statement. Note that at least one statement must be registered before the revision workflow can be requested and the policy published.
15. Click
Create New Statement ( ).
).
The system displays an area where you can enter and edit
the contents of the statement that will be used in the body of the policy (see
figure below).
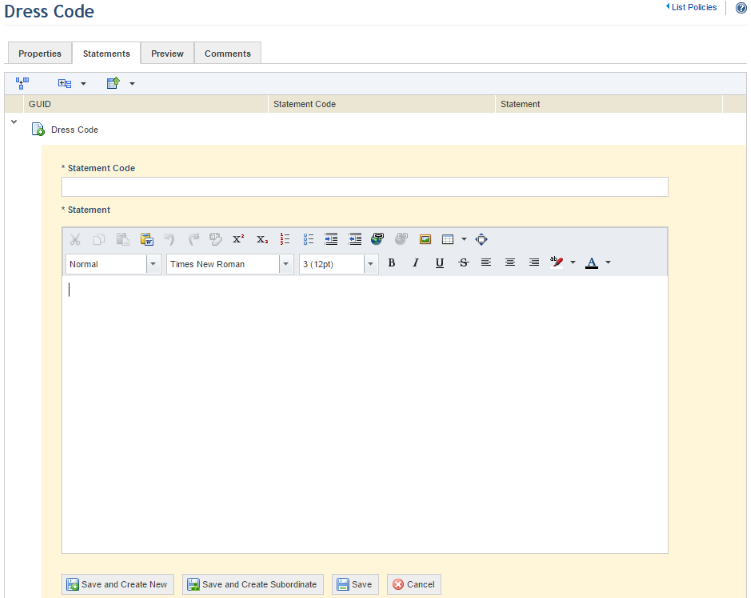
16. In the Statement Code field, enter a code for the statement using a maximum of 30 characters. The code must be unique for each statement and is used to associate it with other statements through the spreadsheet.
17. In the Statement field, you can enter and edit the contents of the statement that will be used in the body of the policy, using the standard editing features provided.
18. When finished, click Save. If you want to save the statement and create a new one, click Save and Create New. If you want to save the statement and create one beneath it, click Save and Create Subordinate. If you want to quit the operation, click Cancel. Note that any number of child statements may be included beneath a statement, and any number of statements may be included in a policy.
The system displays a success message.
19. To delete a
statement, click Delete ( ) next to it.
The system requests confirmation of the deletion (see figure below).
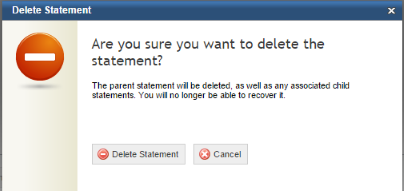
20. To confirm deletion, click Delete Statement. If you want to quit the operation, click Cancel.
The system displays a success message.
21. To view the policy structure with all of its statements, click the Preview tab.
22. You can
browse the policy through the table of contents on the left (see figure below).
To access a specific section of the policy, click Expand ( )
next to the statement you want to view.
)
next to the statement you want to view.
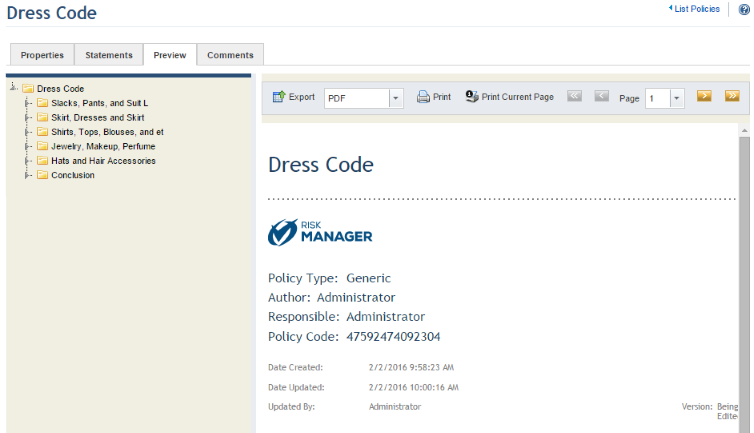
The system displays a read-only version of the policy on the right. The cover page displays the name of the policy, its type, its author, the person responsible for it, its code, the date on which it was created, the date it was last updated, the name of the person who last edited it, and the system logo provided in the Display Options section of the Administration module. The second page of the policy displays its description, and the third page displays any completed attributes associated with the policy type in the Administration module, except for image attributes. Note that only attributes for which values were provided will appear in the preview, and that Georeference attributes will show coordinates instead of maps.
23. To return to the list of policies, click the List Policies link in the upper right corner.