1. Access the Dispatch solution.
2. In the Customizations section, click Associated Events.
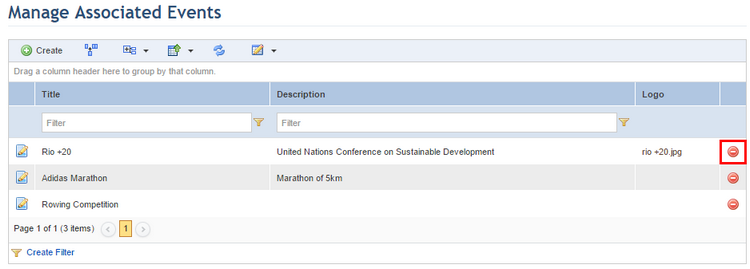
The system displays a list with the associated events.
3. Click Create.
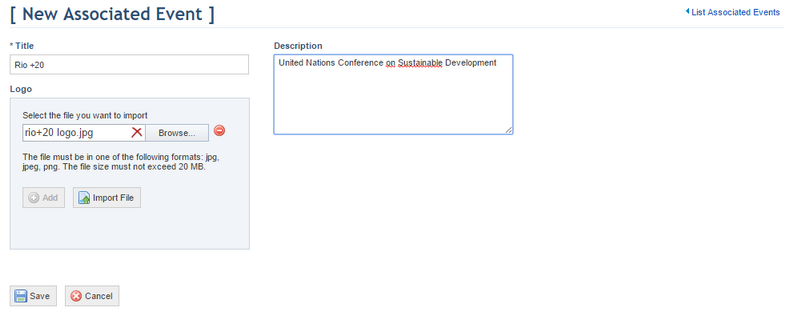
The system displays a screen where you can complete the properties of the associated events (see figure below).
4. In the Title field, enter a name to identify the associated event using a maximum of 50 characters. This field is required.
5. In the Description field, provide a description for the event using a maximum of 500 characters.
6. In the Logo field, click Browse to select the logo you want to use in the associated event. The file size must not exceed 20 MB. After selecting the file, click Import File.
Note: The logo will be displayed in the Today's Occurrences section when the list of calls and occurrences by category is filtered by an associated event.
7.
To delete the logo, click Delete ( ) next to its name.
8. In the pop-up window that appears, click Delete File to confirm the deletion. If you want to quit the operation, click Cancel.
9. When finished, click Save. If you want to quit the operation, click Cancel.
The system displays a success message.
10. To delete an associated event, click Delete next to the event you want to delete (see figure below).
The system requests confirmation of the deletion (see figure below).
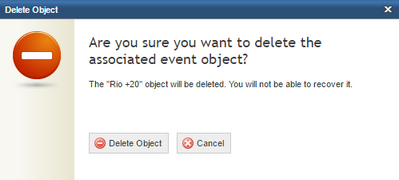
11. To confirm deletion, click Delete Object. If you want to quit the operation, click Cancel.
The system displays a success message.