This topic explains how to cancel events through the Workflow app. If you cancel an event that includes child events, the child events will also be cancelled; however, they will only be cancelled if they are open and if you have permission to them. Note that, to cancel events through the app, the authenticated user must have permission to cancel events in the system.
1. Tap Events and then select the event you want to cancel.
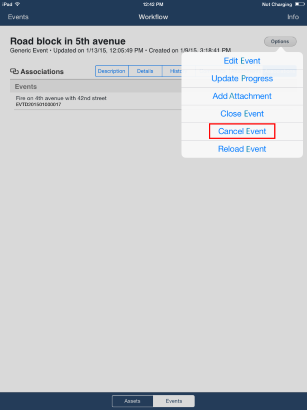
2. In any event tab, tap Options and then tap Cancel Event (see figure below).
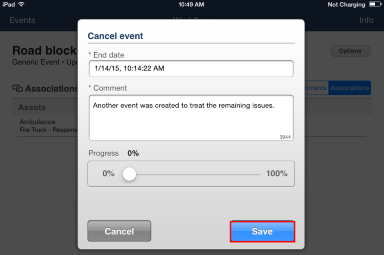
3. In the pop-up window that appears, tap End date if you want to change the date and time at which the event is being cancelled. By default this field is completed with the current date and time.
4. Tap Comment to enter a reason why the event is being cancelled using up to 4,000 characters. This field is required.
5. In the Progress field, slide the button to specify a percentage of progress for the event.
6. Tap Save to cancel the event (see figure below). If you want to quit the operation, tap Cancel.
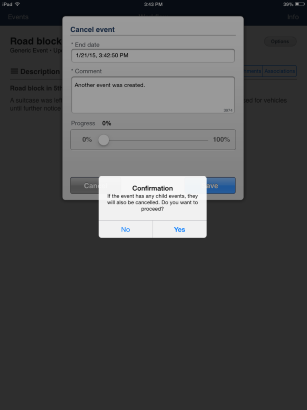
8. In the pop-up that appears, tap Yes to cancel the event. If you want to quit the operation, tap No. (see figure below). Note that if the event has any open child events, these will also be cancelled.