1. Access the Home module.
2. Select Interviews from the menu.
3. In the Interviews section, click the title of the interview that you want to answer offline.
The system loads the interview in a new window.
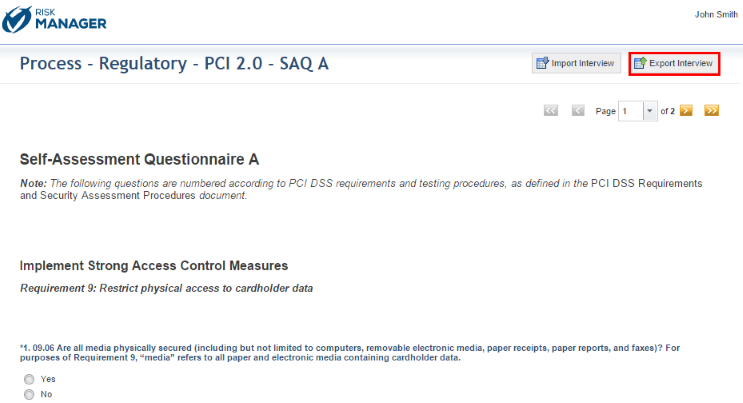
4. Click Export Interview (see figure below). Note that any existing responses provided in the system will also be exported.
The system requests confirmation to export the interview (see figure below).
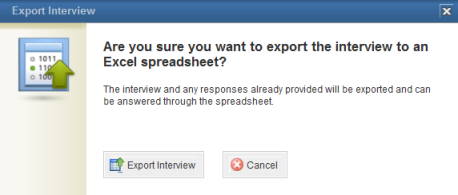
5. Click Export Interview to confirm. If you want to quit the operation, click Cancel.
6. In the dialog box that appears, save the file to your computer and open it.
The exported interview loads in Microsoft Excel (see figure below).
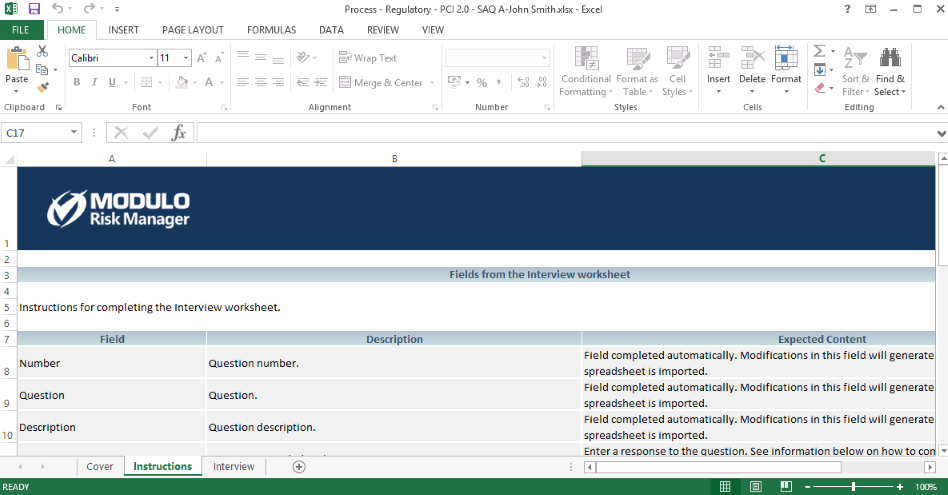
The file contains three worksheets, namely:
•Cover: where you can view information on the interview itself, which is filled out automatically by the system.
•Instructions: where you can view instructions on how to fill out each of the fields from the Interview worksheet. This worksheet does not include fields that need to be completed.
•Interview: where you can answer each of the questions from the interview. Any answers that were already provided online will also be exported to the spreadsheet. Attachment-type questions and other fields that accept attachments will not be exported; however, any files attached online will be kept when the interview is imported back to the system. Images added to the survey will not be exported, but the descriptions provided for them will be exported and their respective fields will be disabled for editing.
Note: Question rules used to control the visibility of questions depending on the answers provided will not be applied to the spreadsheet, and all questions will be available. Control rules applied to risk interviews to answer controls from questionnaires automatically depending on the answers provided to the questions will be processed when the interview is imported and completed.
7. Click the Interview worksheet to begin answering the interview (see figure below).
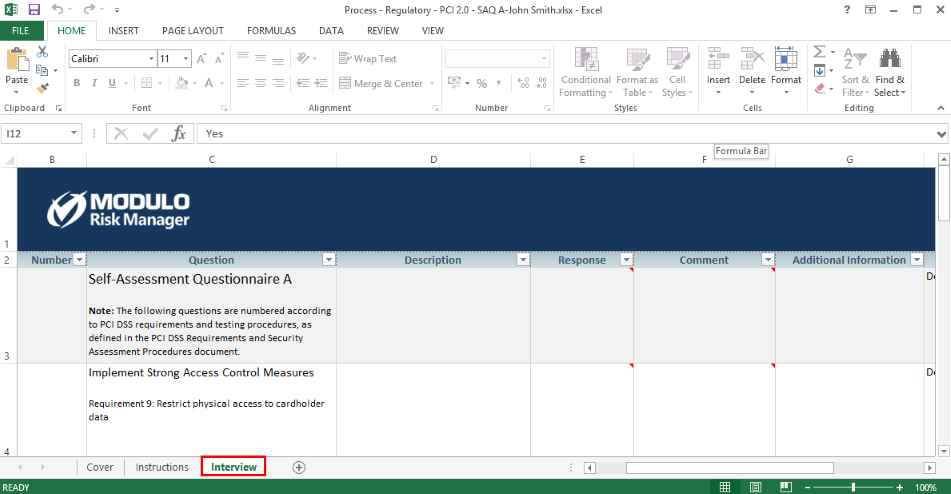
8. The fields included on this spreadsheet and information on how to complete them are described in the table below:
|
Field |
Description |
|
Number |
Indicates the number of the question to be answered. This field is completed automatically and should not be modified to prevent conflicts when importing the file. |
|
Question |
Displays the question from the interview. This field is completed automatically and should not be modified to prevent conflicts when importing the file. |
|
Description |
Displays the description of the question. This field is completed automatically and should not be modified to prevent conflicts when importing the file. |
|
Compliance Question |
This type of question must be answered by selecting one of the response options available according to the response set selected for the interview. This type of question is only available for compliance interviews. |
|
Response |
In this field, the answer to the question should be provided according to its type: •Date/Time: Enter a date and time in the mm/dd/yyyy hh:mm:ss tt format. For example: 10/15/2011 12:00:00 PM. •Date: Enter a date in the mm/dd/yyyy format. For example: 10/15/2011. •Time: Enter a time in the hh:mm:ss tt format. For example: 12:00:00 PM. •Whole Number: Enter a whole number. For example: 25. •Decimal Number: Enter a decimal number. For example: 10.05. •Number (Monetary Value): Enter a monetary value without using currency symbols. For example: 180.00. The monetary symbol will be completed by the system when the spreadsheet is imported according to the language selected for your account. For English: $; for Portuguese: R$; and for Spanish: €. •List of Options – Multiple Answer: This field should not be completed. The options to answer the question are displayed under the question itself. Mark an X in the Response column for each option selected. •List of Options – Single Answer: Select the answer to the question from the combo box. •Text: Enter free text in response to the question. •Description: This type of item represents a description added to the interview and should not be answered. |
|
Comments |
Enter a comment to the response provided. A note will be displayed if this field was not enabled for the question, in which case the field should not be completed. |
|
Additional Information |
Indicates the accepted values for the response to be considered valid, including any format masks. This field should not be completed and any information entered here will be disregarded by the system when the file is imported. |
|
Type |
Indicates if the line represents a specific type of question or item, or if it represents a response option for List of Options – Multiple Answer questions. This field is completed automatically by the system and should not be modified to prevent conflicts when importing the file. |
|
Required |
Indicates if the question must be answered or not so that the interview can be finalized once imported. This field is completed automatically by the system and should not be modified to prevent conflicts when importing the file. |
9. When finished answering the interview, save the file to your computer.
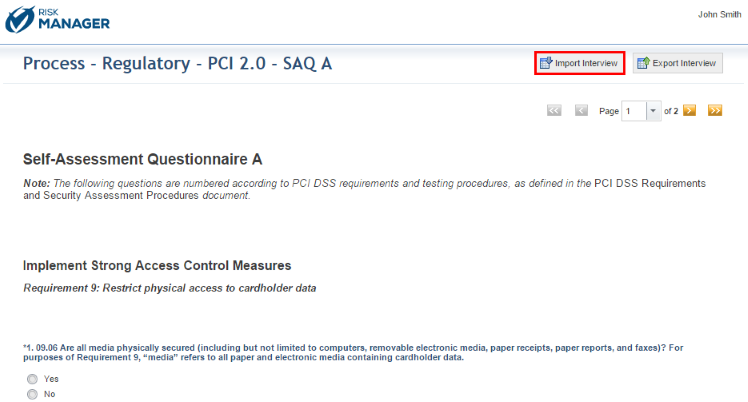
10. Open the same interview in the system and click Import Interview (see figure below).
The system displays a window where you can select the file to be imported and validate it (see figure below).
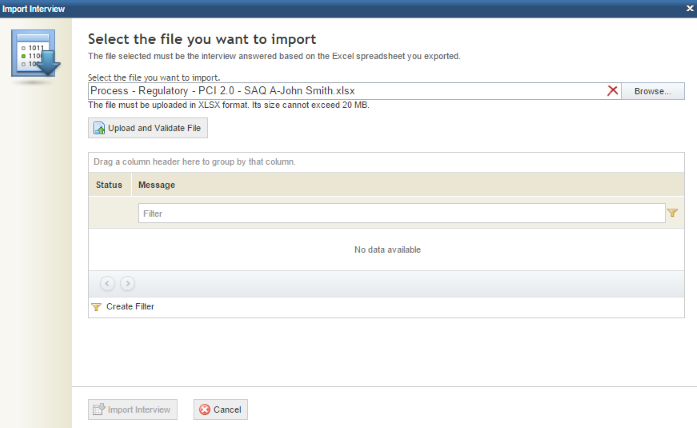
11. Click Browse to select the interview to be imported.
12. Once the file has been selected, click Upload and Validate File.
Any errors and alerts will be displayed in the Status and Message columns, in which case the file must be reopened and any necessary corrections must be made.
13. If no errors are encountered, click Import Interview.
The system displays a success message.