 )
next to the asset component for which you want to answer the questionnaire.
)
next to the asset component for which you want to answer the questionnaire.This topic explains how to export a questionnaire to an Excel spreadsheet so that it can be answered, as well as how to import the completed questionnaire back to the system.
1. Access the Risk module.
2. In the Risk Management Projects section, click the List Projects option.
3. In the List of Projects section, click Edit next to the risk management project containing the questionnaire you want to answer through Excel.
4. Click the Analysis tab.
5.
In the Questionnaires section, click Open Questionnaire ()
next to the asset component for which you want to answer the questionnaire.
6. Click Export to export the questionnaire so that it can be answered through Excel (see figure below).

The system requests confirmation to export the questionnaire (see figure below).
7. Click Export Questionnaire to confirm. If you want to quit the operation, click Cancel.
8. In the dialog box that appears, save the file to your computer and open it.
The downloaded questionnaire will load in Microsoft Excel (see figure below).
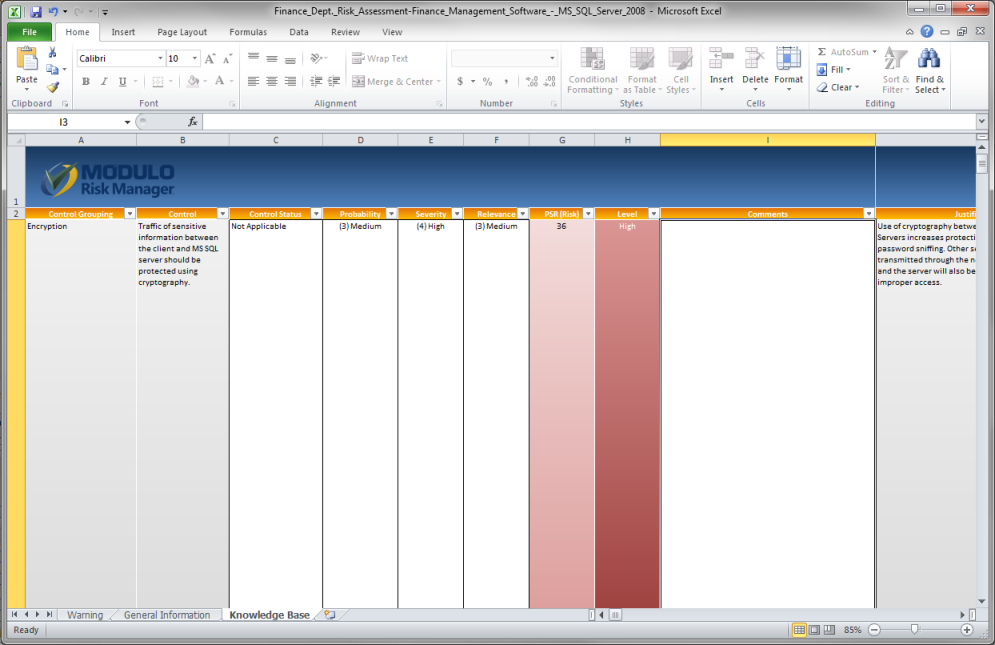
This spreadsheet contains 3 worksheets:
•Warning: This worksheet contains general alerts concerning the knowledge base and how to edit it. No fields need to be completed here.
•General Information: This worksheet contains general information, such as the name of the asset comp related to the questionnaire, its description, the type of asset, the name of the person responsible for the asset, and the validation key for the spreadsheet to be imported correctly to the system. These fields are filled out automatically and do not need to be completed.
•Knowledge Base: This worksheet contains all the fields necessary to answer the questionnaire directly from Excel. The table below describes each of these fields:
|
Field |
Description |
|
Control Grouping |
Lists the control grouping the control belongs to. |
|
Control |
Lists the name of the control. |
|
Control Status |
Displays the current status of the control. This field can be edited. |
|
Probability |
Displays the current probability score for the control. This field can be edited. |
|
Severity |
Displays the current severity score for the control. This field can be edited. |
|
Relevance |
Displays the current relevance score for the asset component the control is related to. This field should not be edited. |
|
PSR |
Shows the current PSR score considering the P, S, and R scores. This field is updated automatically using the information provided in the P, S, and R fields. |
|
Level |
Indicates the PSR Level based on the PSR score calculated for the control. |
|
Comments |
Provides a textbox where comments can be entered by the analyst. |
|
Justification |
Lists the justification for the existence of the control. |
|
Recommendation |
Lists the recommendations for implementing the control. |
|
Related Threats |
Lists all the threats related to the control, which may be exploited in the absence of it. |
9. Once finished answering the questionnaire, save the file to your computer.
10. Return to the questionnaire screen and click Import (see figure below).
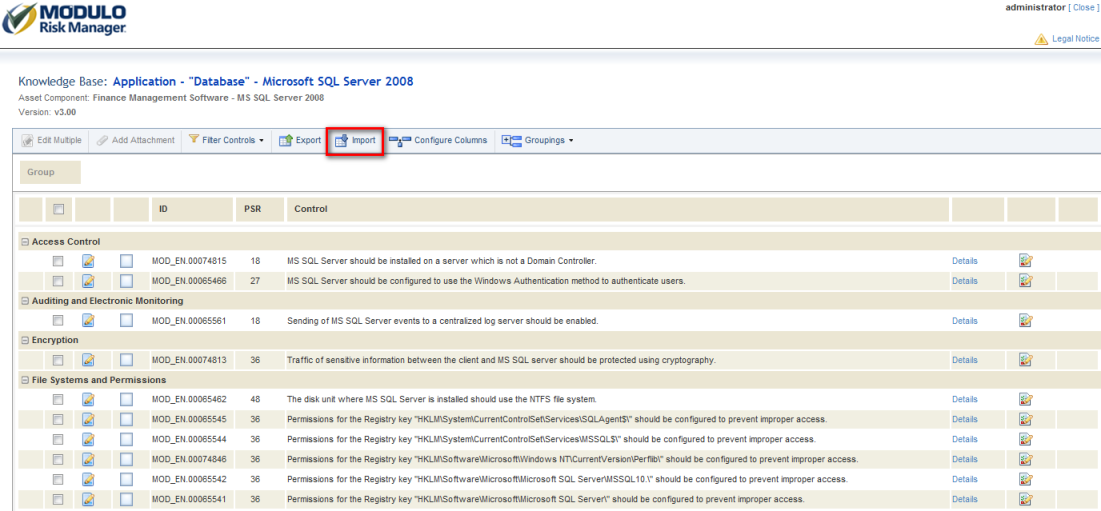
The system displays a window where the completed questionnaire can be imported.
11. Click Browse… to locate the file you want to import.
12. In the dialog box that appears, select the file and click Open.
13. Click Upload File in the main window to import the questionnaire (see figure below).
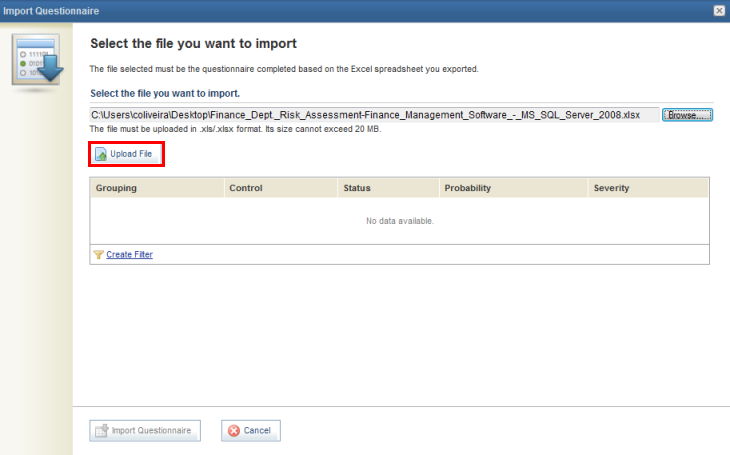
The system displays the responses to the controls found on the spreadsheet that will be imported (see figure below).
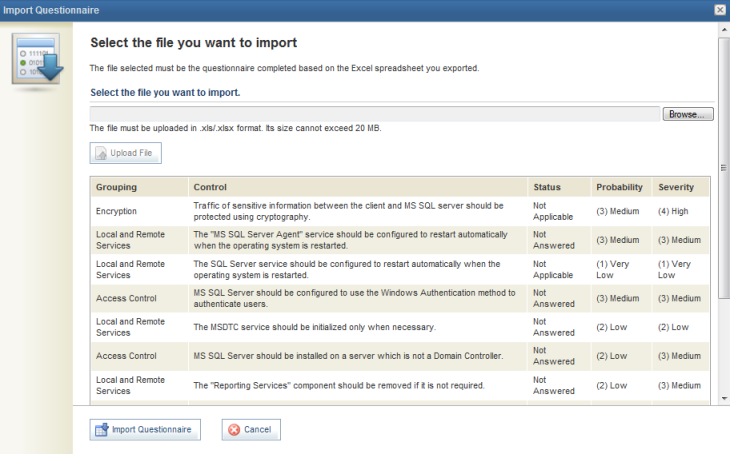
14. Click Import Questionnaire to import the responses provided to the questionnaire on the Excel spreadsheet to the system. If you want to quit the operation, click Cancel.
The system displays a success message and updates the controls from the online questionnaire with the responses that were provided on the spreadsheet.