This section provides orientation on how to answer a questionnaire through the Modulo Questionnaires app for Android. A questionnaire is a response form for a knowledge base, which is a checklist composed of controls, associated with an asset component. All questionnaires to which you have access will be listed so you can answer them offline and then send them to the system, where the status of the controls will be updated.
1. Access the Modulo Questionnaires app.
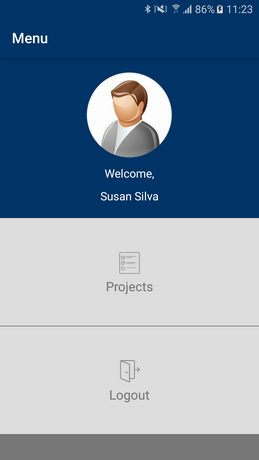
The main screen is displayed (see figure below).
2. To access the projects in which you have permission, tap Projects. To quit the application, tap Logout.
The app displays a list with all the projects that you have permission to view (see figure below). The following information is displayed for each project: the date when it was last updated in the system; its creation date; name; code; and status.
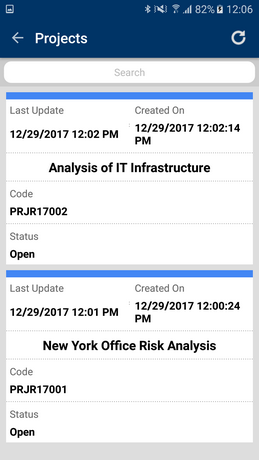
3. Tap the project that contains the questionnaire you want to answer. Note that you do not have to be online to access a questionnaire.
The app displays a list with the project questionnaires, indicating if they were opened or not (see figure below). The following properties are displayed for each questionnaire: its status, the date when it was opened; the name of the knowledge base from which it was generated; the name of its associated asset; and the name of the analyst assigned to answer it.
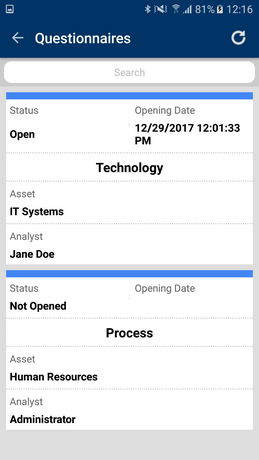
Note 1: All questionnaires to which you have access will be listed, including those where you have been assigned as analyst, those in projects of which you are the author, and those you have permission to by being included in the role of Leader or Substitute Leader of a Risk Management Project or in the Asset Risk Managers access profile, for example.
Note 2: All questionnaires with the Not Opened or Opened status are displayed. However, only open questionnaires can be edited through the app. Questionnaires must be opened in the system and then synchronized so you may answer them through the application. Closed questionnaires are not displayed.
4. Tap a questionnaire to answer it. Note that you do not have to be online to answer a questionnaire.
The app displays the questionnaire selected with the list of controls to be answered (see figure below).
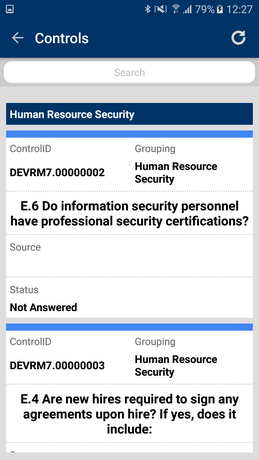
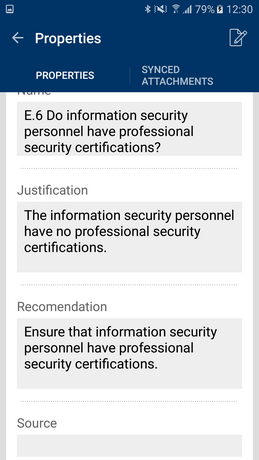
5. Tap the control you want to answer, which will then open in a new screen that displays its properties (see figure below). On the Properties tab you can view the control, its justification, the recommendation of how to implement it, the threats associated with the control, its references, probability, severity, relevance, comments provided, the list of attached files, its current situation and its identifier.
6.
Tap Answer ( ) in the upper right corner to answer
the control.
) in the upper right corner to answer
the control.
The app displays a window where you can answer the control (see figure below).
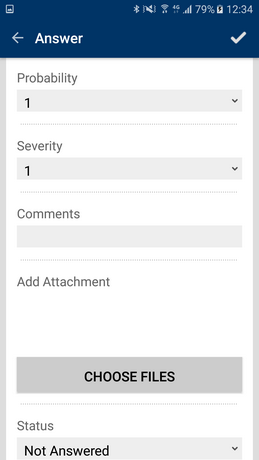
7. Tap Probability to edit the probability of the risk materializing if the control is not implemented. Likewise, tap Severity to edit the impact on the organization if the risk is explored because the control is not implemented.
8. Tap Comments to enter any additional information related to the answer of the control. This field accepts a maximum of 5,000 characters.
9. In the Add Attachments field, tap Choose Files to add an attachment as evidence as to whether or not the control was implemented.
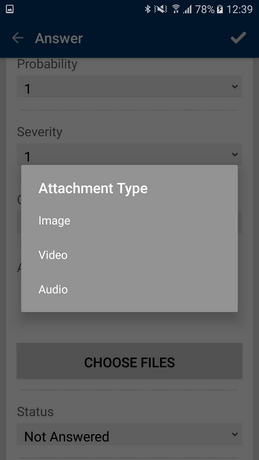
The application displays a pop-up window where you can select the type of file that will be attached (see figure below).
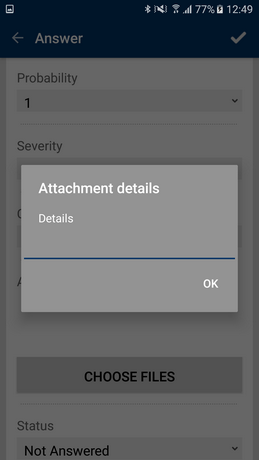
10. After the file type is selected, enter a description for the evidence being attached in the Details field and then tap OK (see figure below).
11. Tap Status to answer the status of the control and choose one of the following options: Implemented, Not Implemented, Not Applicable or Not Answered. Note that if the device's GPS is enabled, the coordinates of the location where the control was answered will be automatically collected and attached as evidence for the control when it is answered.
12. Tap
Submit ( ) in the upper right corner to save
your answer and return to the properties tab of the control.
) in the upper right corner to save
your answer and return to the properties tab of the control.
Note: Answered controls that have not yet been synchronized with the system are marked in gray, while those synchronized with the system are marked in blue.
13. In the Properties tab, tap Synced Attachments to view the list of files attached as evidence for the control.
The app displays a screen with the list of attachments (see figure below).
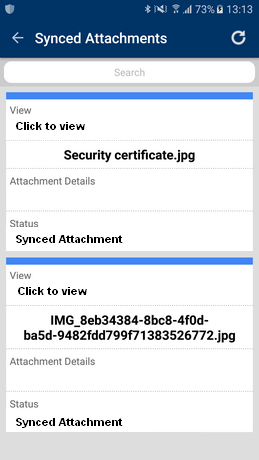
14. Tap the attached file to open it.
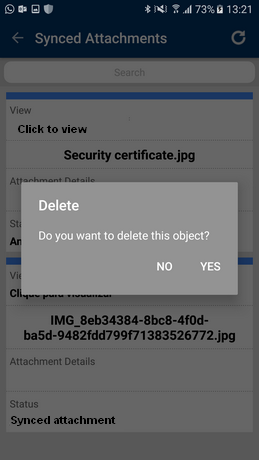
15. To delete a file attached as evidence, tap for a few seconds the file you want to delete and then select Yes in the pop-up window that appears. If you want to quit the operation, tap No (see figure below).
16.
When finished, tap Return ( ) in the upper left corner of the
screen to go back to the properties tab of the control and again to return to
the main list of controls and answer the next control.
) in the upper left corner of the
screen to go back to the properties tab of the control and again to return to
the main list of controls and answer the next control.
17.
When finished answering the questionnaire, tap Refresh ( )
in the upper right corner of the screen to send the information provided through
the app to the system. Note that this option is available throughout the main
lists of projects, questionnaires, controls and attachments. This operation
requires internet connection.
)
in the upper right corner of the screen to send the information provided through
the app to the system. Note that this option is available throughout the main
lists of projects, questionnaires, controls and attachments. This operation
requires internet connection.
The application requests confirmation of the operation (see figure below).

18. To confirm tap Yes. If you want to quit the operation tap No.
The application is synchronized with the system and the data is updated. The synchronized projects, questionnaires and controls are marked in blue.